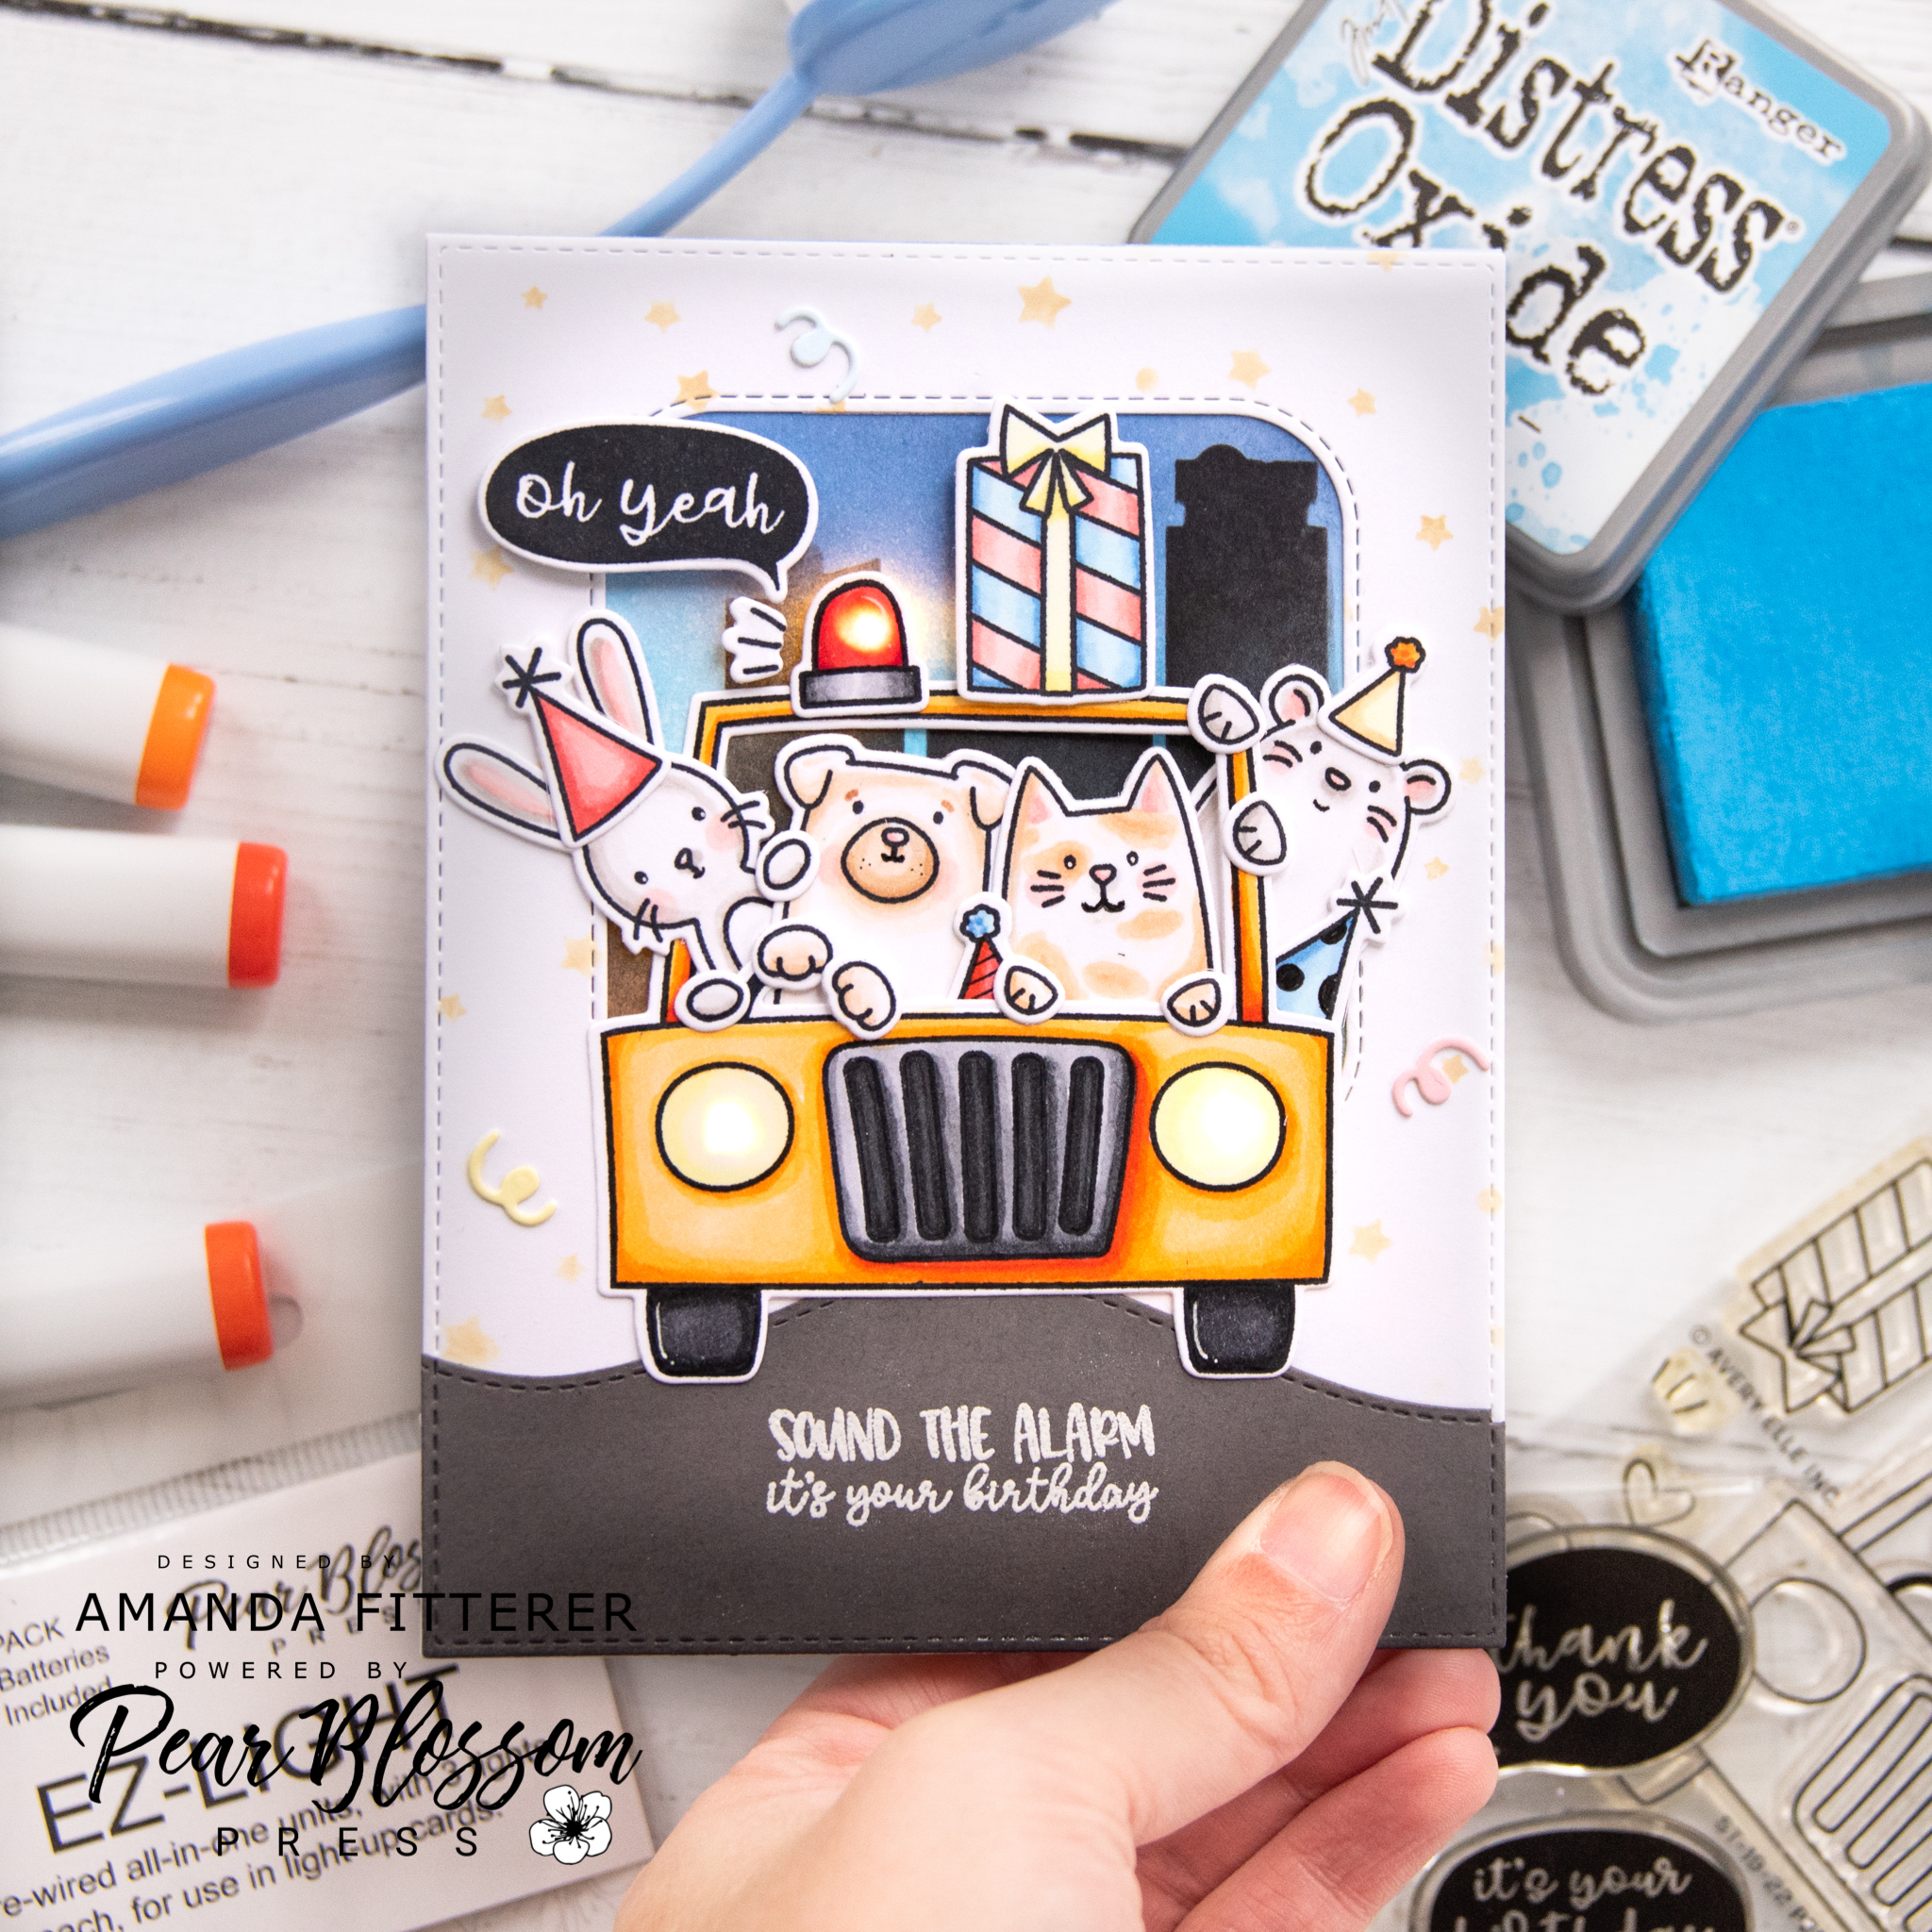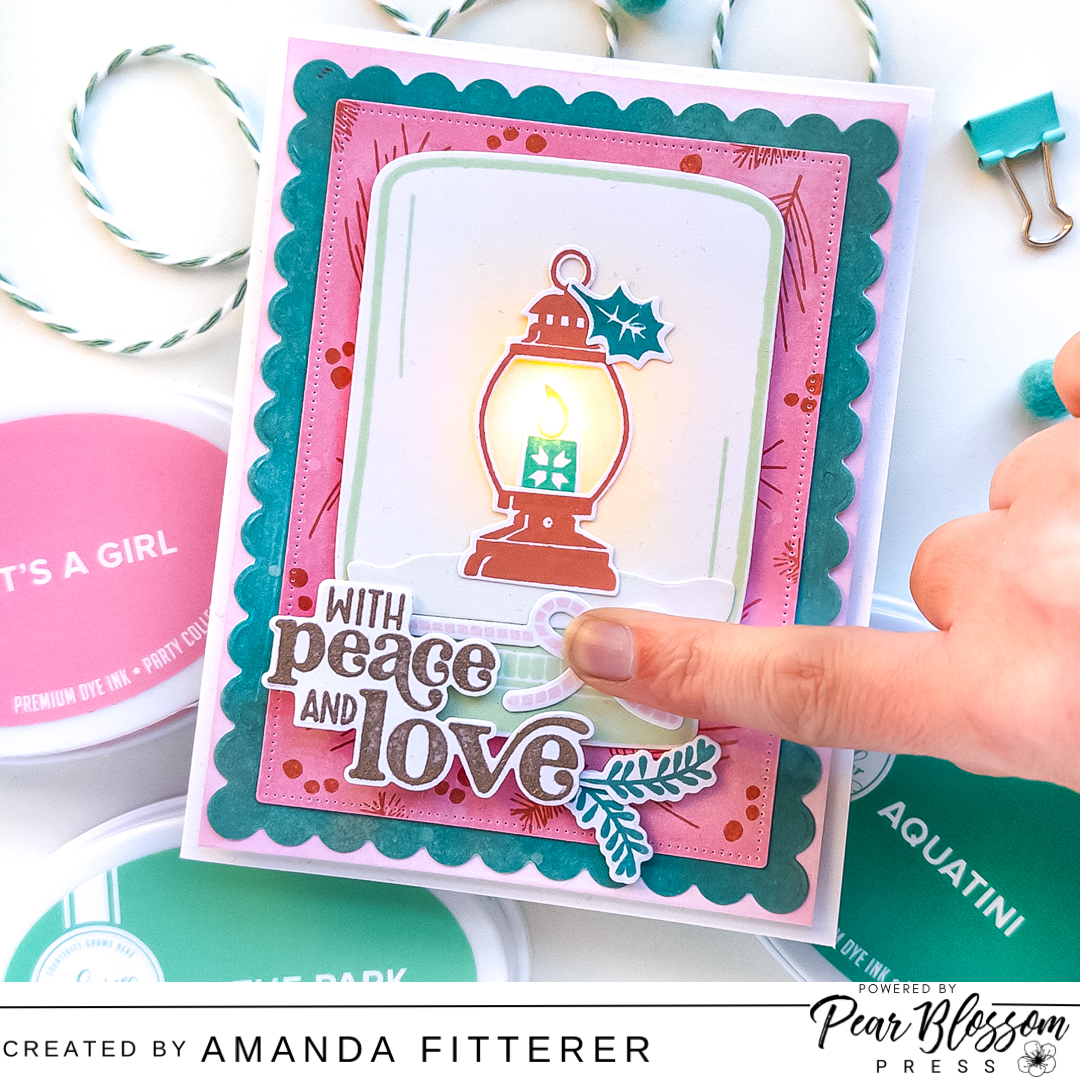
Hello friends!! Today, I am sharing a Light-up card I made using a Pear Blossom Press One Light and some Catherine Pooler products!
To make this card, I first chose my ink color combo. If you need help picking the perfect color combo, you can download a FREE Catherine Pooler Color Wheel!
For my combo, I’m using Whipped Honey, In the Park, Aquatini, It’s a Girl, Polished, Cotton Candy, and Minted.\
I used the Dots & Scallops Dies to create my layers. Then, I used the Mason Jar Snow Globe Stamp Set to create my jar. The lantern and sentiment comes from the Warm and Bright Stamp Set . I stamped my sentiment with the new gorgeous Champagne Metallic Ink!

Once I got all of that stamped, die cut, and assembled, I created a flame for my candle using the PB Press Stamp and Die Combo.
Next, I popped a One Light out of the Halo Light Combo. I inserted a battery (that comes with the combo!) and tested my light to ensure my battery was placed properly.
Then, on my A2 card base, I placed my assembled front panel on top and made a pencil mark inside the flame so I know where my light needs to be.
I placed my One Light where I wanted it to be and secured it using double sided tape. Next, I placed some World’s Best Foam Tape around the entire card base (leaving a border). Then, I attached my front panel to the card!

Here’s a photo of the card with the light off.

And, with a simple push of a button… Voila! Light!

This is definitely a super special card for someone to receive this Christmas!
Thank you SOOO much for stopping by my blog today!! I hope you enjoyed this post and will subscribe below to see more posts from me! Xx, Amanda
My favorite craft essentials:
* Heffy Doodle Mini Die Cutting Machine
* MISTI
* Smart Craft Glue
* Petal Pink Gemini Jr. Die Cutting Machine
* 3D Foam Squares
* 3D Foam Tape
*Pre-scored Card Base
* Catherine Pooler Inks
* Catherine Pooler Blending Brushes
* White Glass Magnetic Craft Mat (Use code AMANDA20 for 20% off your order!)
Thanks for using my affiliate links! You all are the BEST! Using an affiliate link in this post above or down below costs you nothing, but it gives me a teeny percentage of your sale to buy more crafty goodies to continue to share card tutorials with YOU! So, thank YOU! Xx, Amanda
Scrapbook.com Affiliate Link | Catherine Pooler Affiliate Link | Become a Catherine Pooler StampNation member
👇🏻👇🏻 Subscribe 👇🏻👇🏻 to be alerted of new posts by yours truly!
Xx, Amanda