The Lasso Life Collection from Catherine Pooler Designs is LIVE for EVERYONE!
👉🏻👉🏻 GET EARLY ACCESS to this (and EVERY) New Release! Sign up to be a Catherine Pooler StampNation member and get tons of perks, including exclusive crafty Zoom sessions and early ordering for every monthly release!

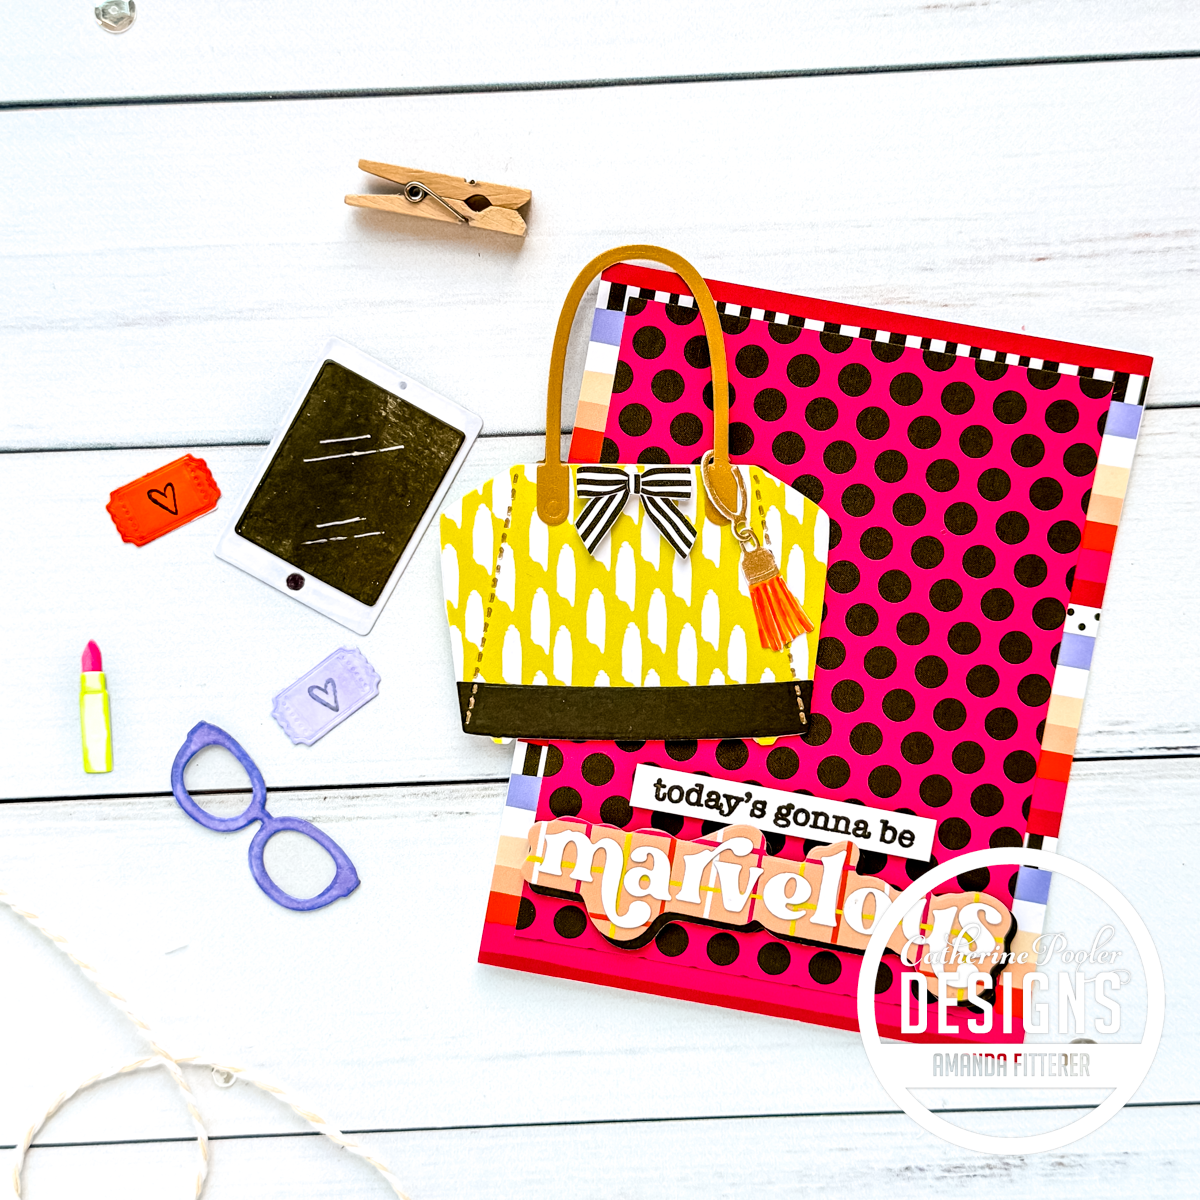
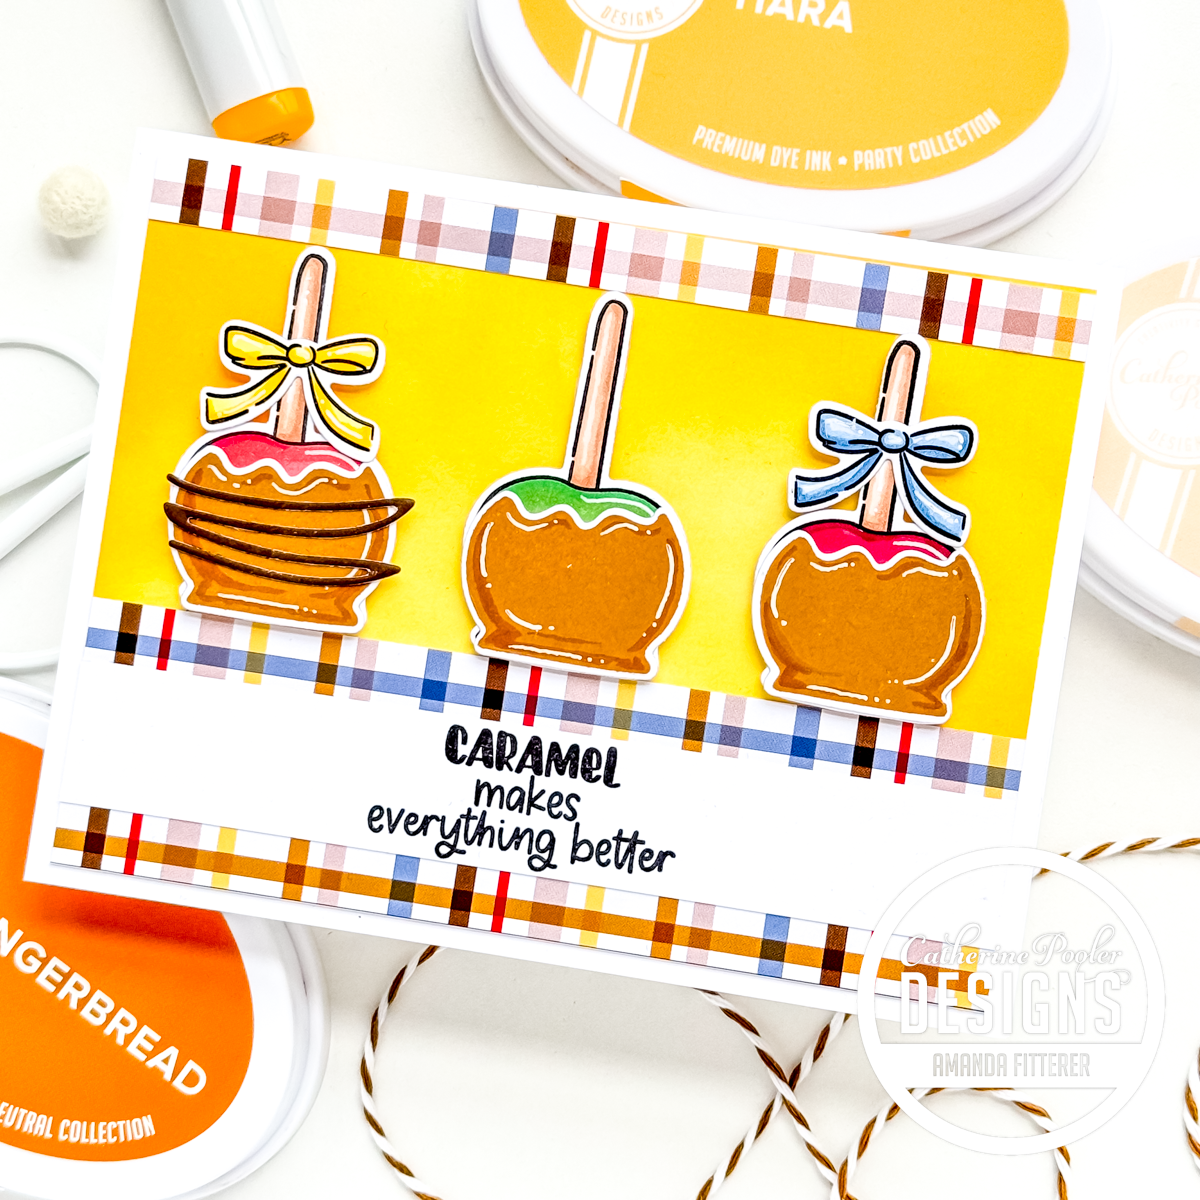
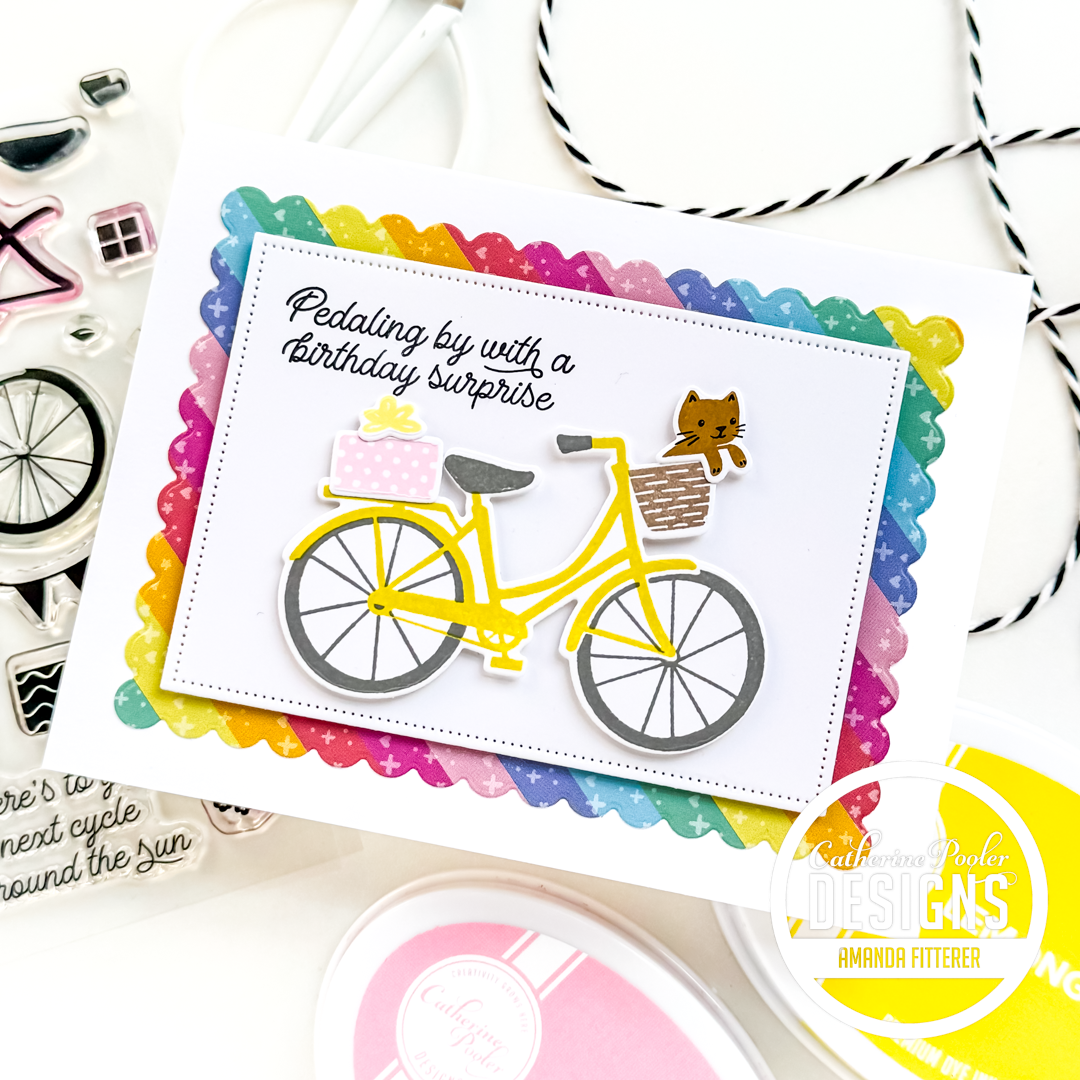
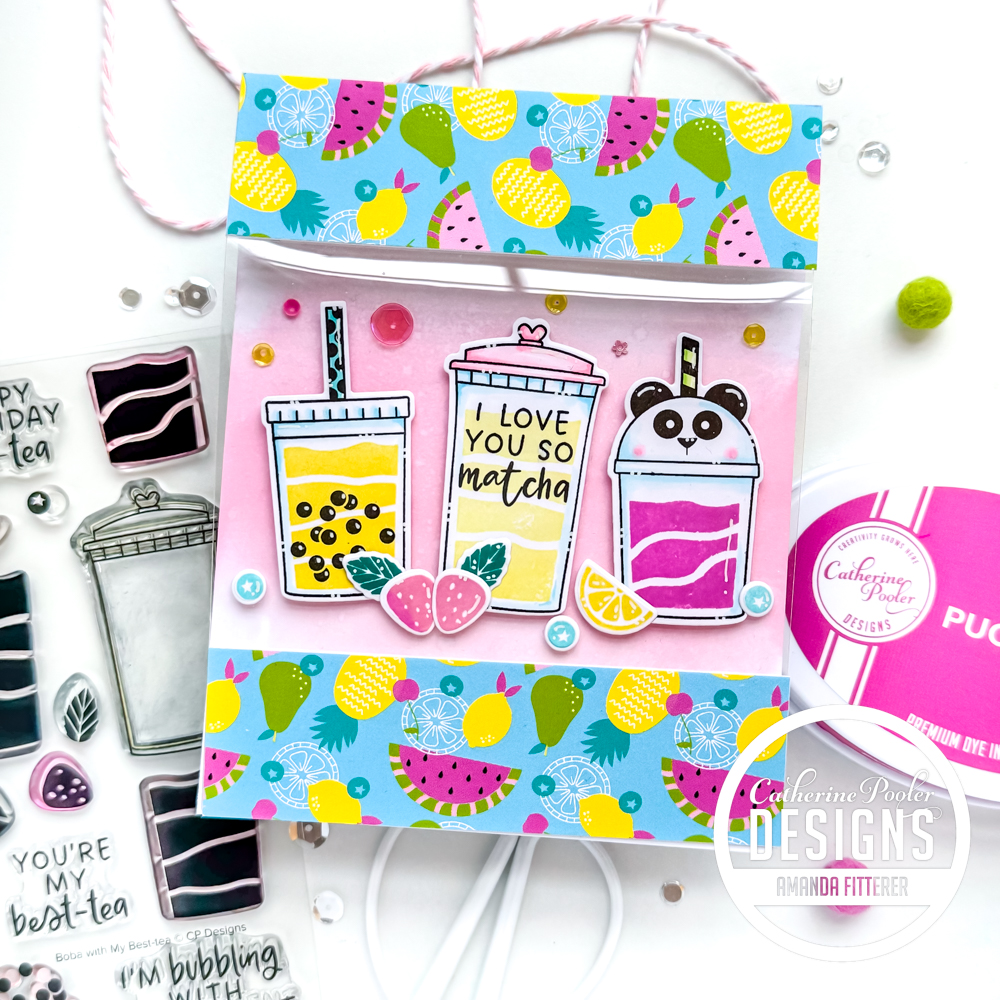
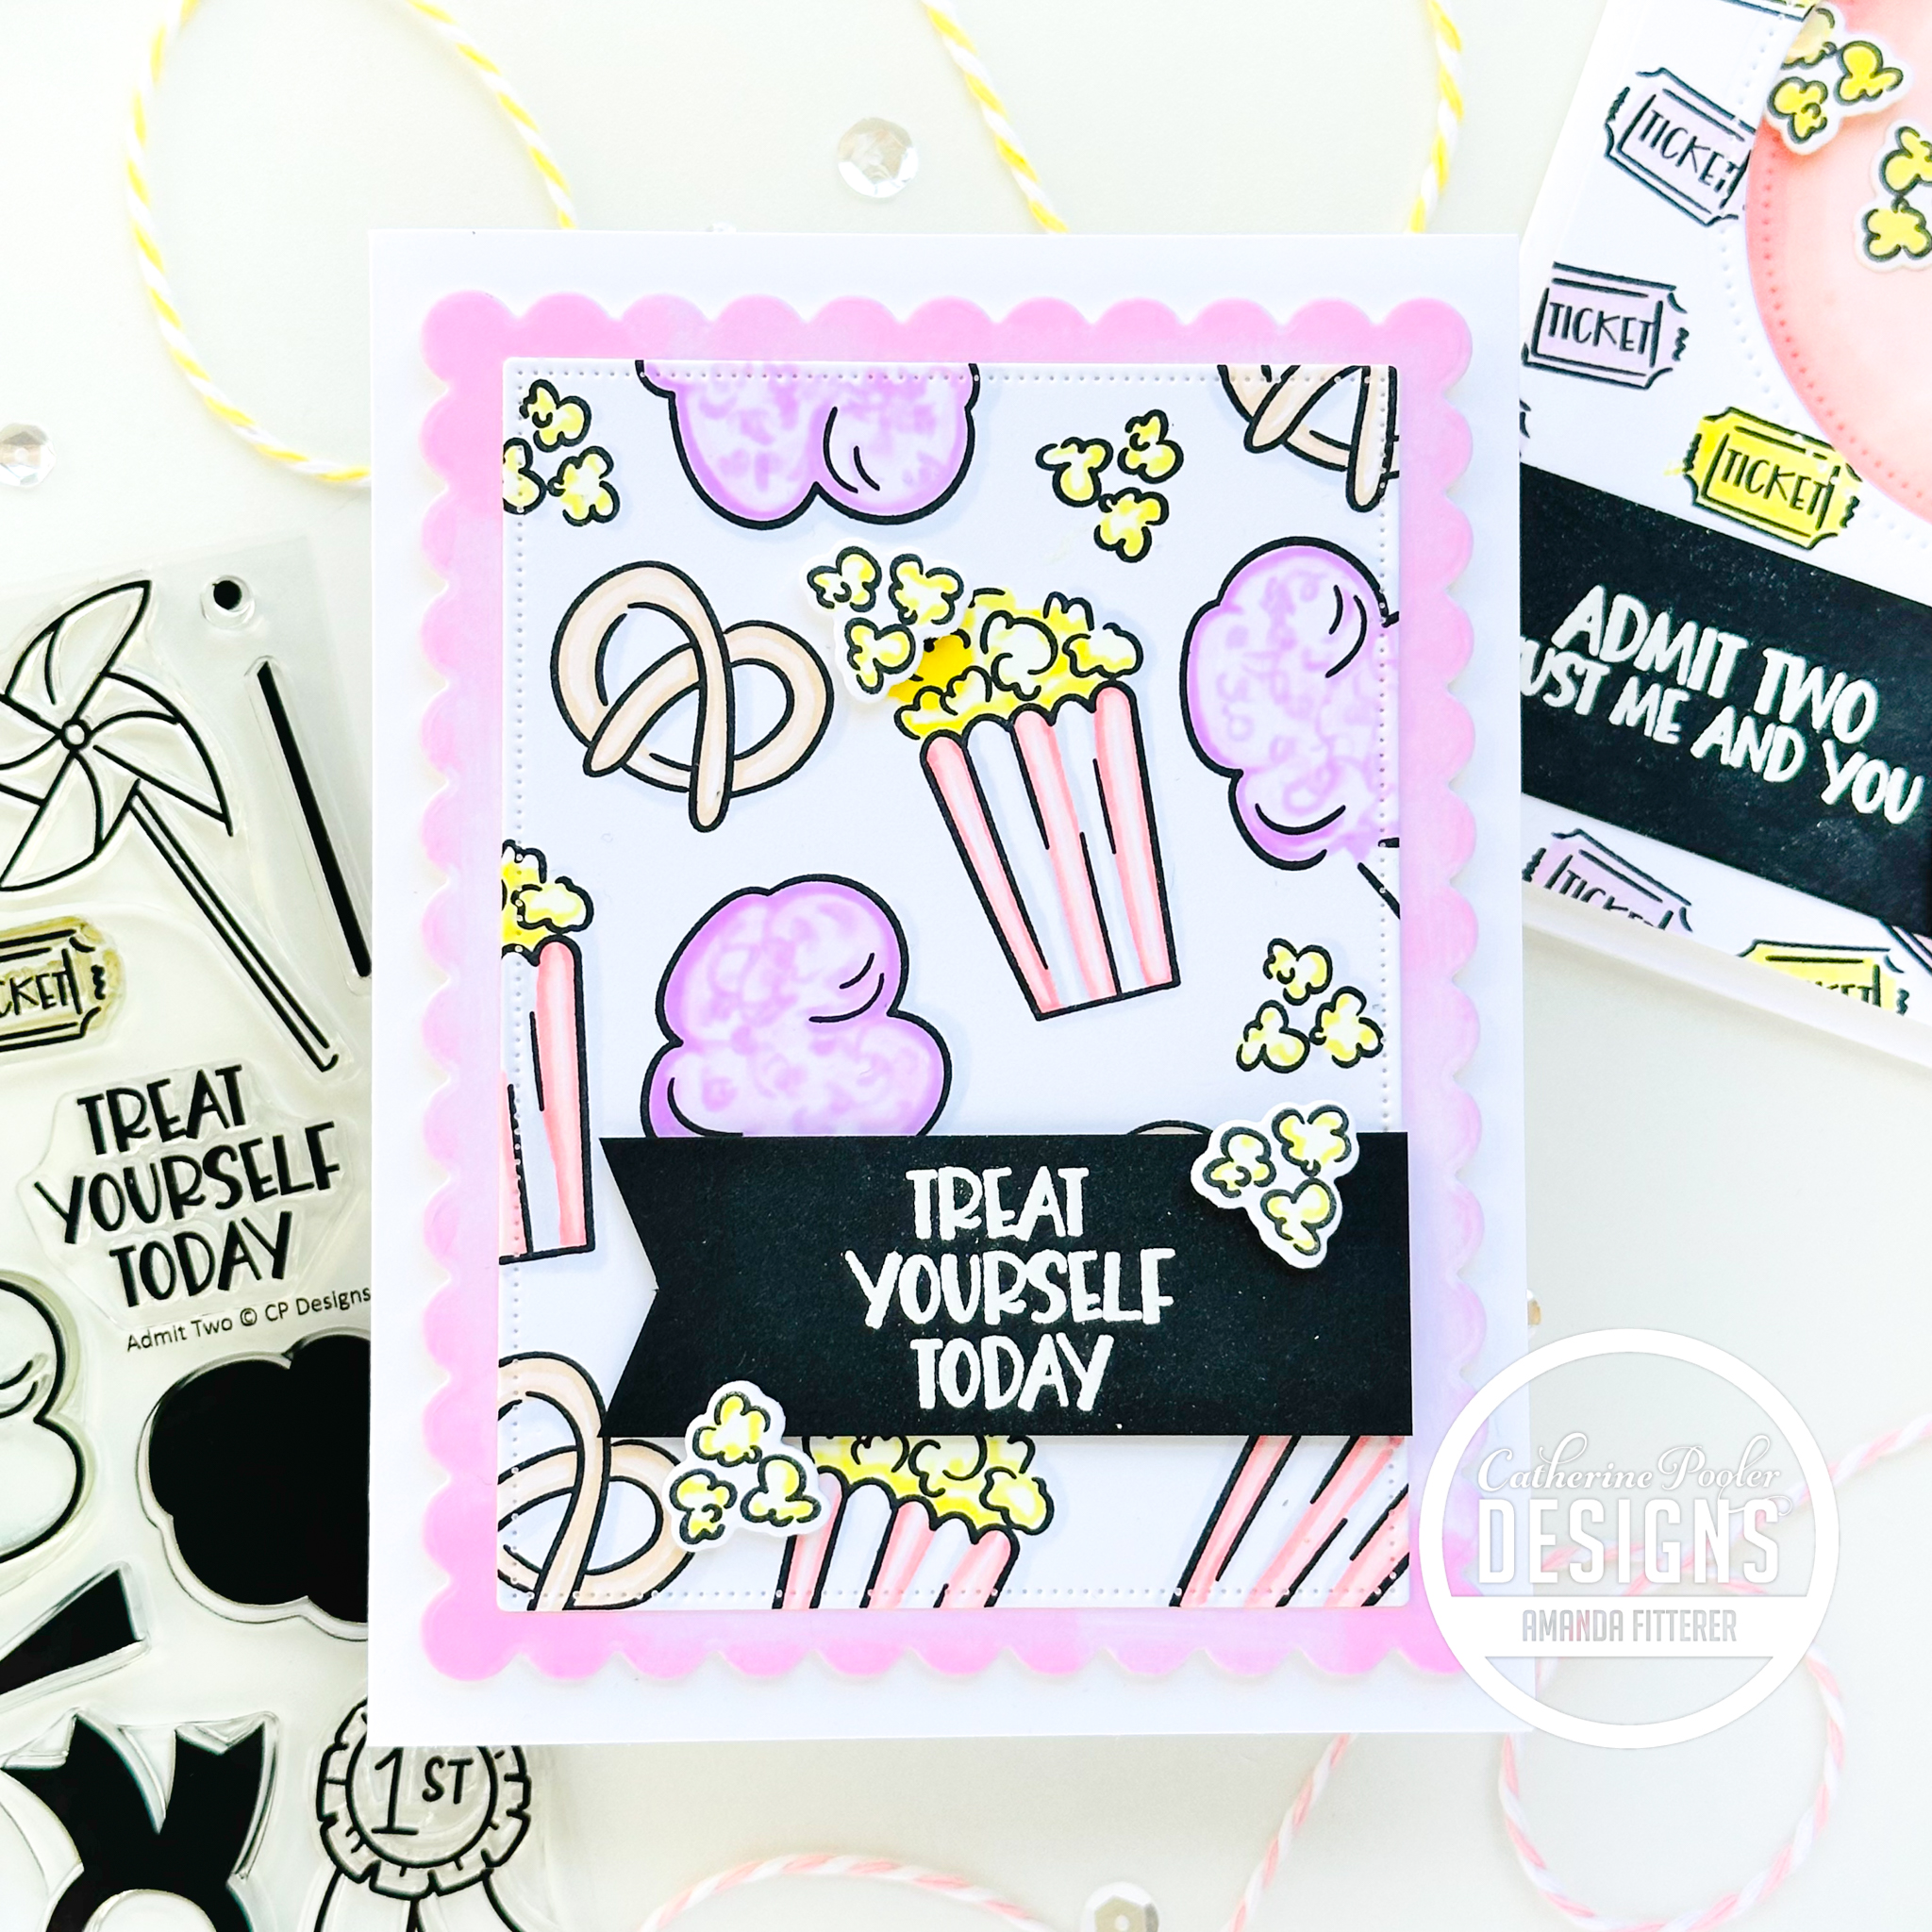
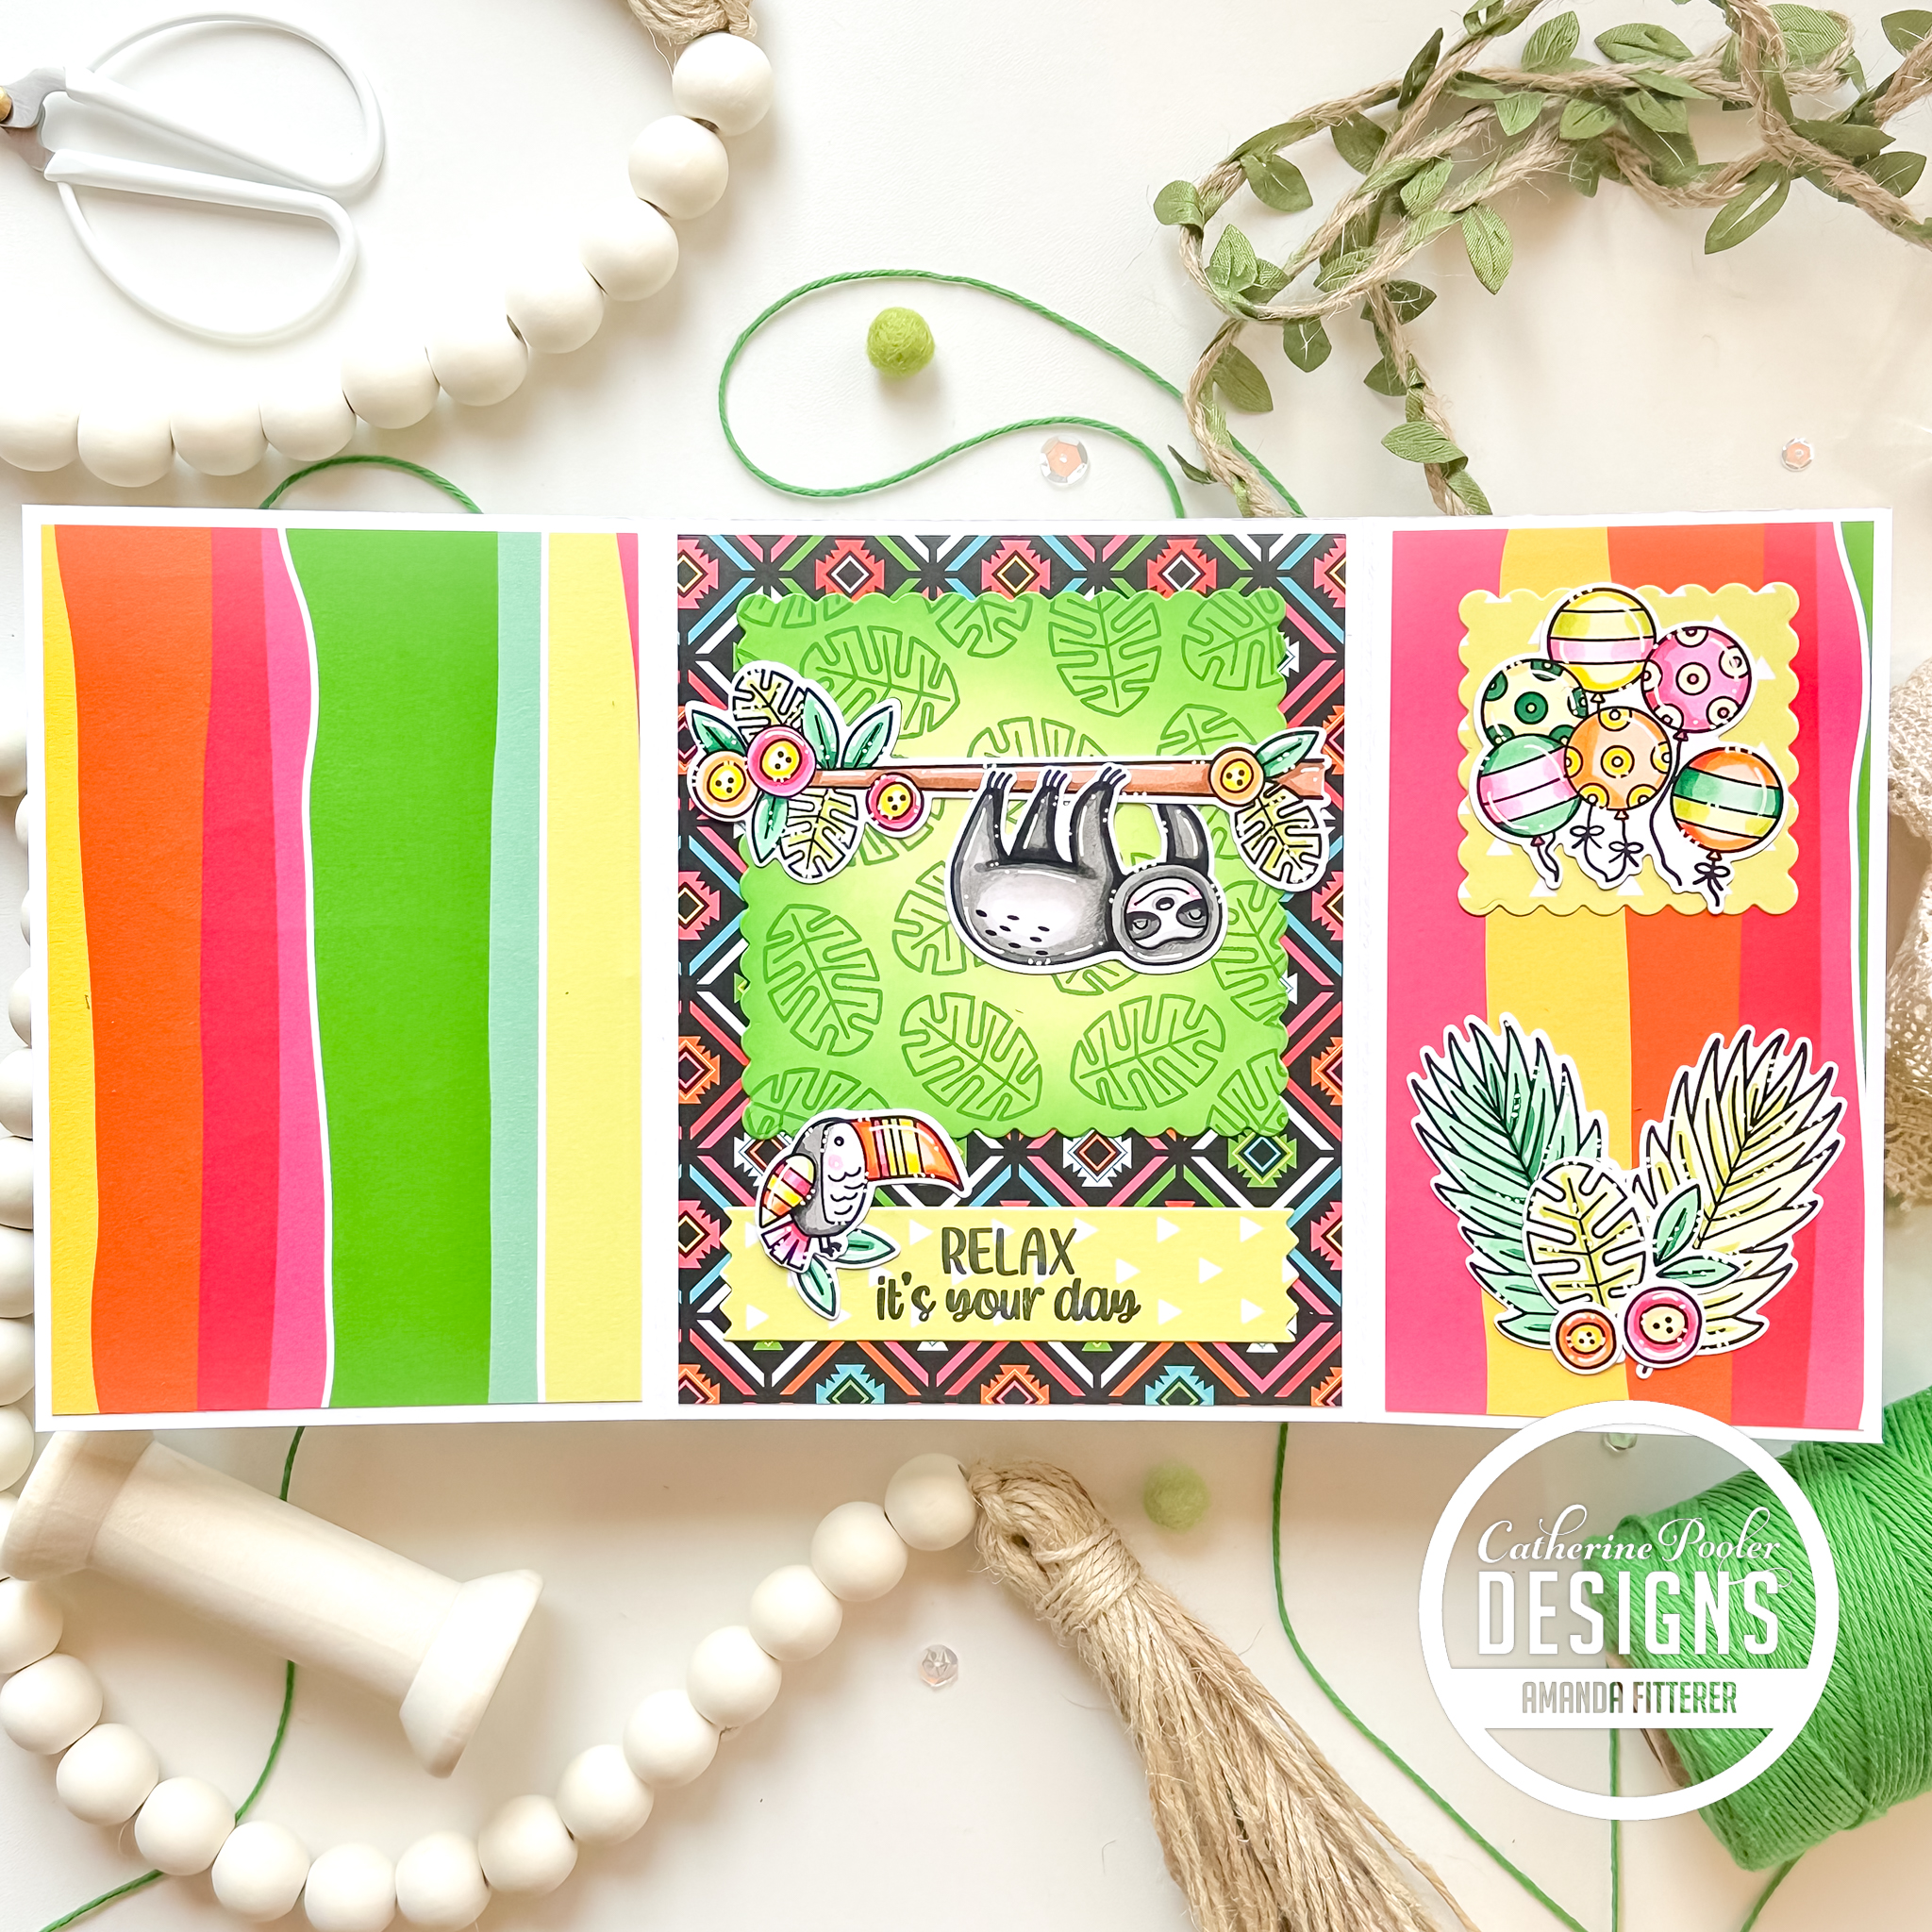
Do you have a cowboy or cowgirl in your life?! (Or maybe just a wannabe?) This collection is just bursting with the most adorable cowboy/girl accents!
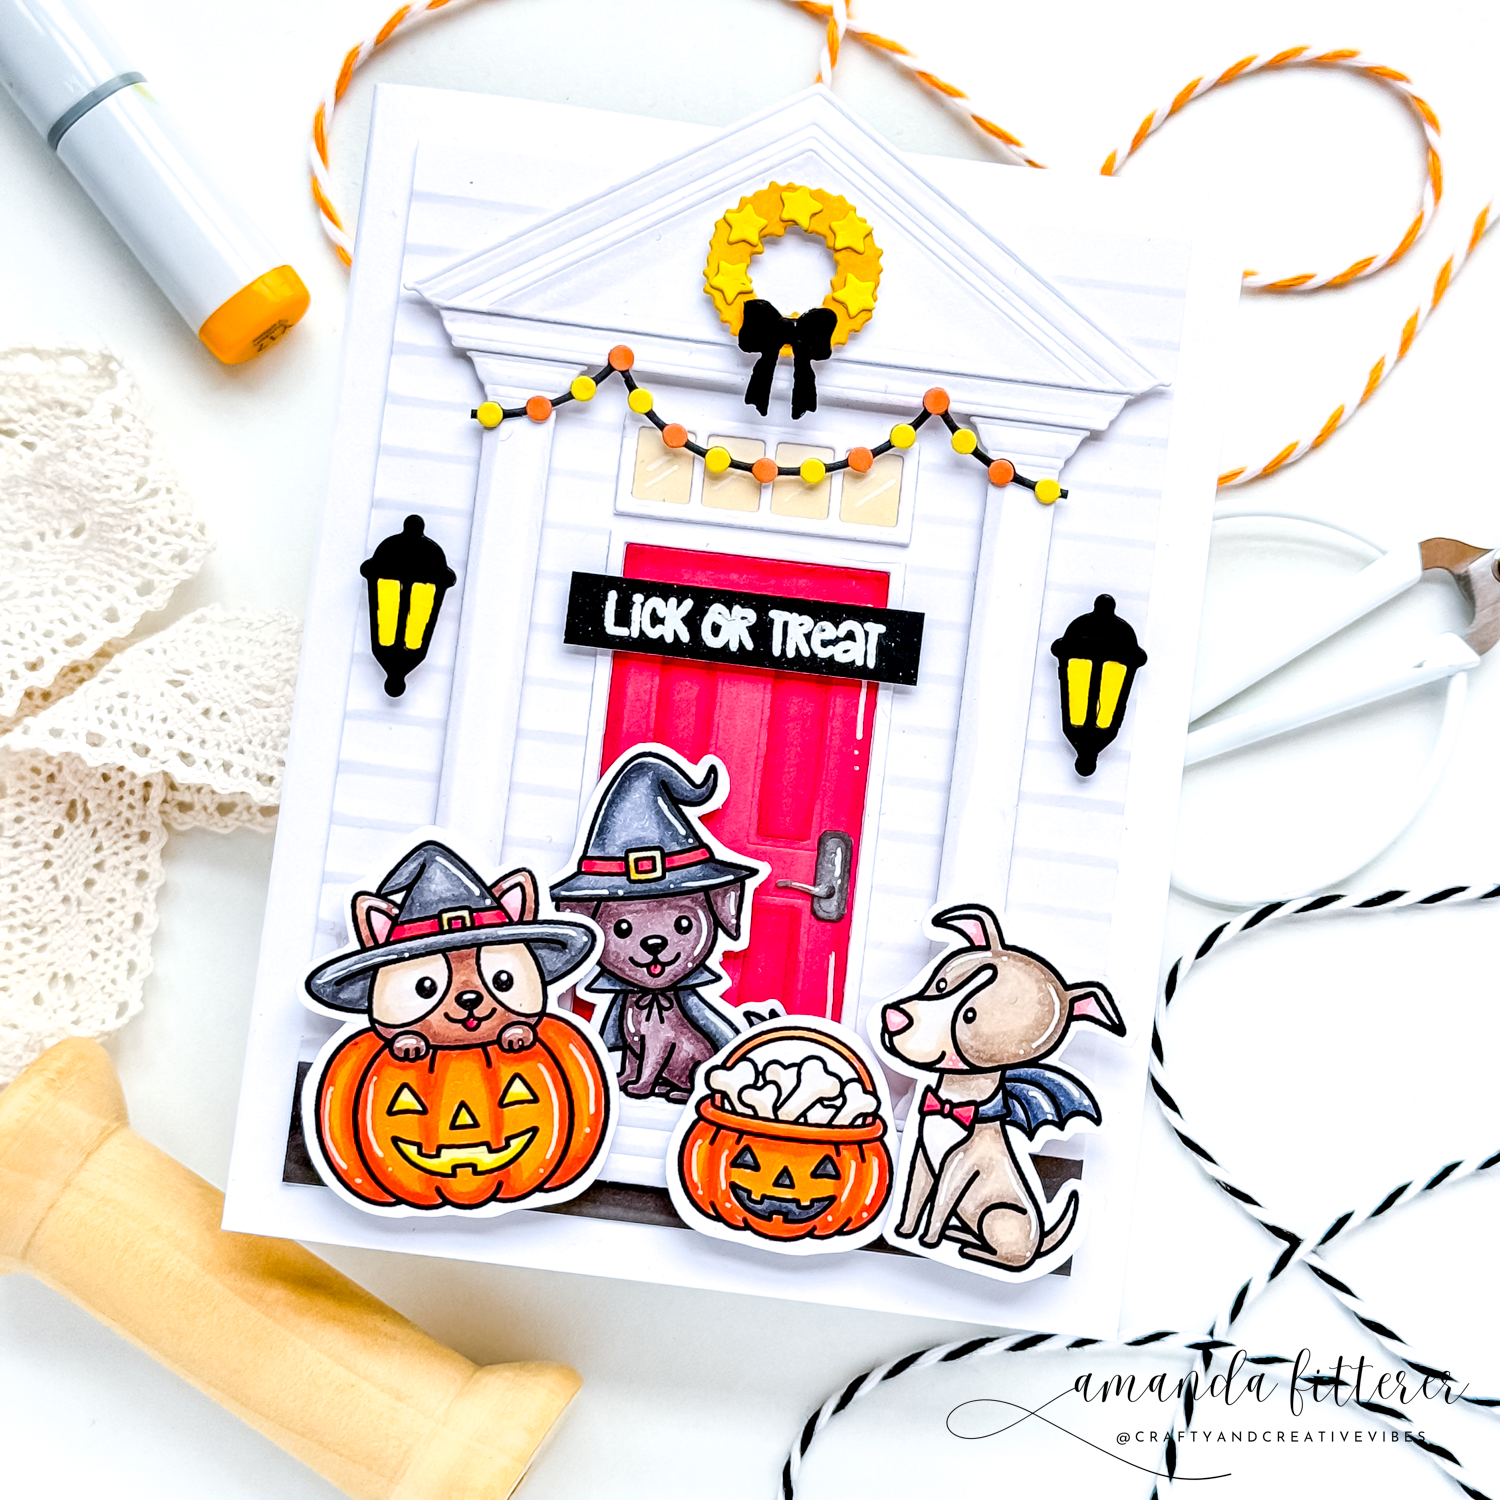
My stamped boots are all from the These Boots Stamp Set. This set also comes with a cowboy hat and some flowers!
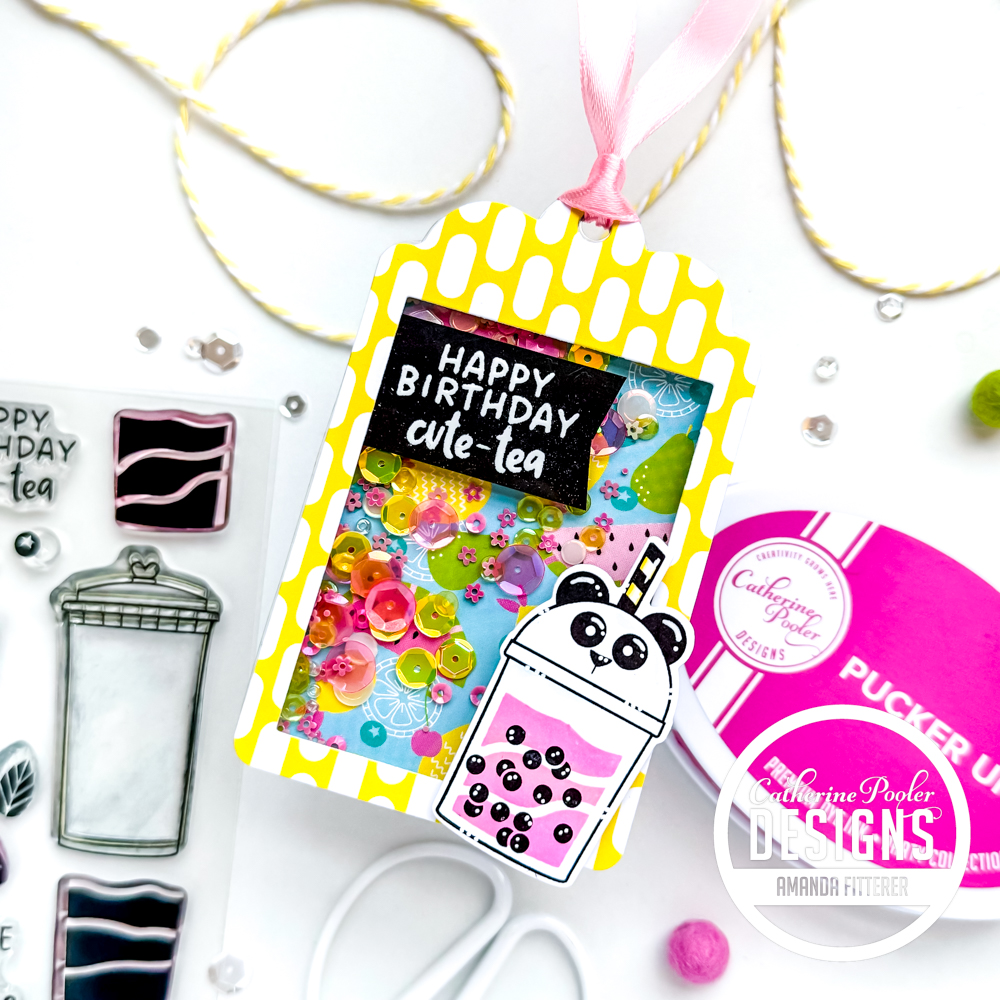
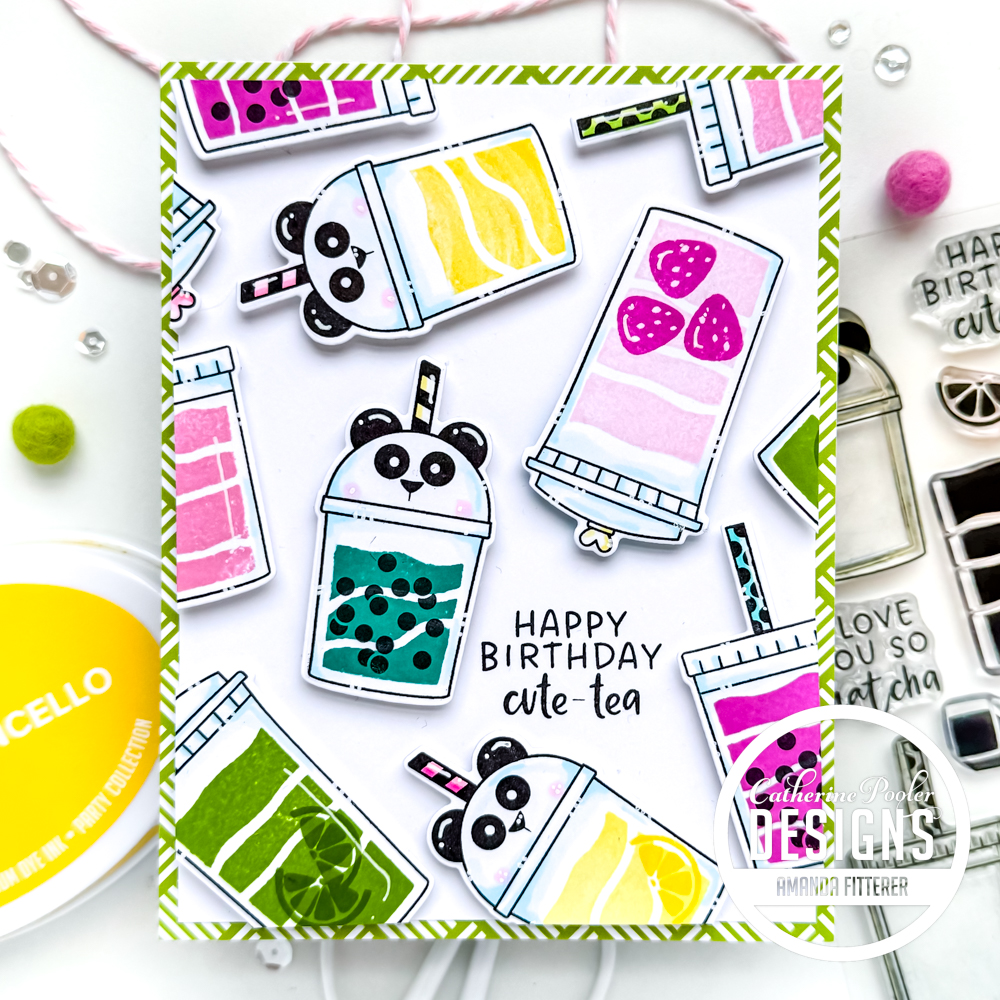
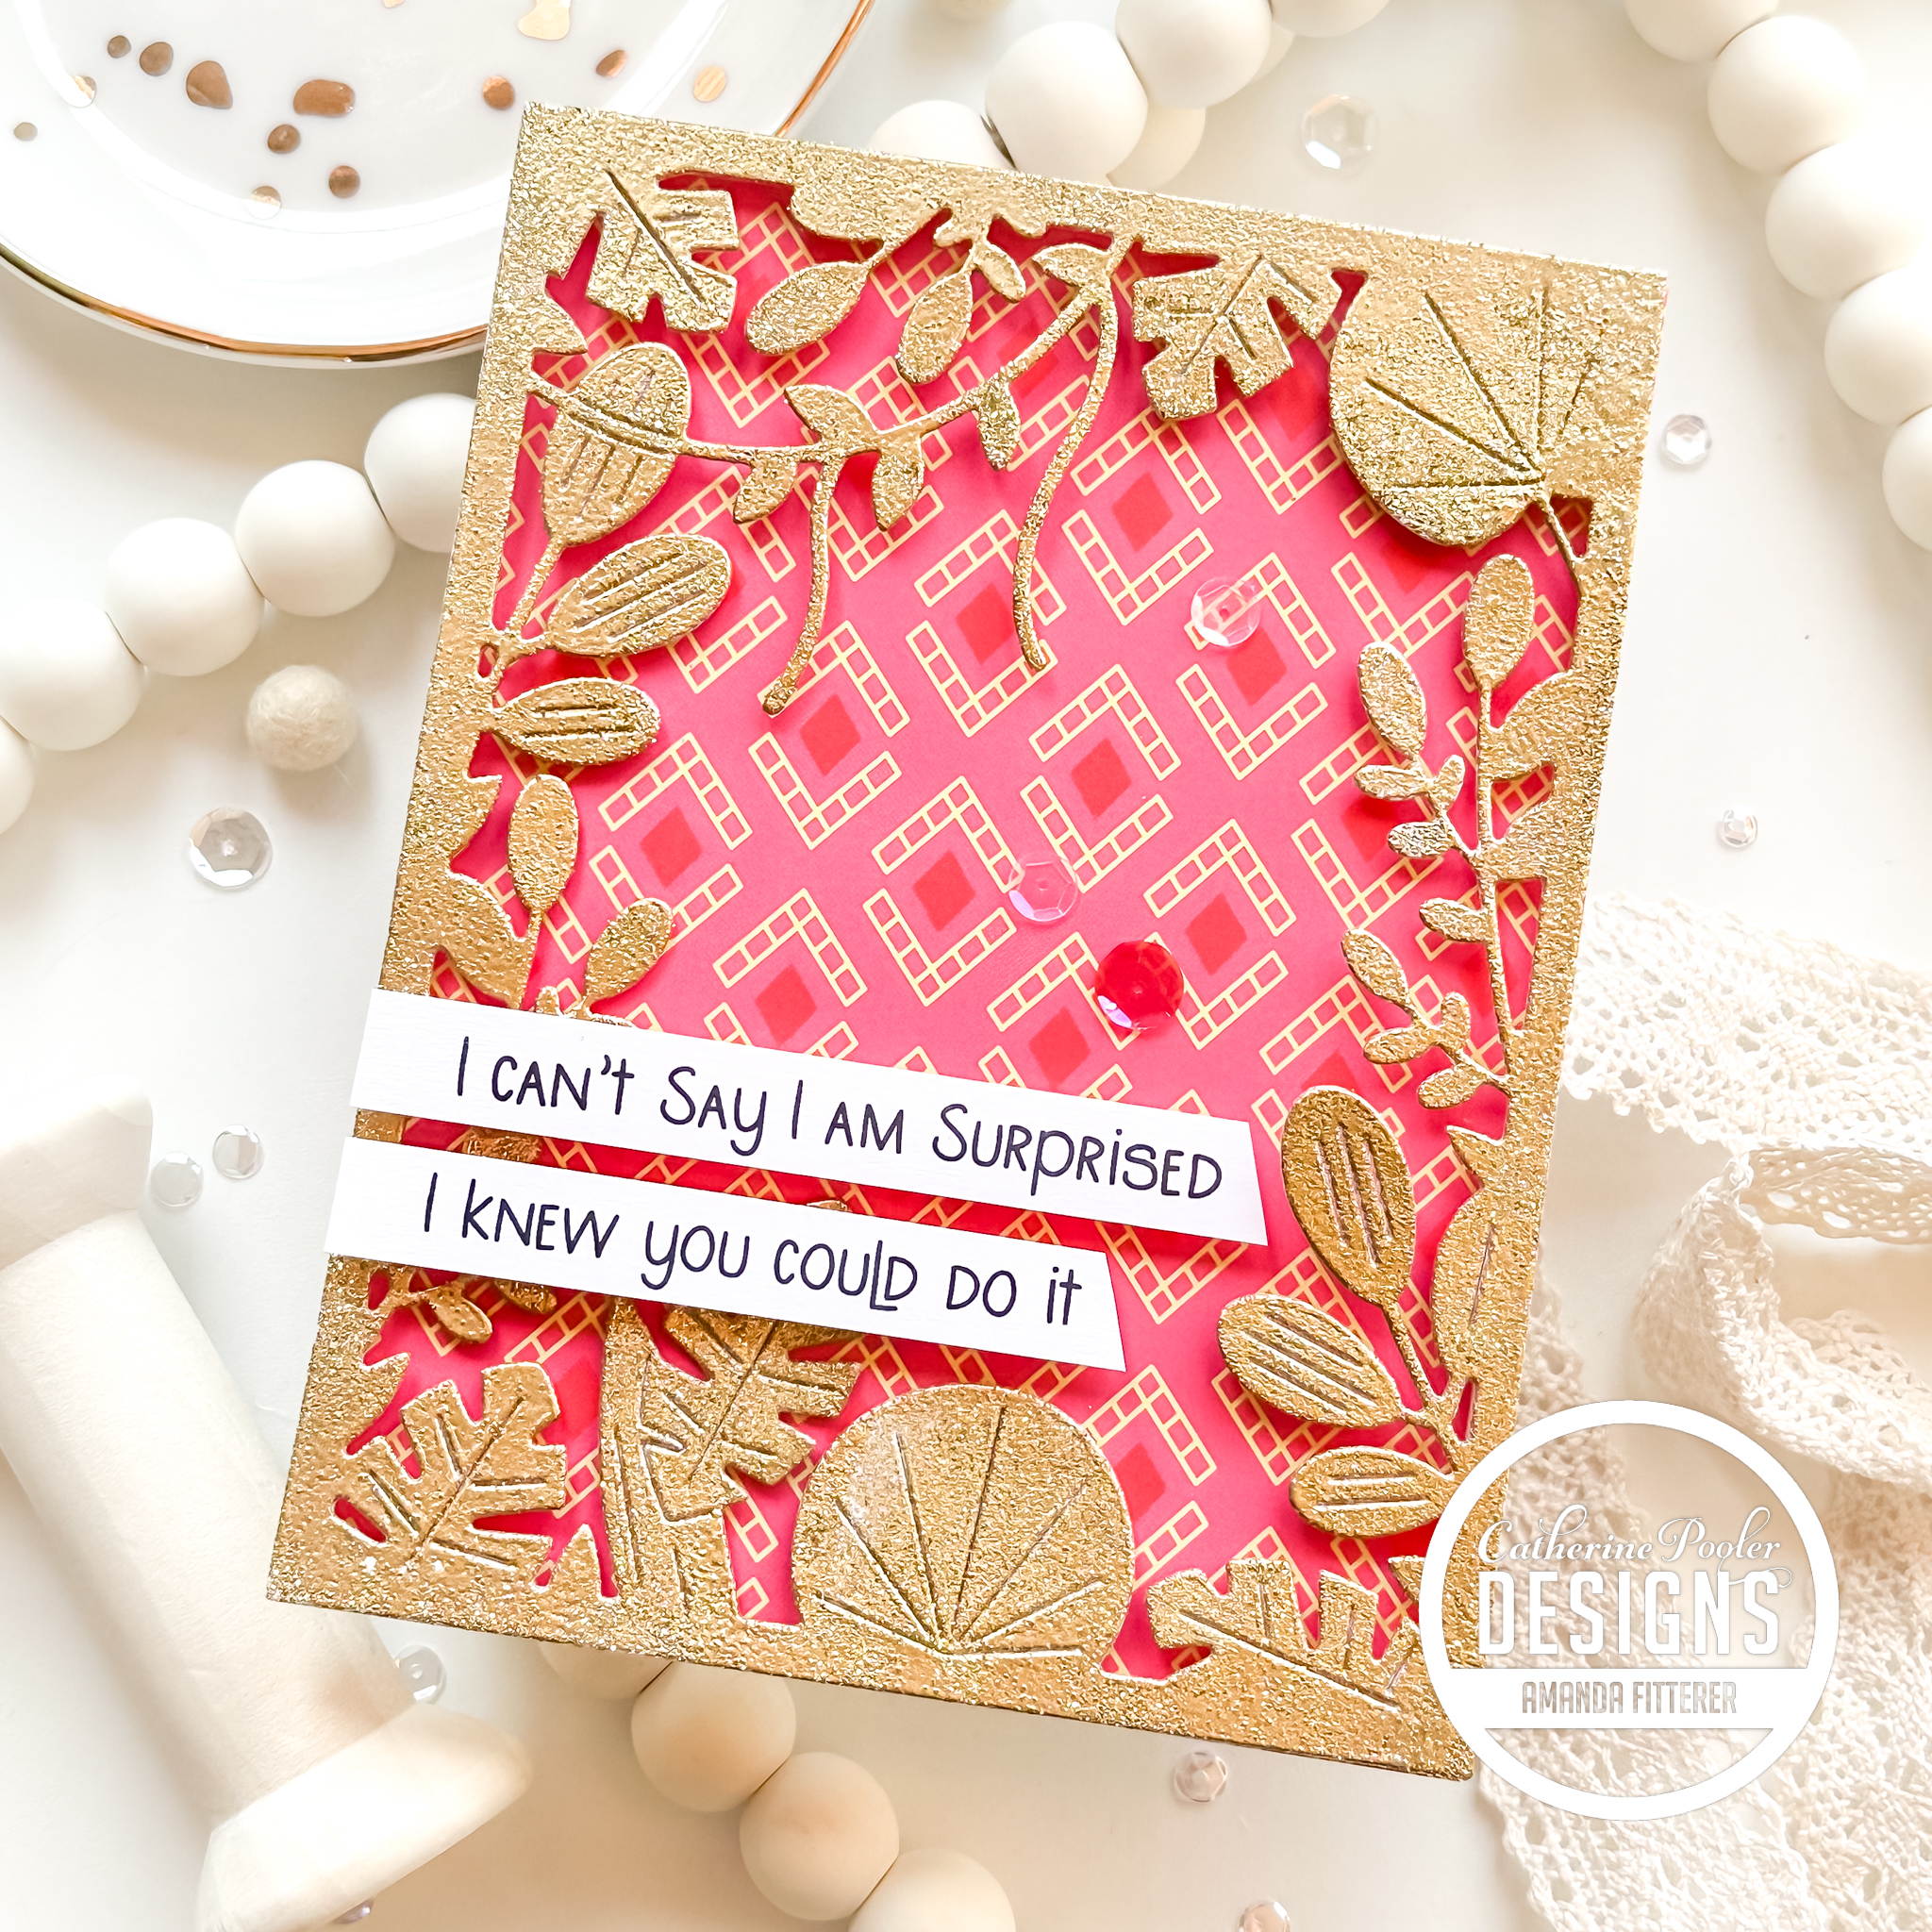
Plus, I LOVEEE the new Calico Charm Patterned Paper! (Keep scrolling for more ideas with this paper!)


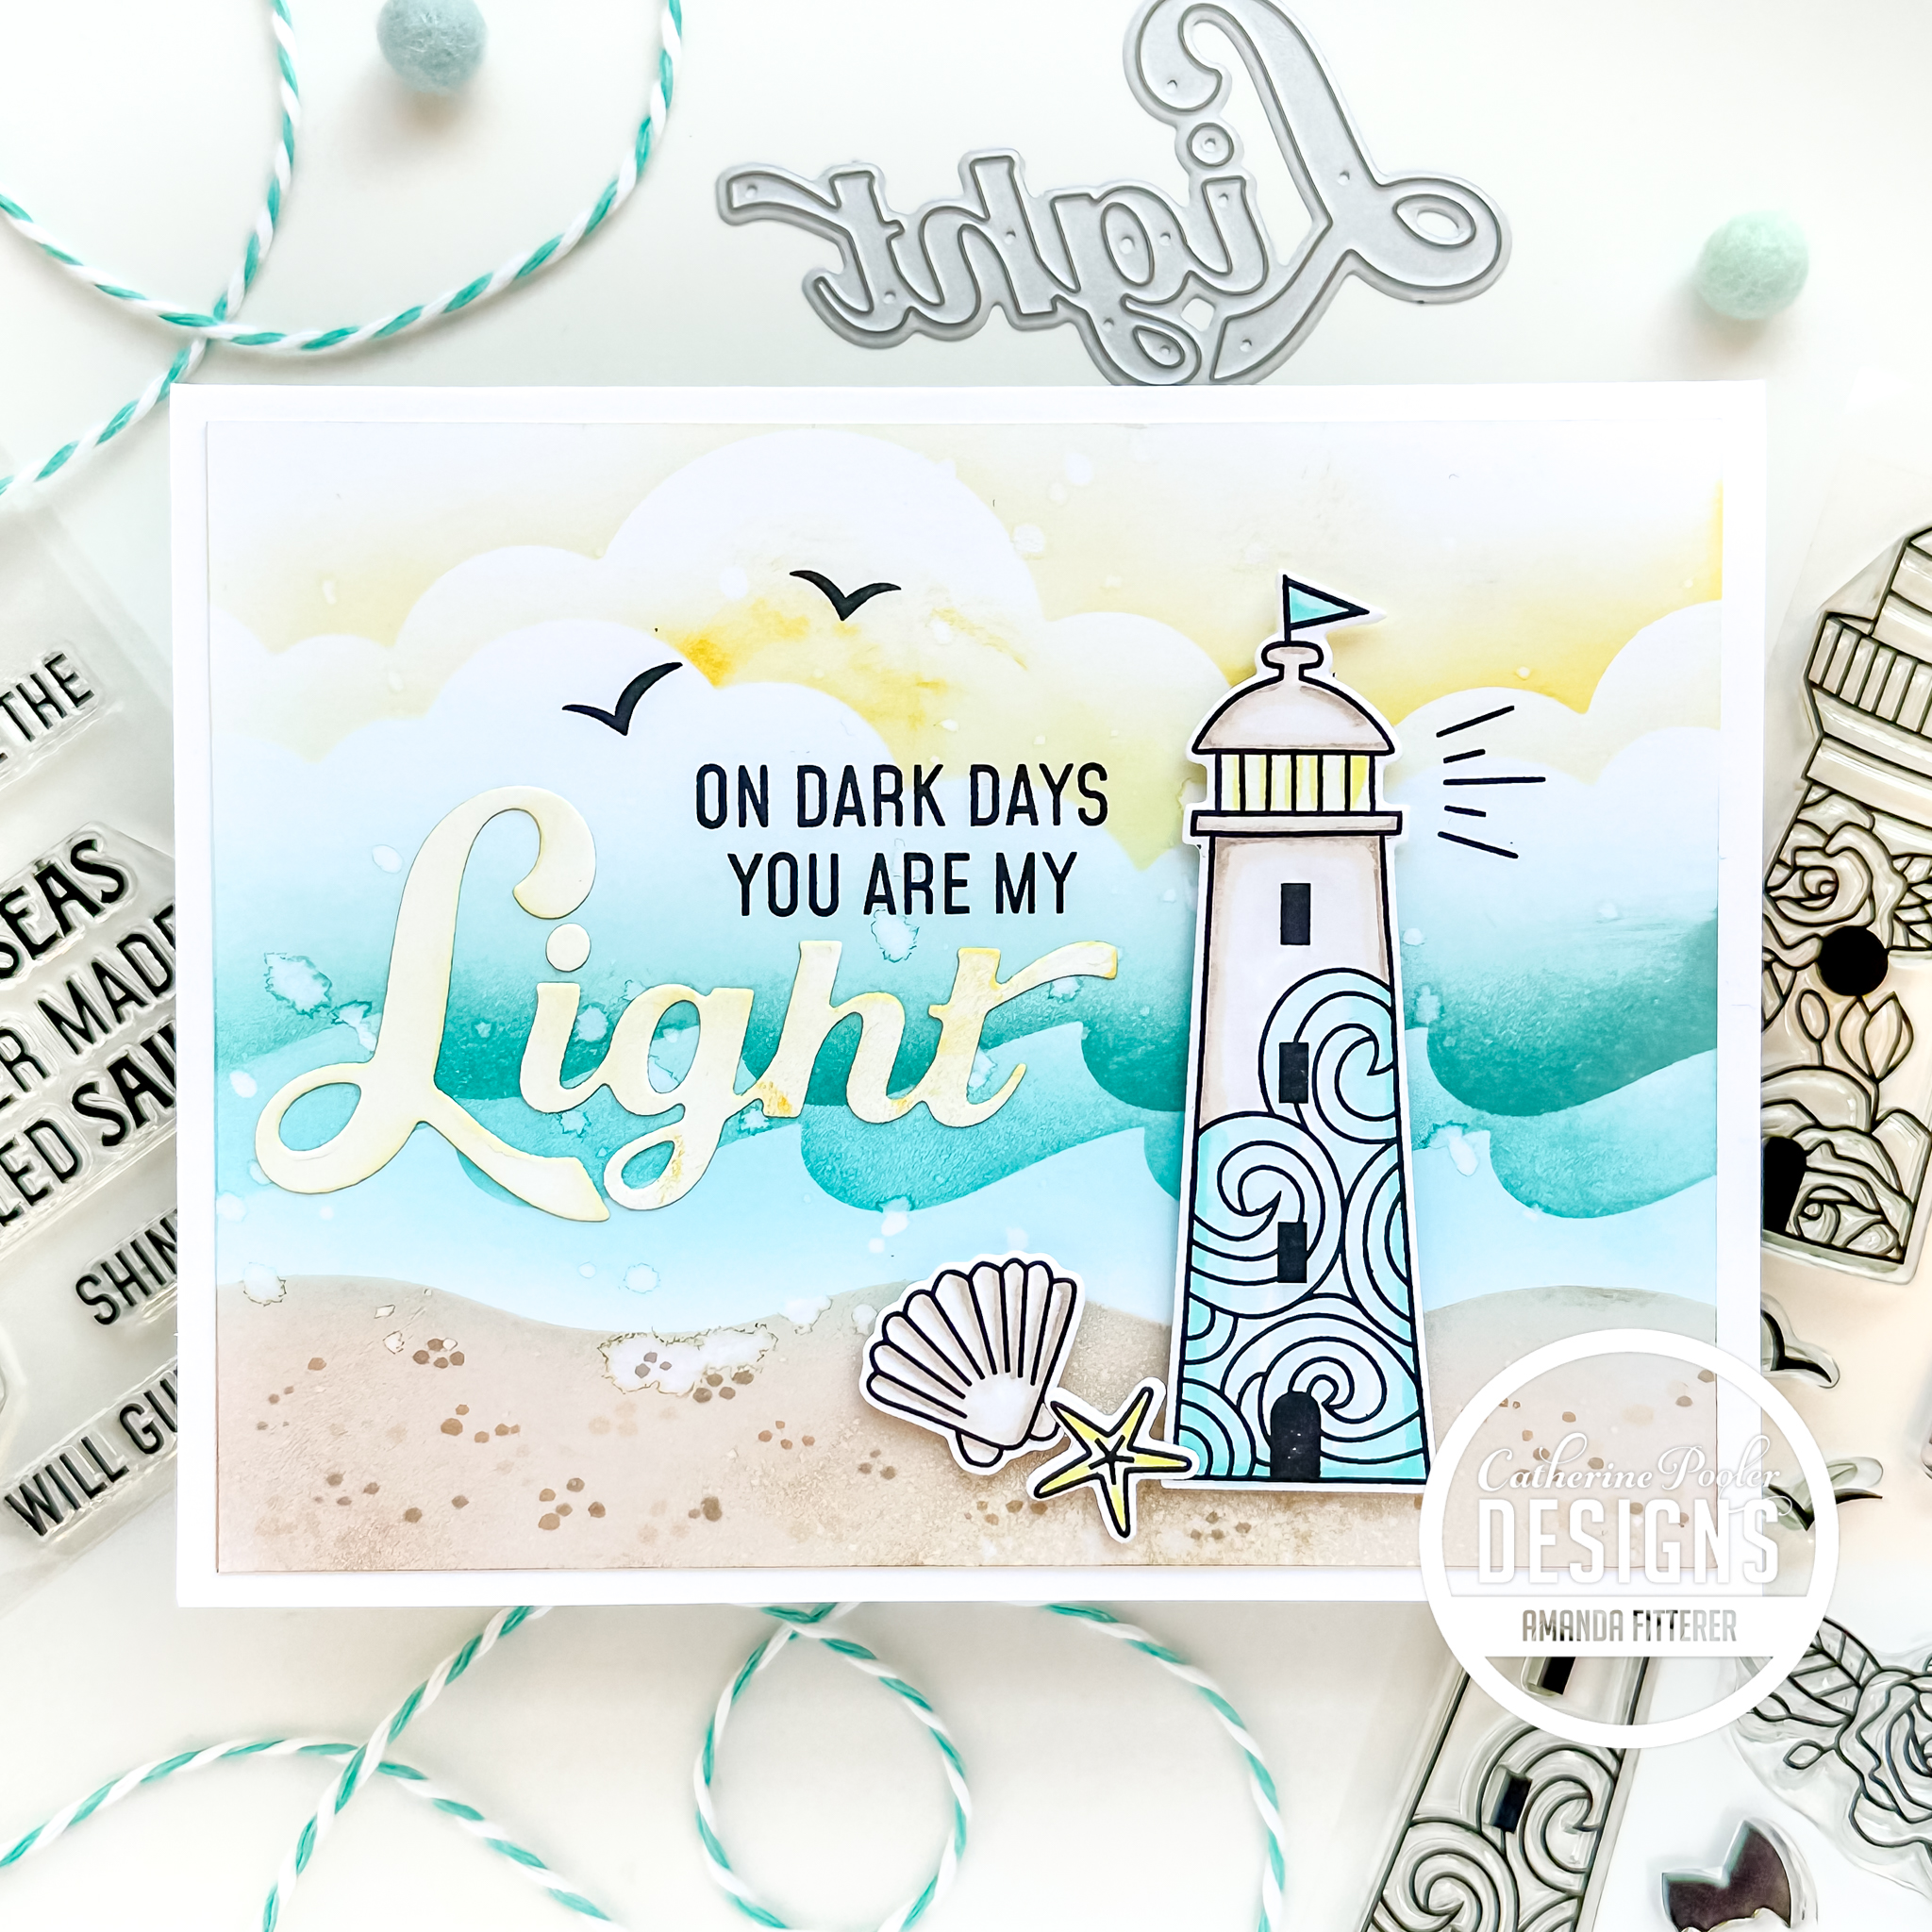
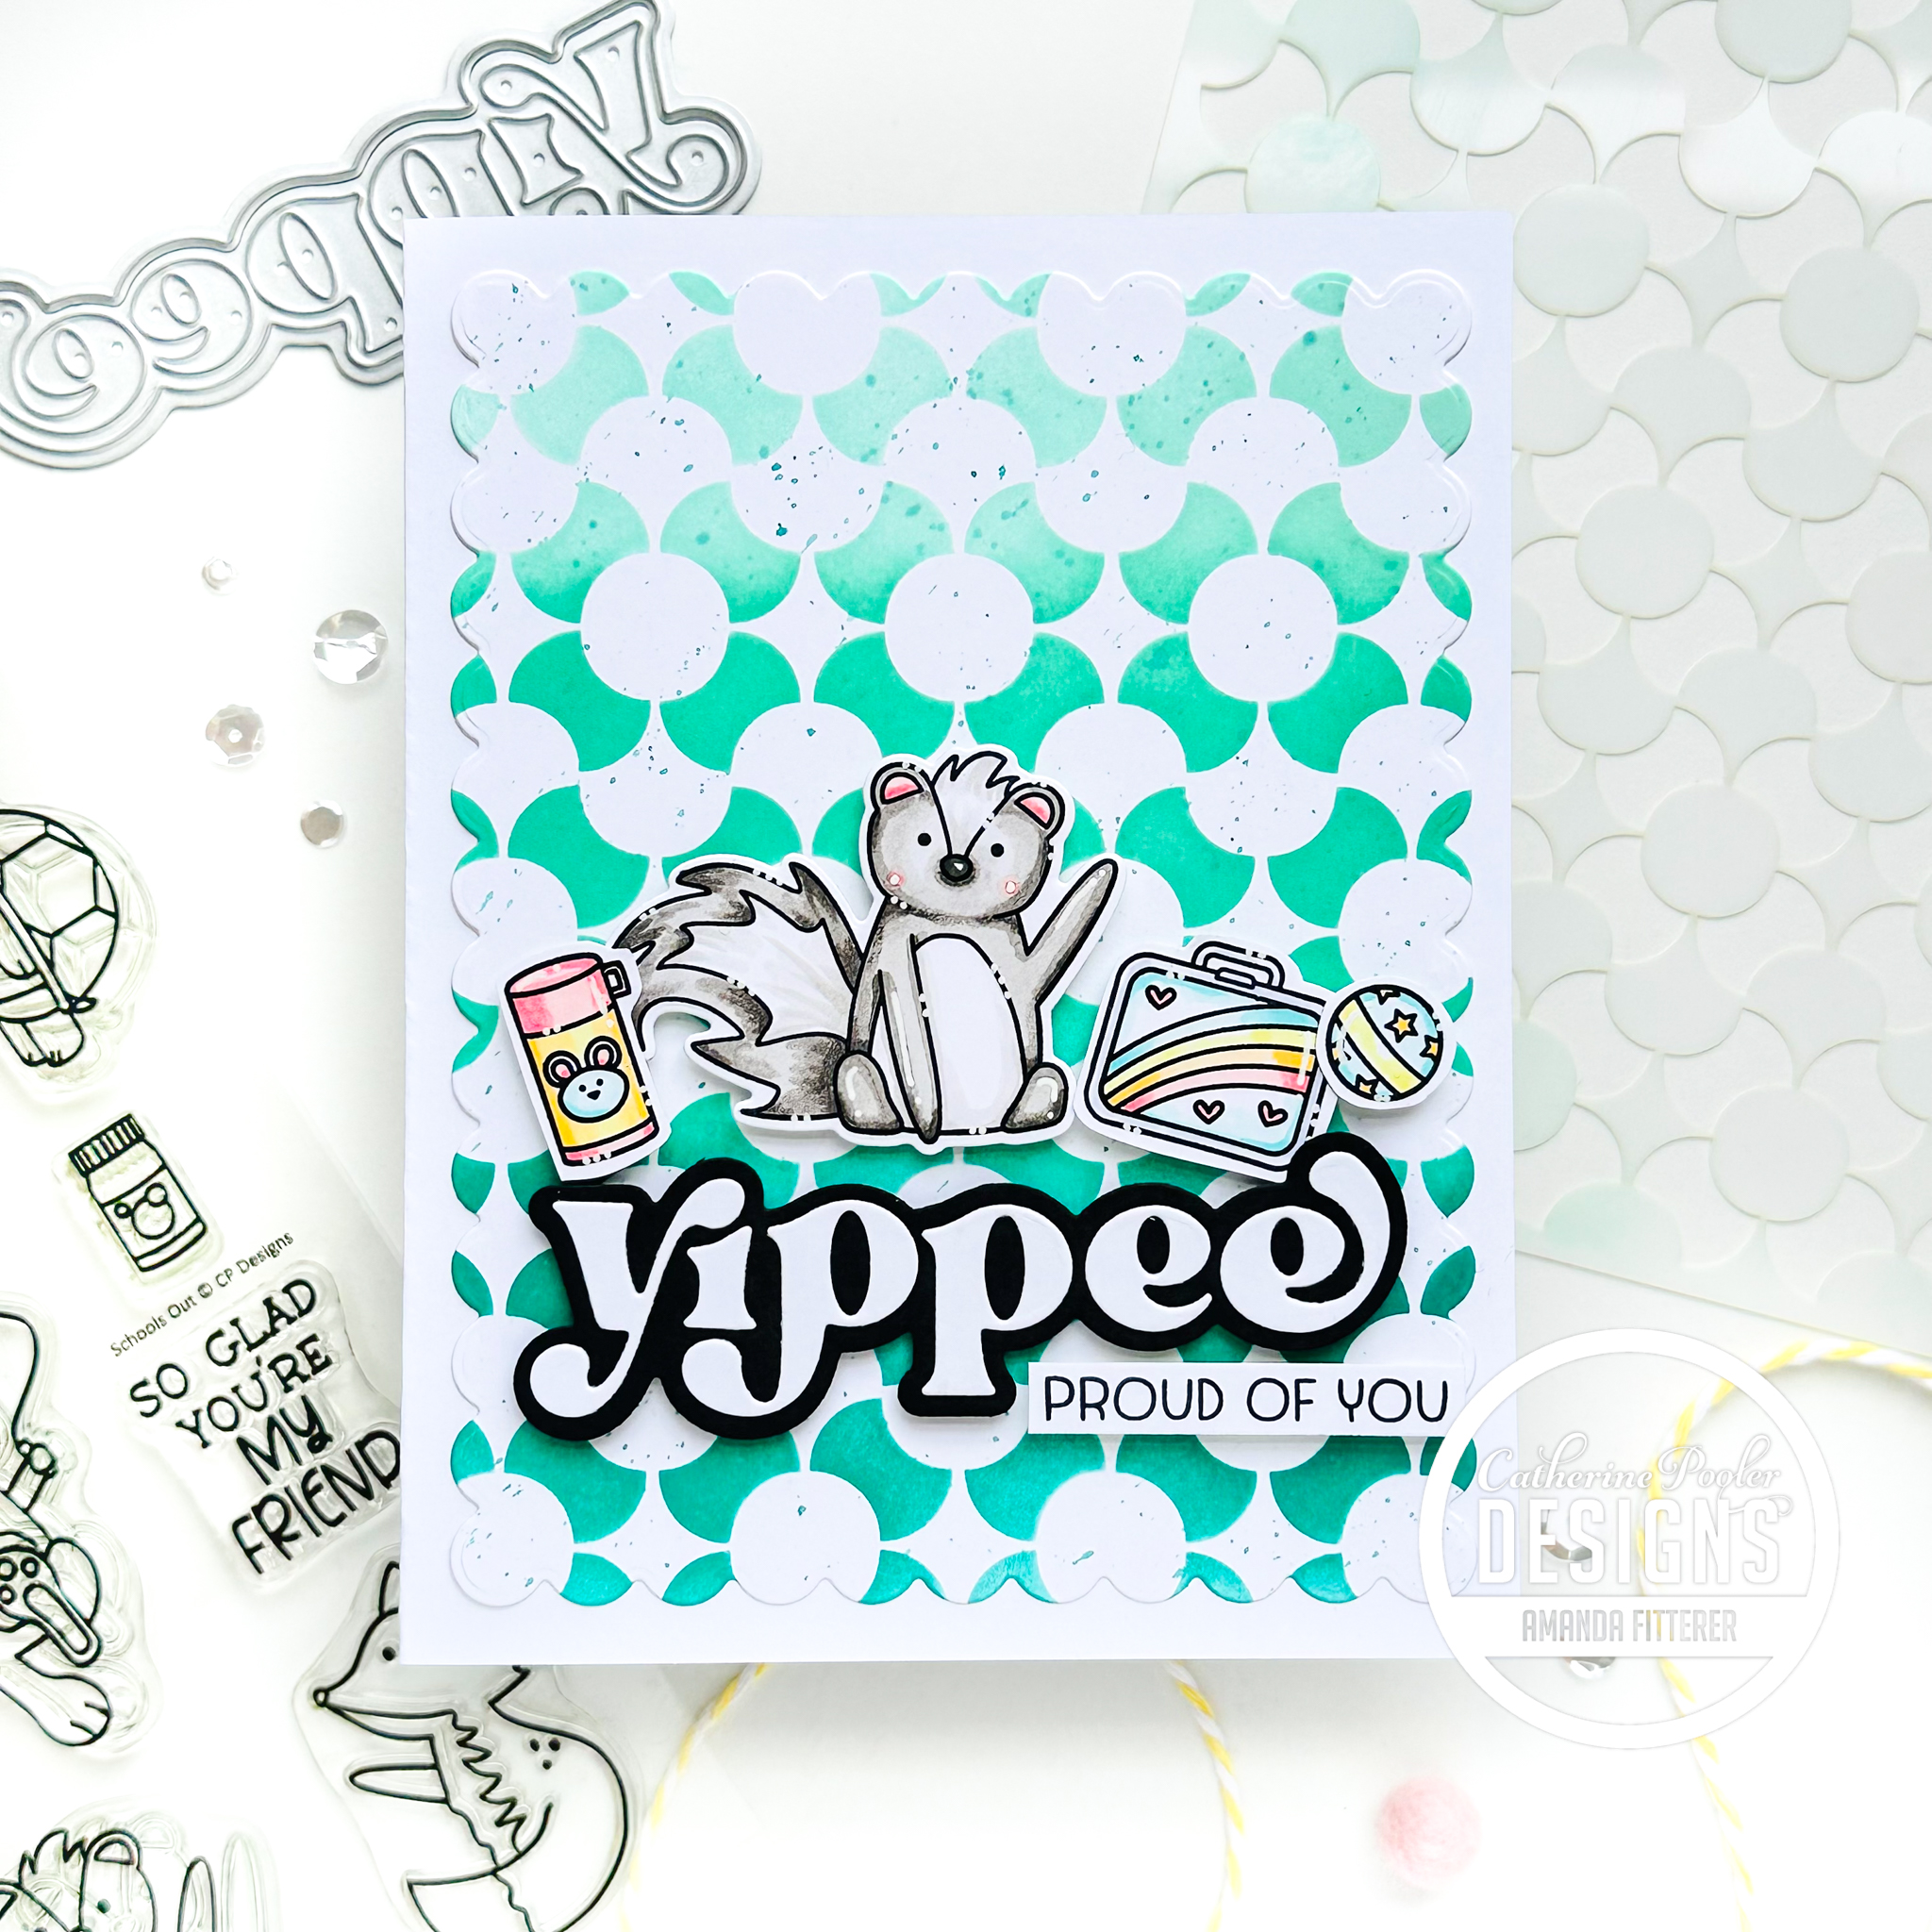
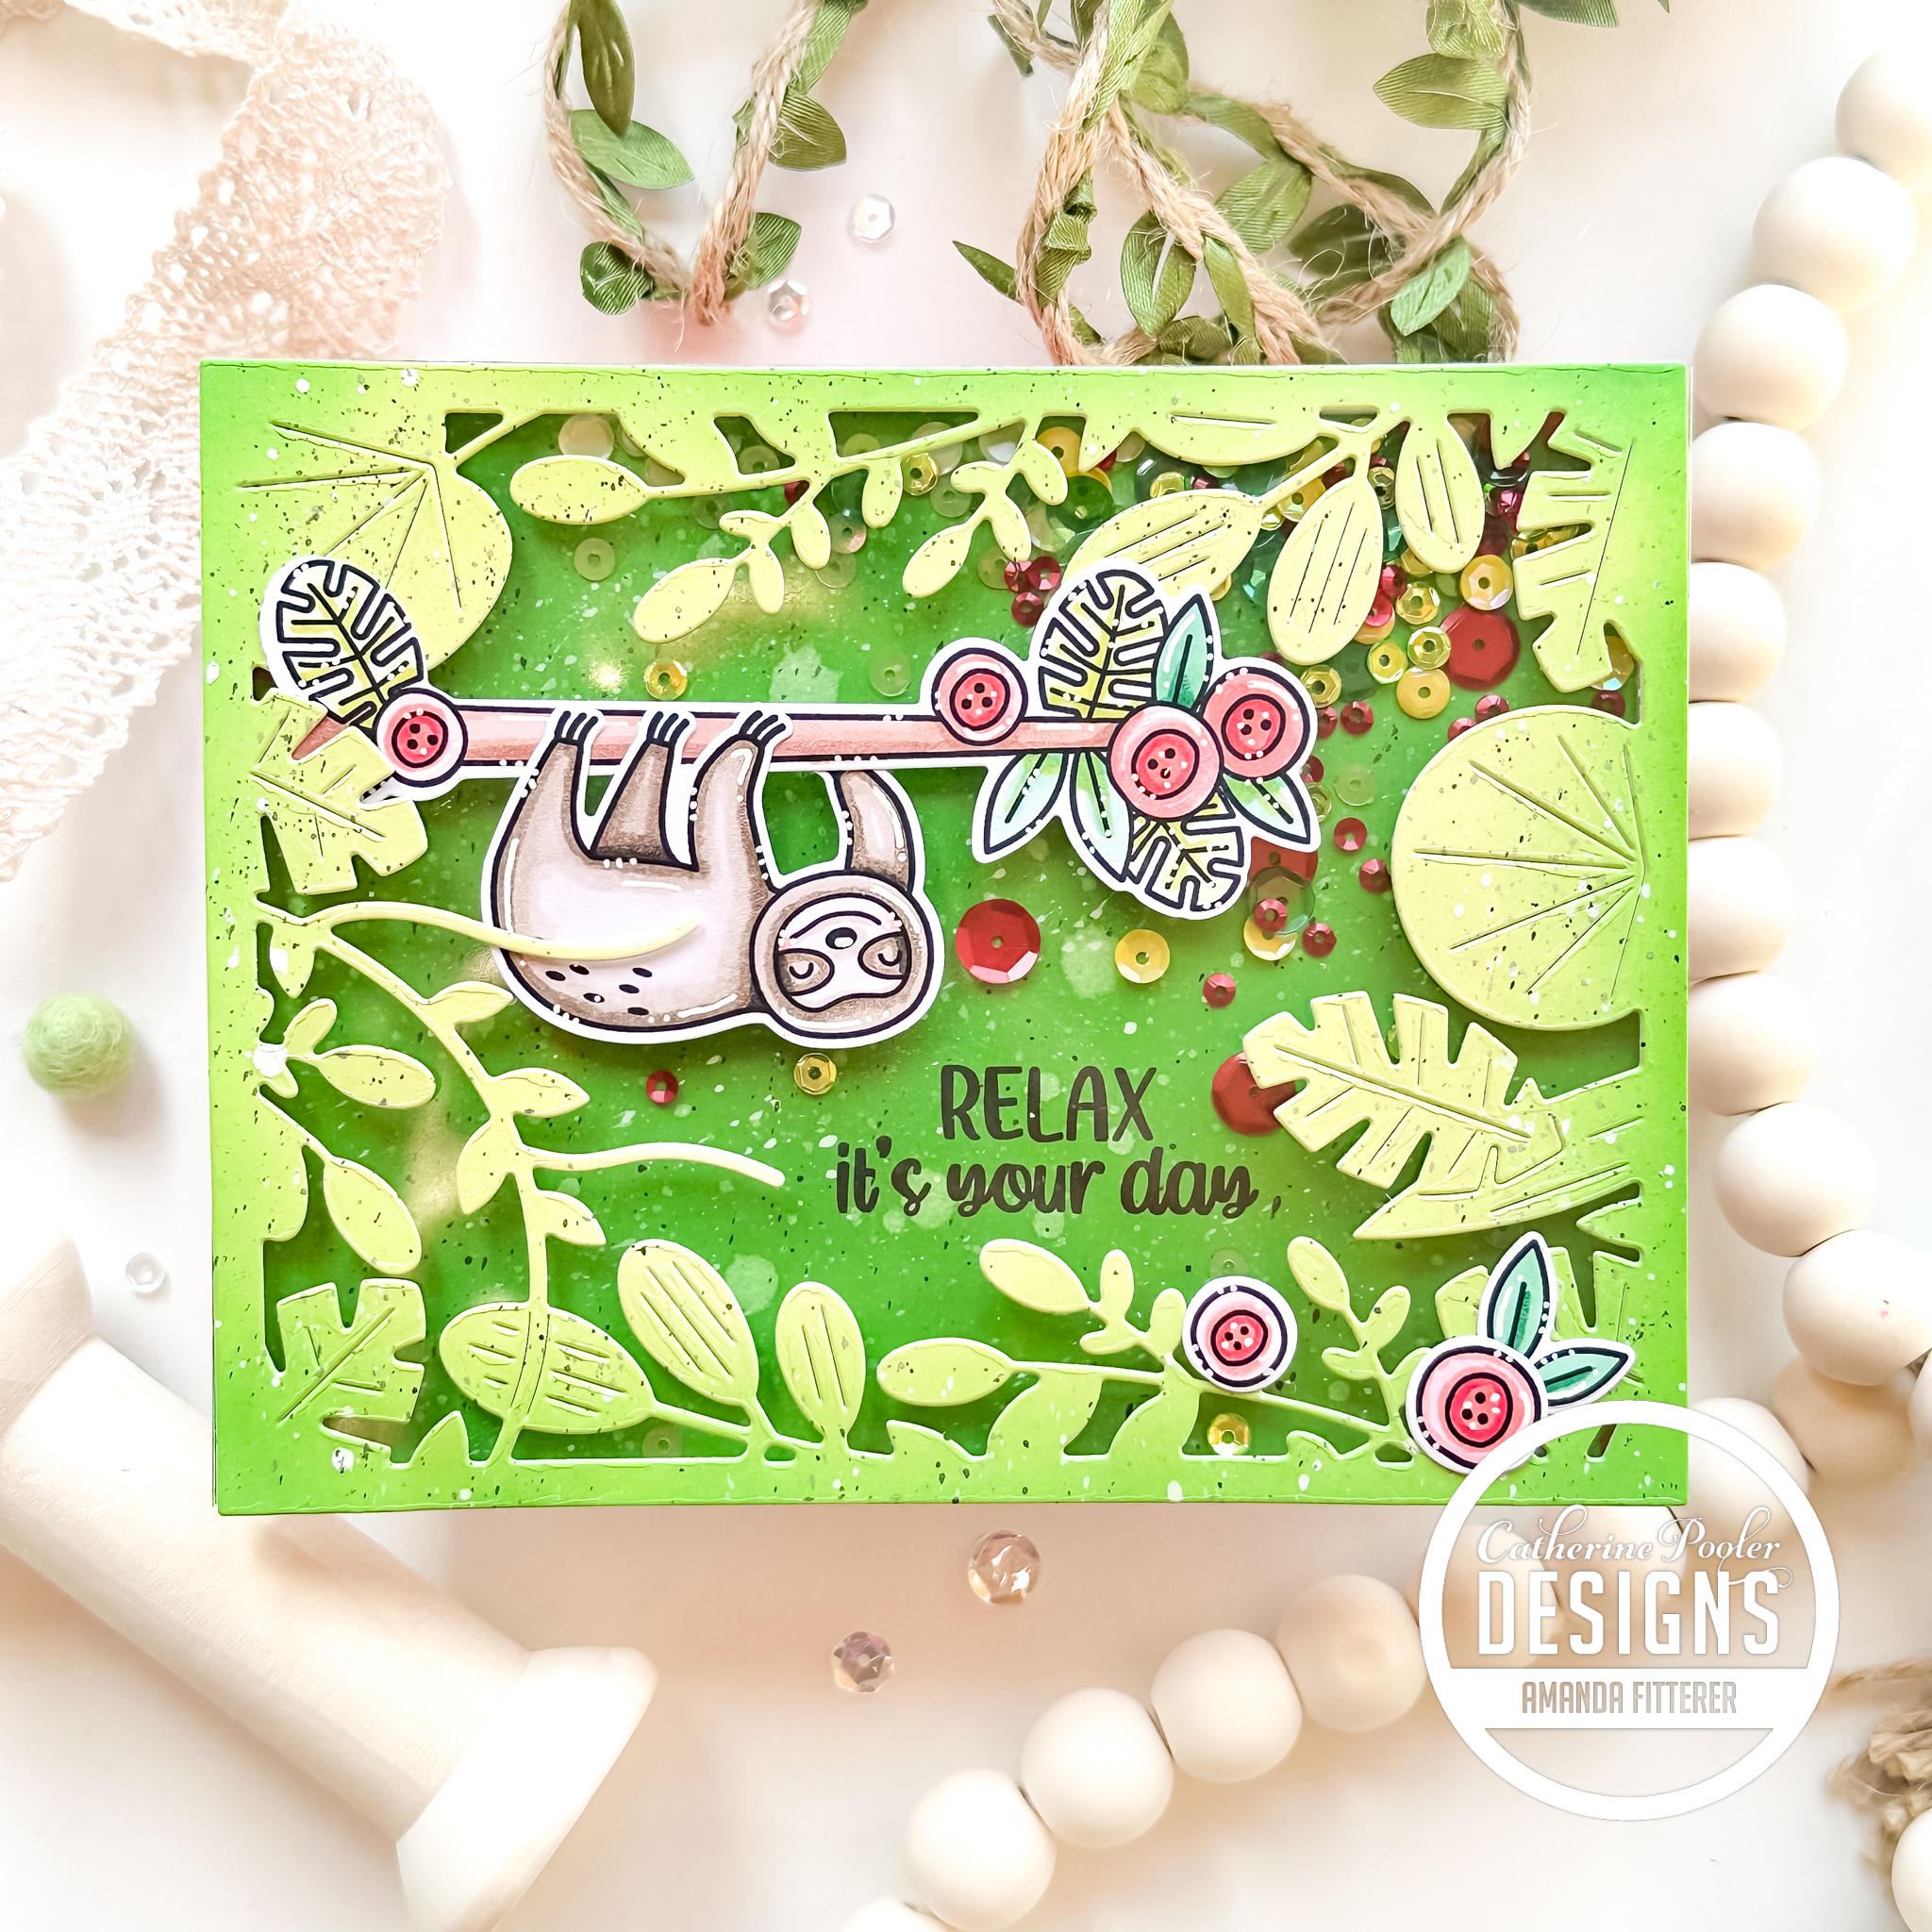
There’s also a On the Fringe Die that is perfect for adding accents to your cards! And that Yeehaw Word Die has the most amazing font!


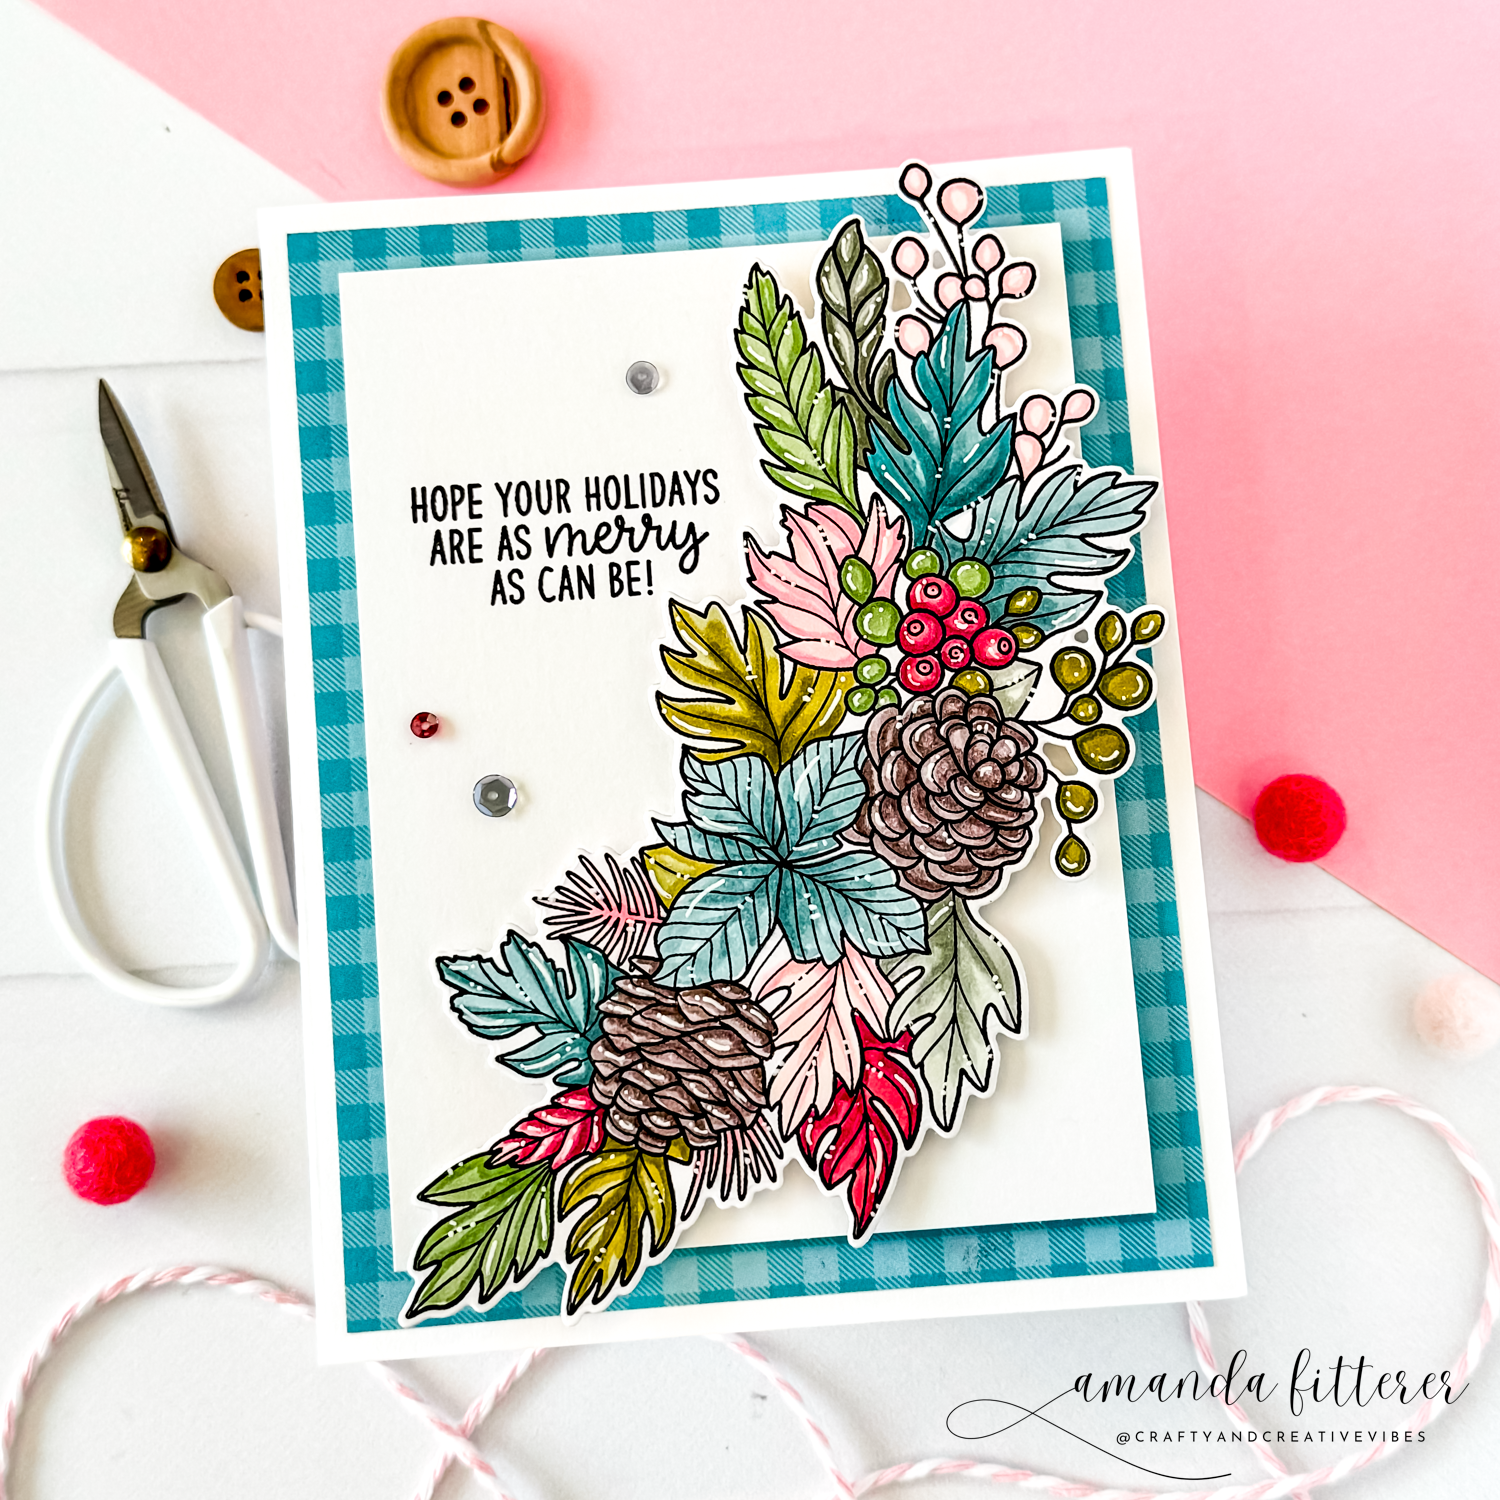
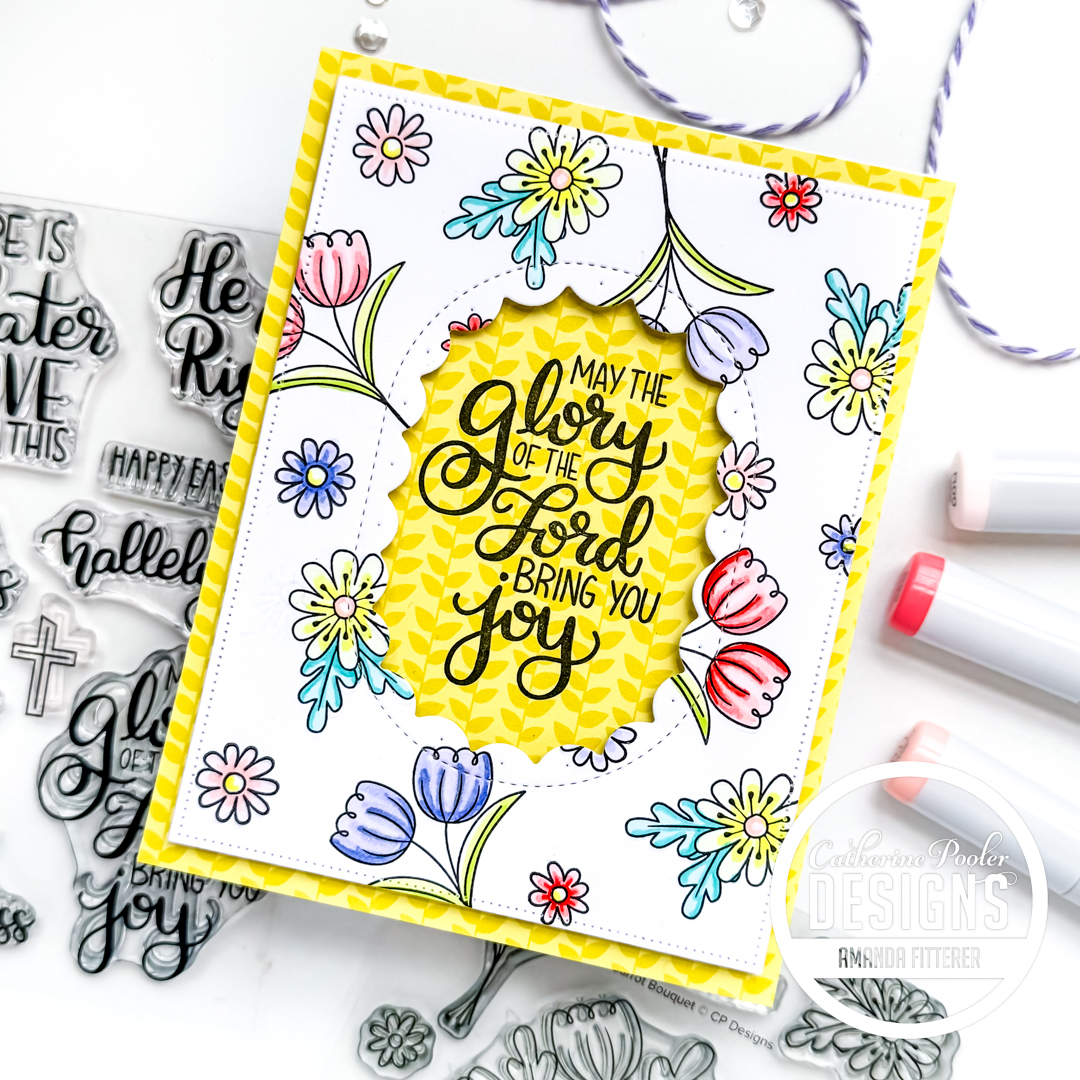
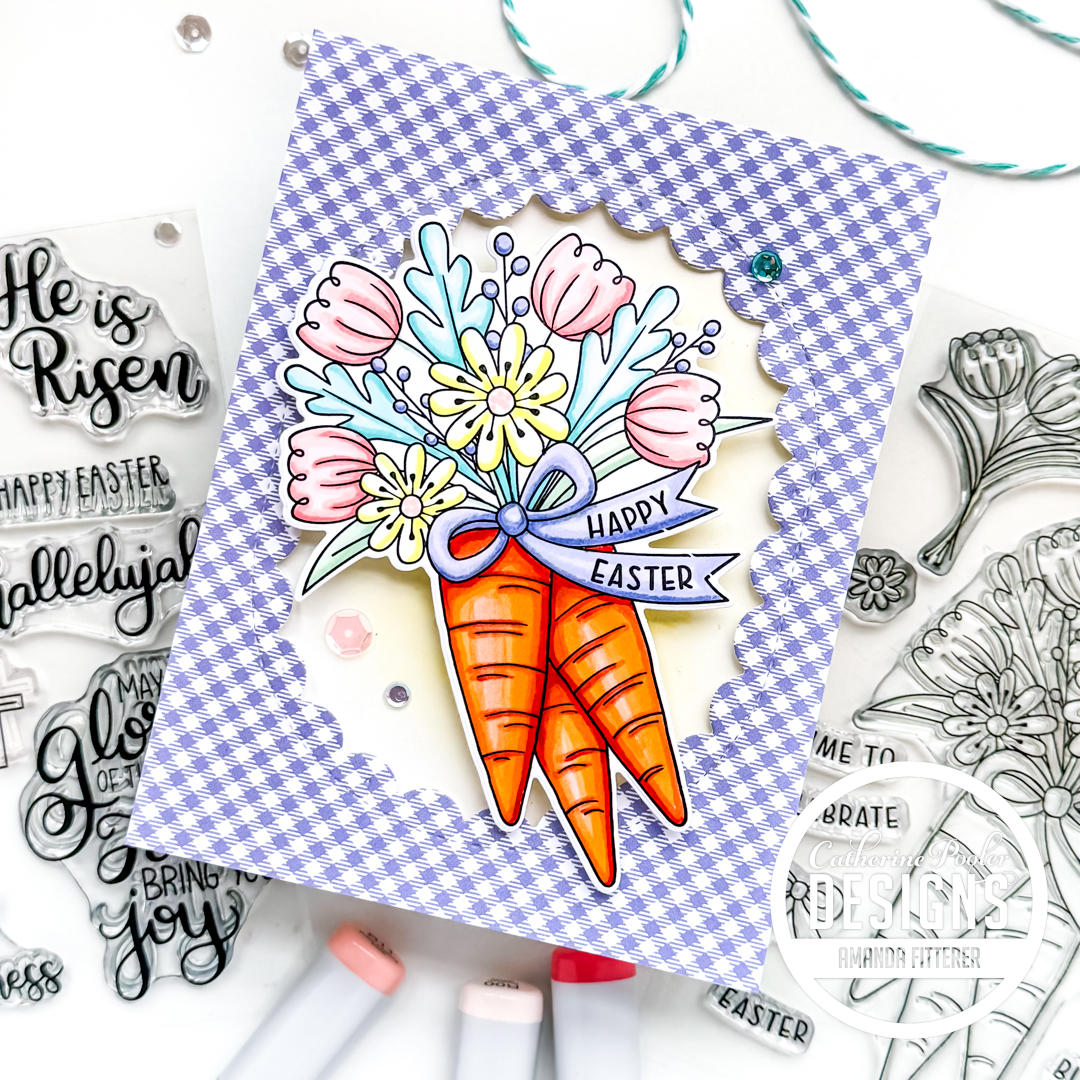
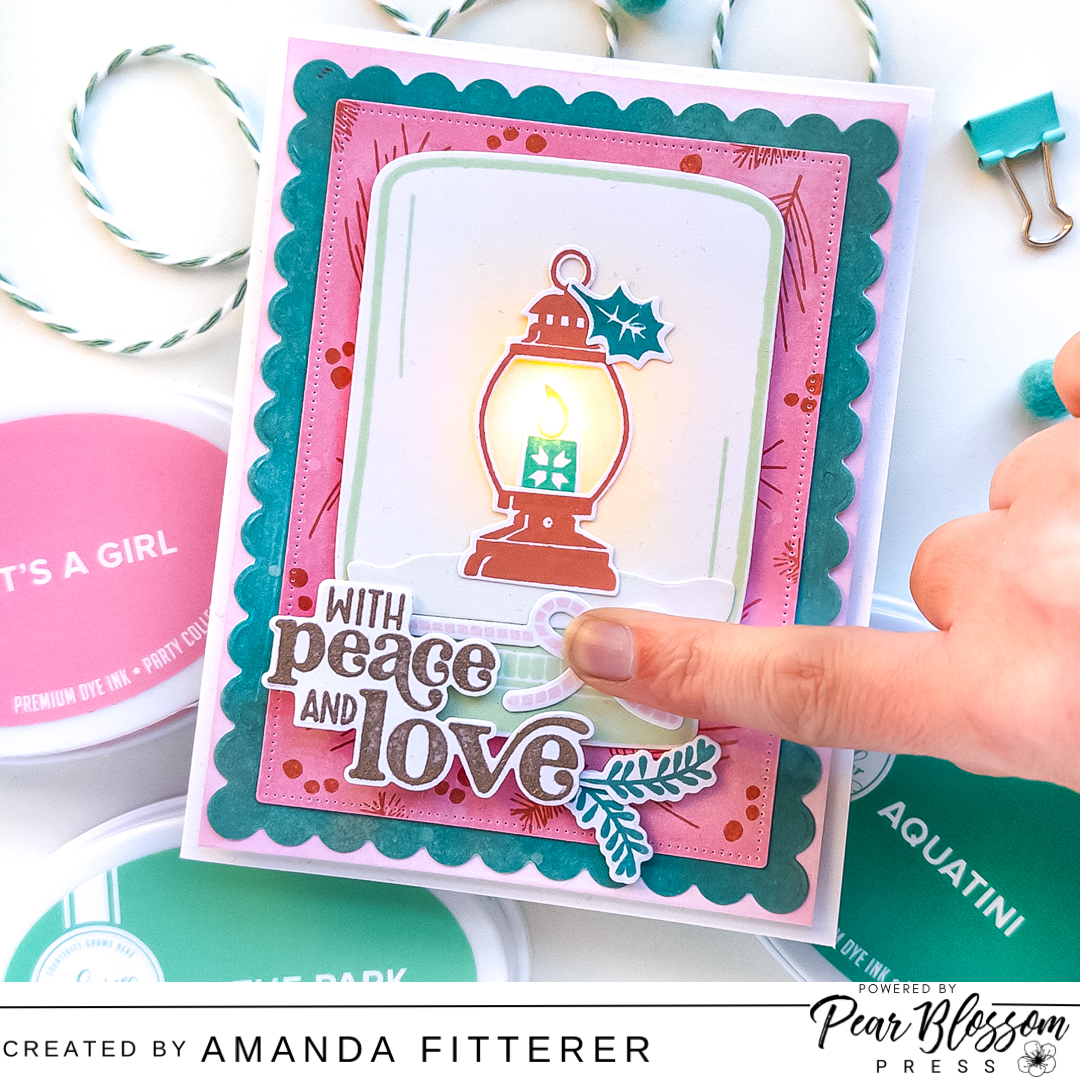
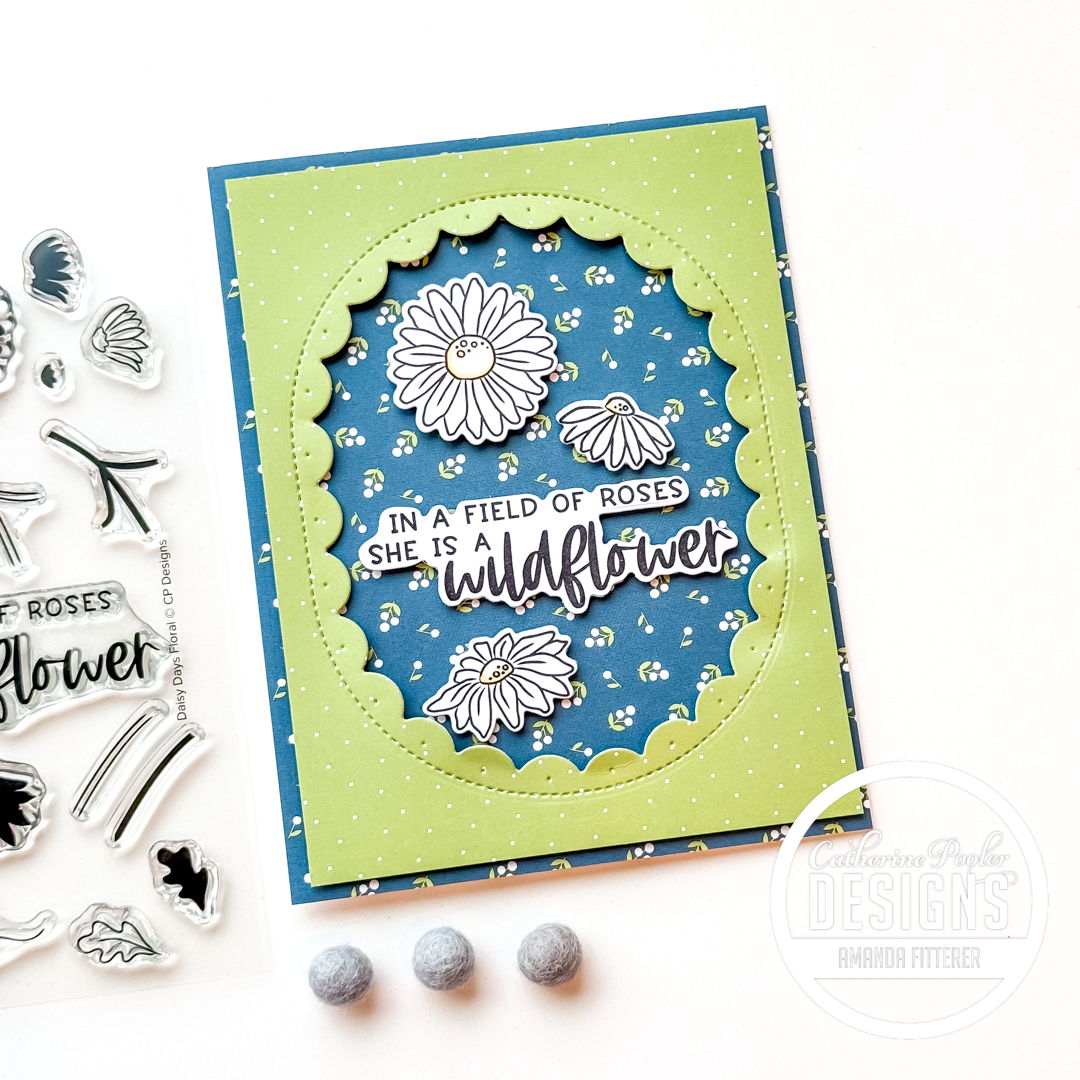
If the cowboy style isn’t really your thing – don’t worry! There’s also a Daisy Days Floral Stamp Set that is available in the New Collection!


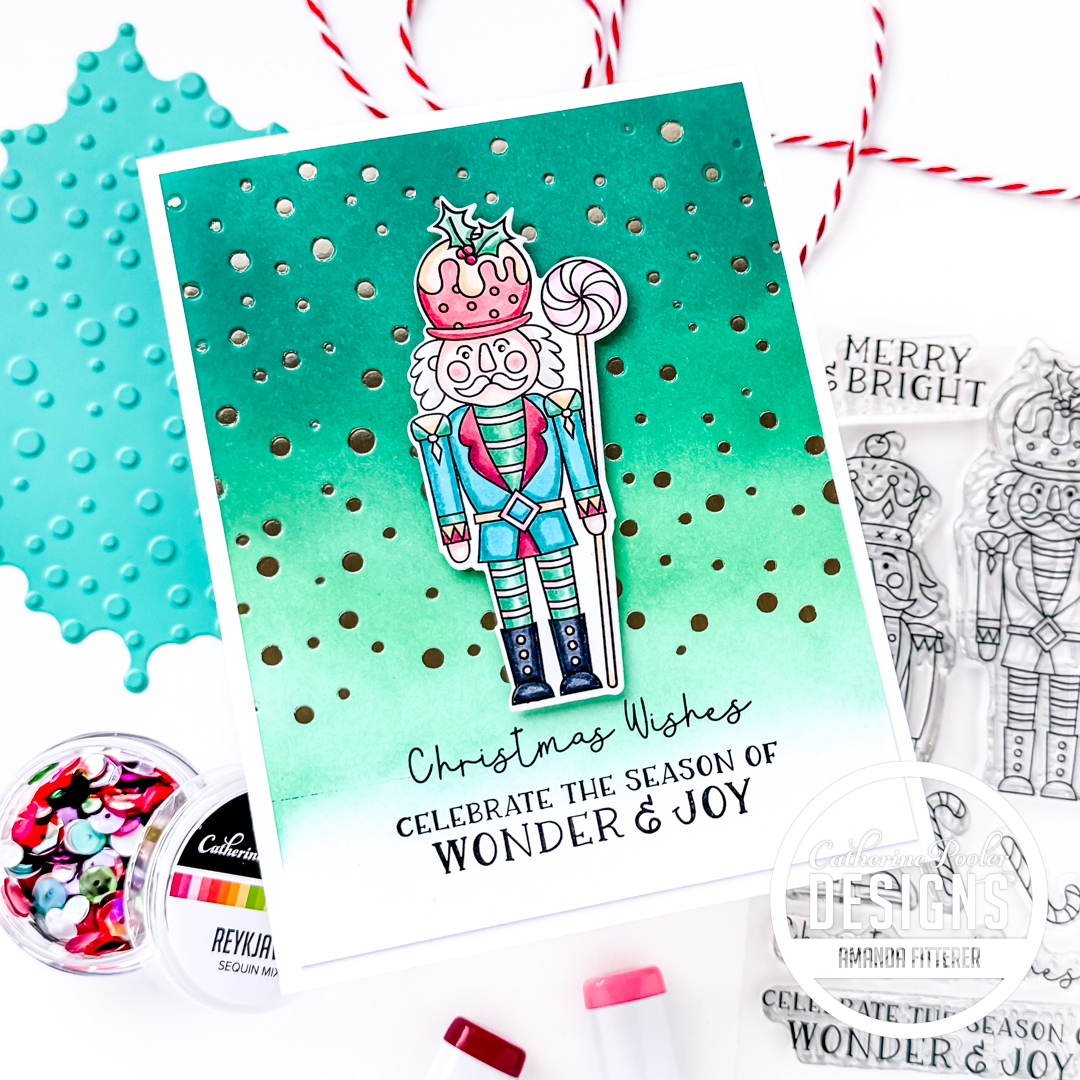
There’s also a really cool Dusk ‘Til Dawn Cover Plate Die that can be used in so many different ways. Check it out on the Shop to see more examples!


I’m super excited to show you the other cards I made over the next few days!! Make sure to Subscribe to my blog to get notified when I post again!
Xx, Amanda
My favorite craft essentials:
* MISTI
* Bearly Art Precision Craft Glue
* Petal Pink Gemini Jr. Die Cutting Machine
* 3D Foam Squares
* 3D Foam Tape
*Pre-scored Card Base
* Catherine Pooler Inks
* Catherine Pooler Blending Brushes
Don’t forget: If you’re a Catherine Pooler StampNation member, you get EARLY ACCESS to every new release (plus SOOO many other benefits)! Sign up now! It’s worth it!
Thanks for using my affiliate links! You all are the BEST! Using an affiliate link in this post above or down below costs you nothing, but it gives me a teeny percentage of your sale to buy more crafty goodies to continue to share card tutorials with YOU! So, thank YOU! Xx, Amanda
Scrapbook.com Affiliate Link | Catherine Pooler Affiliate Link | Become a Catherine Pooler StampNation member
👇🏻👇🏻 Subscribe 👇🏻👇🏻 to be alerted of new posts by yours truly!
Xx, Amanda