Hey crafty friends!! I’m so excited to be part of this amazing Simon Says Stamp “Heart to Heart” Blog Hop! We’ve got TONS of crafty inspiration from some amazingly talented designers (check out the Blog Hop Lineup below!!)
I also get to share an EXCLUSIVE Blog Hop FREE GIFT with you! (Who doesn’t love free stamps?!)
Plus, Simon Says Stamp is giving away a $25 coupon at every stop on the hop! Head to the Simon Says Stamp Blog for more info about the giveaways!

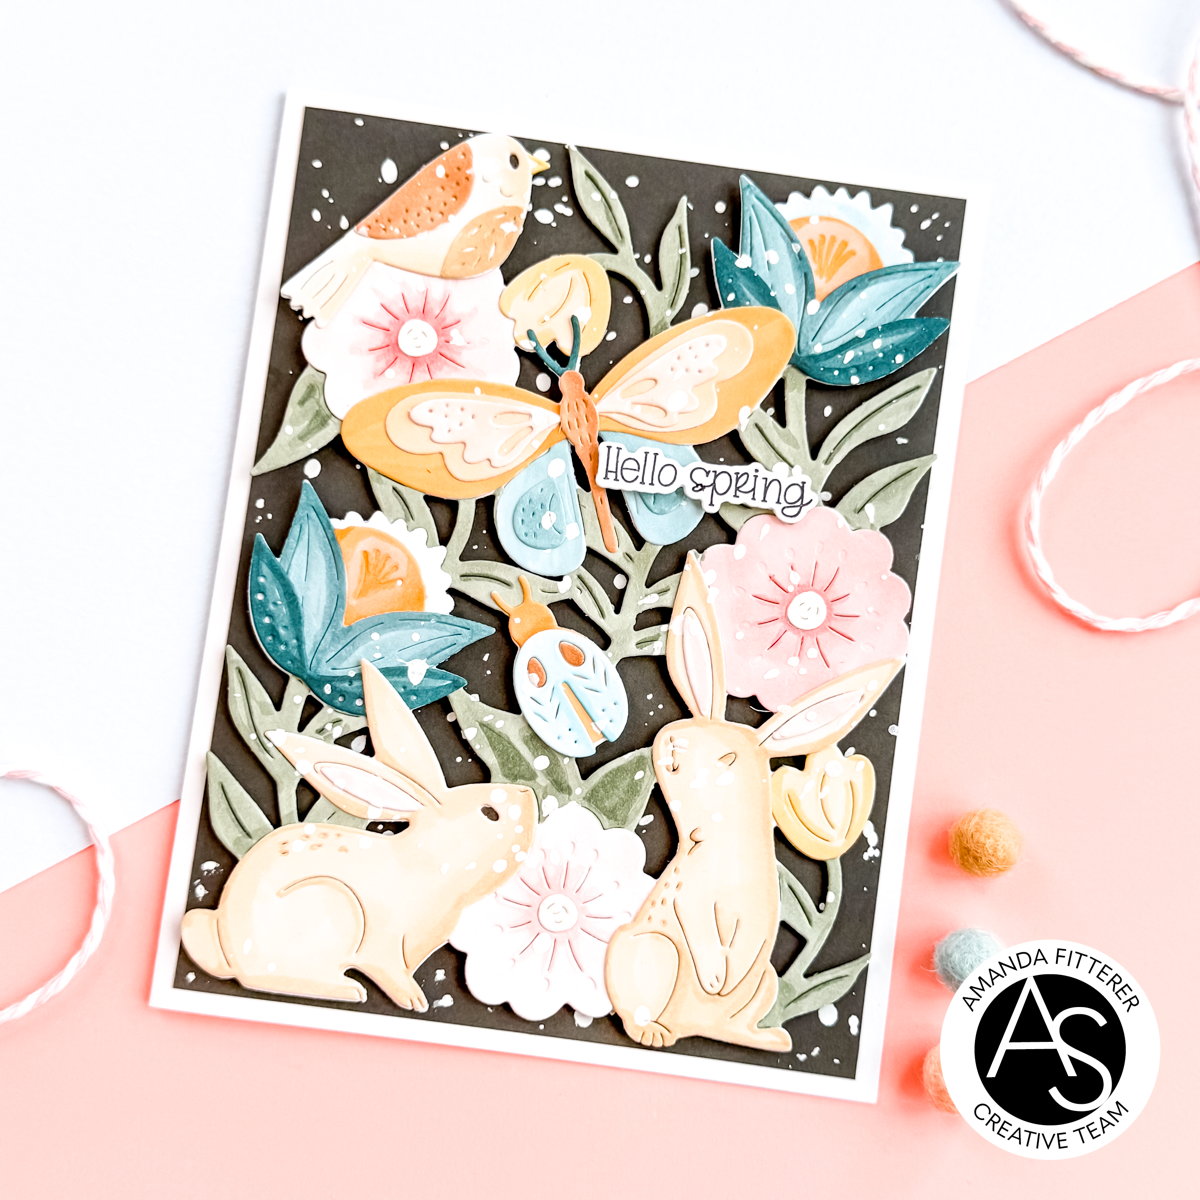
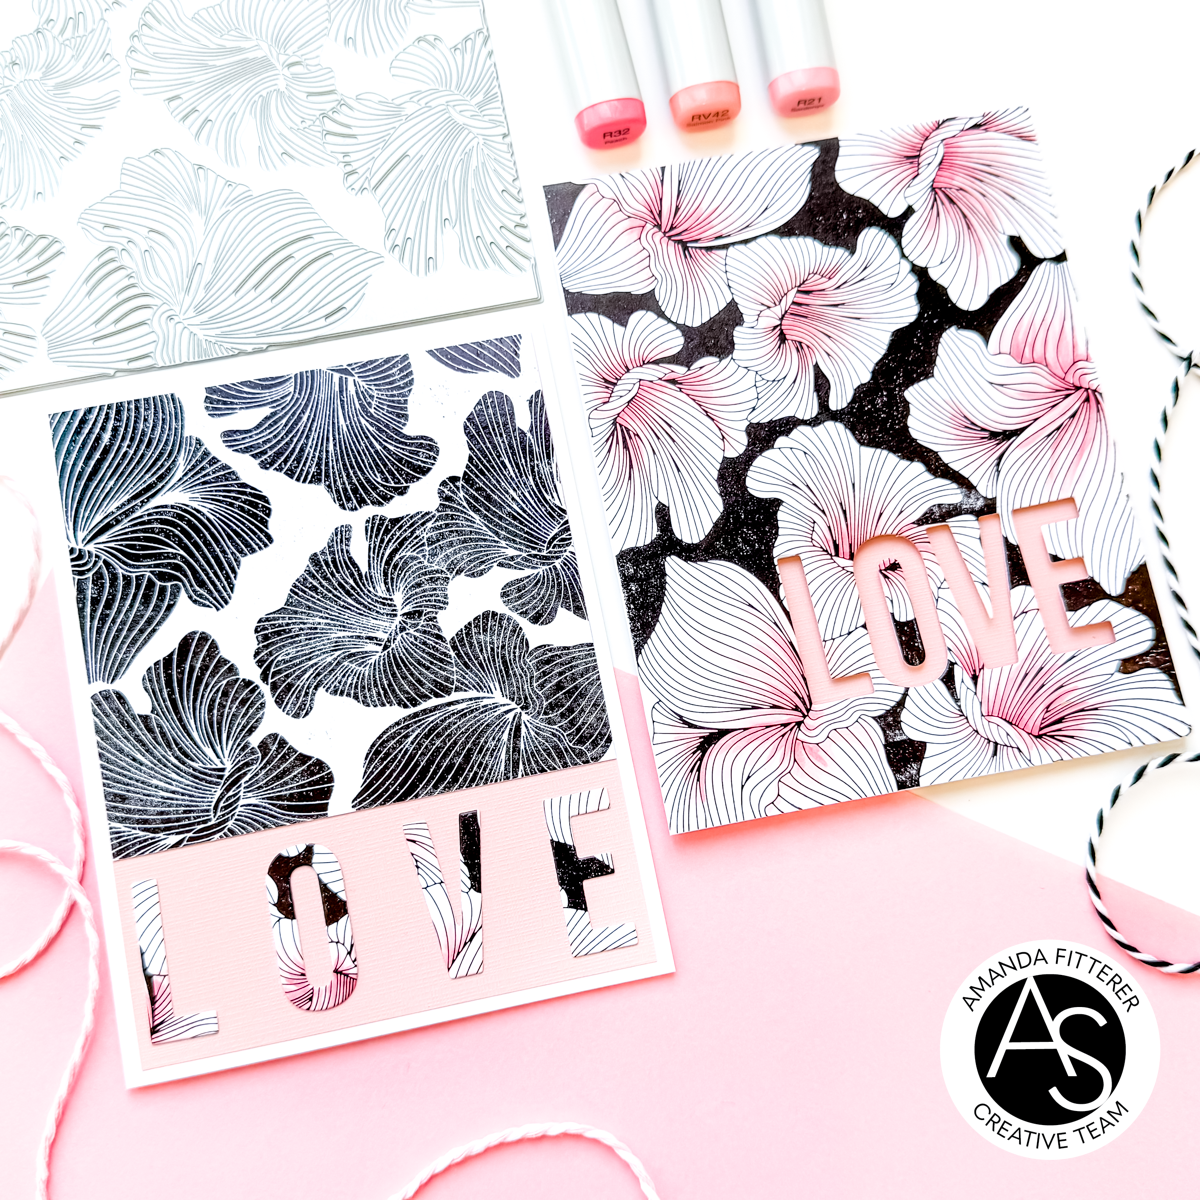
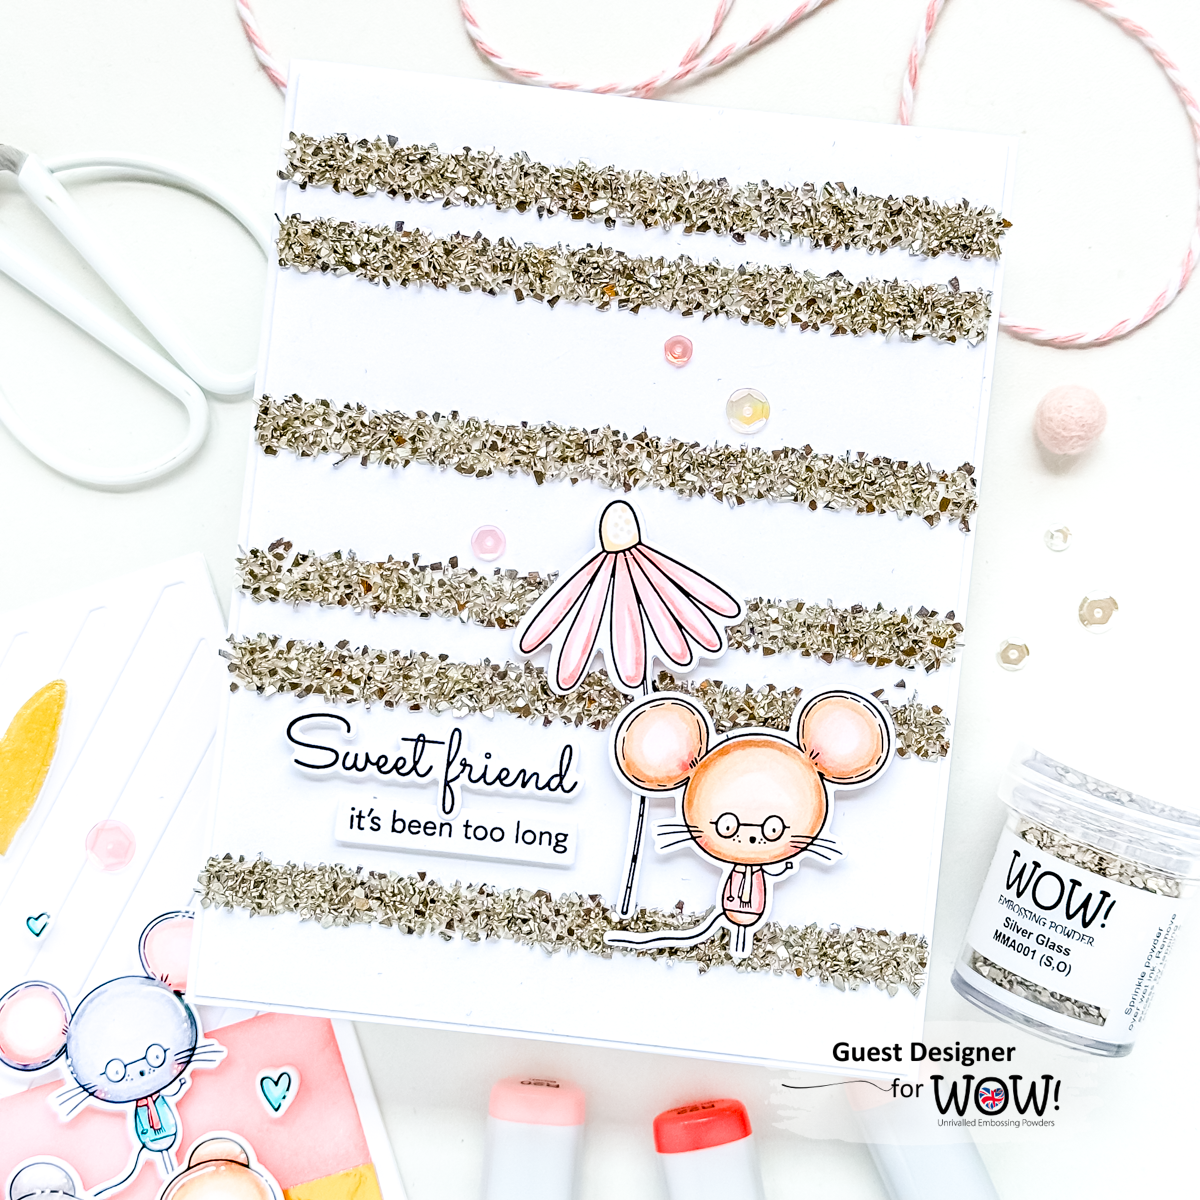
One of my favorite stamps in this new release has to be the Sweet Peacock Stamps! They are just so stinking cute!! I had a blast using them to make these 2 Valentine’s Day cards!
For this first card, I layered the Basic Hearts Dies behind my adorable little peacock! Then I added a few of the smaller ones around the card and added a few sequins for a little extra sparkle!

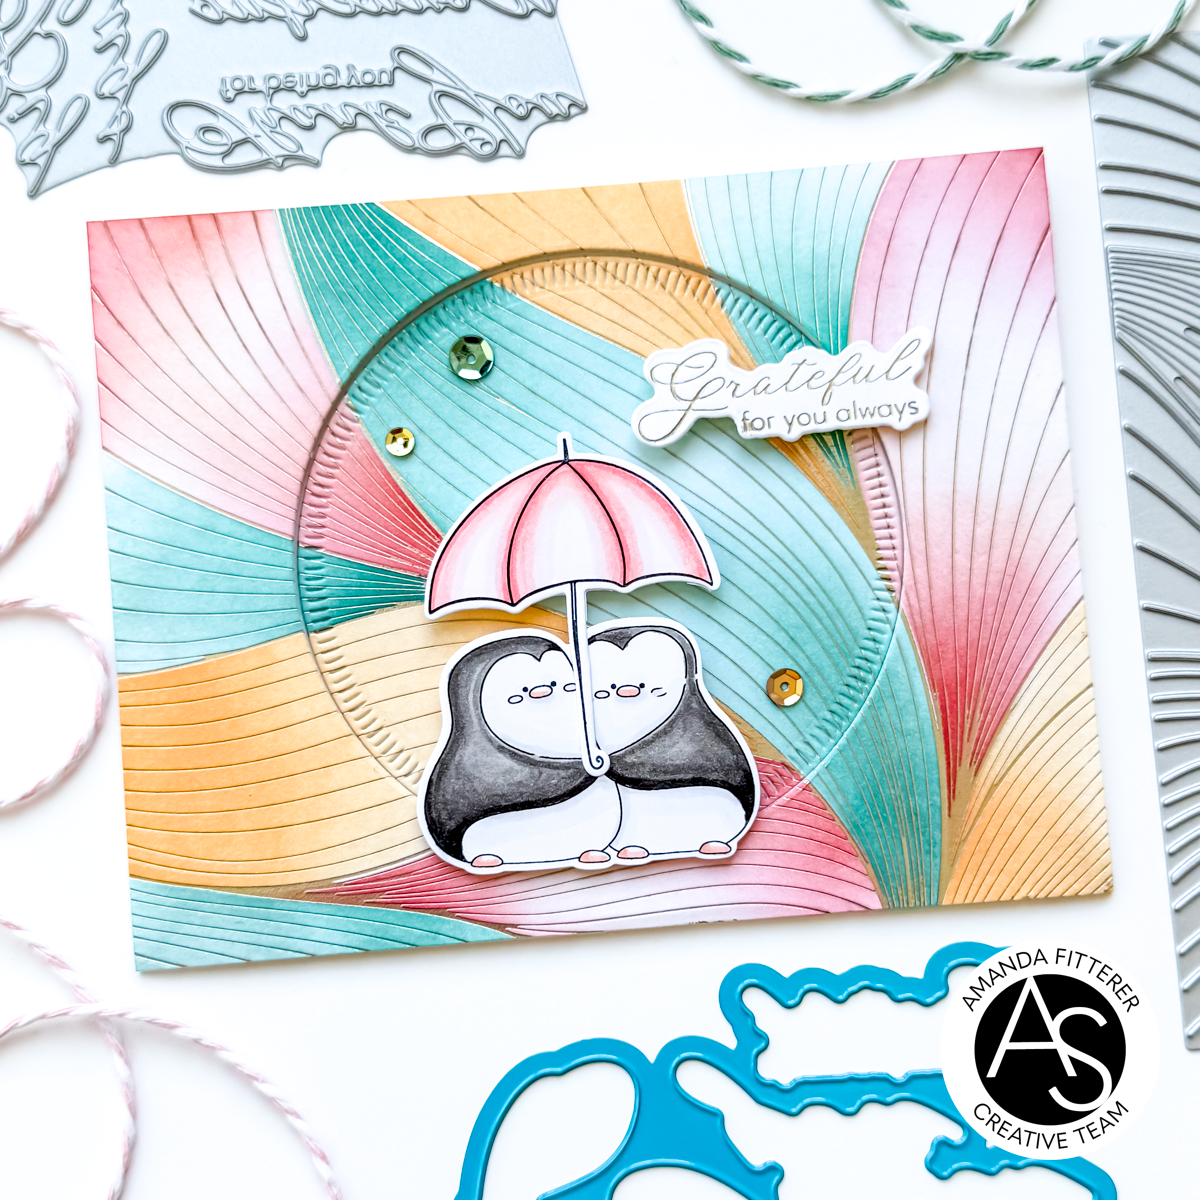
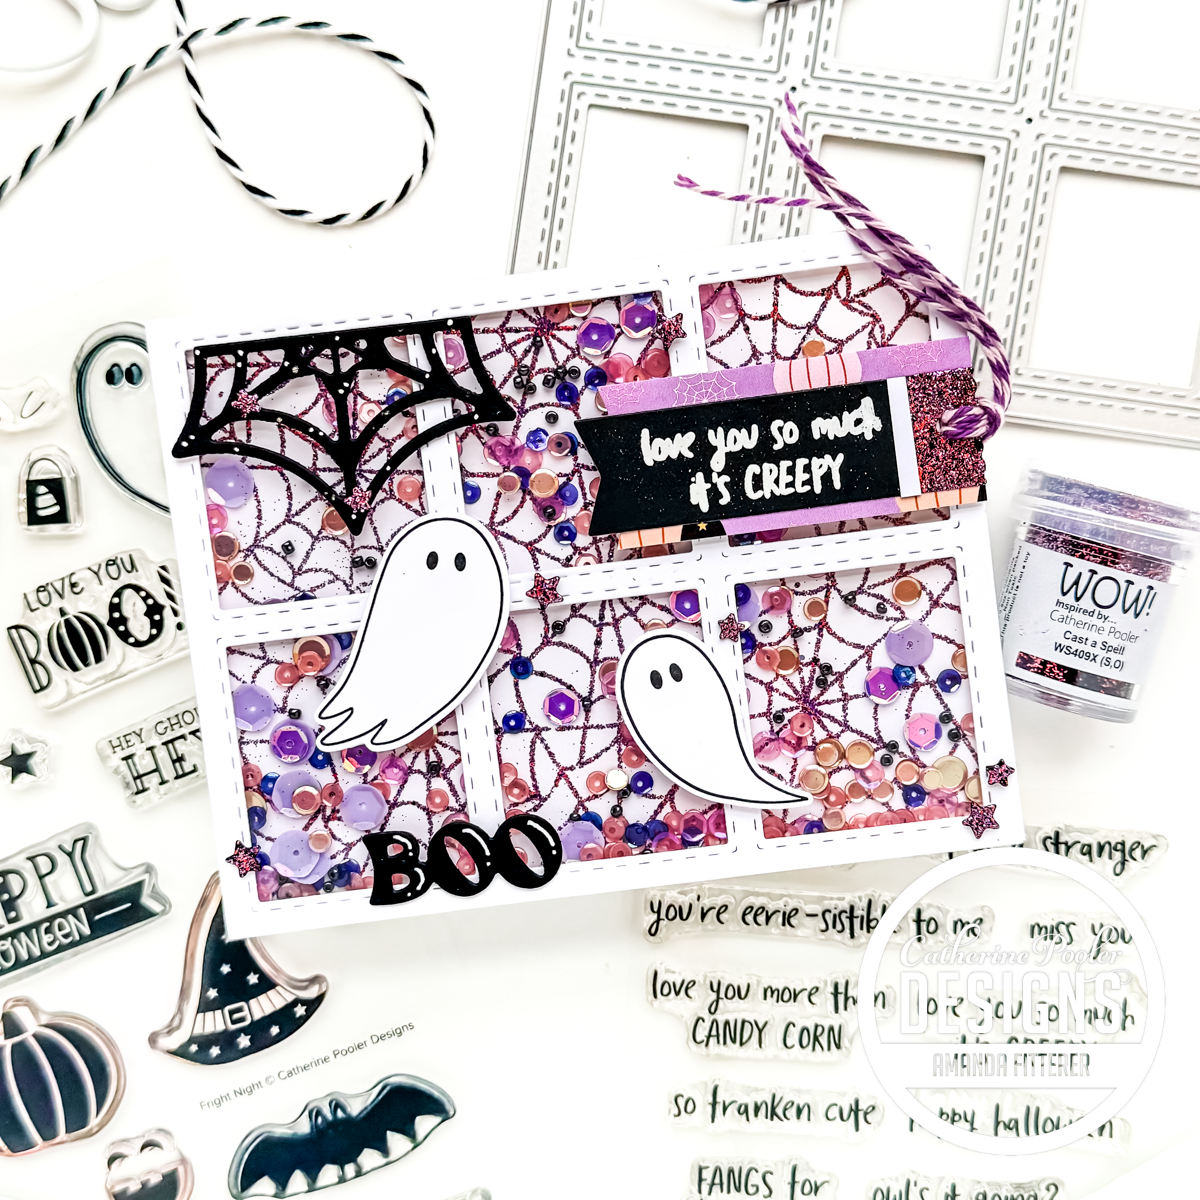
For this second card, I used the Snow and Stars Embossing Folder to create a beautiful texture in my foreground and my background! I used the Basic Hearts Dies again to create little cutouts for my background.

Make sure you keep hopping around to see more inspiration! I hope you enjoyed my post, too!
Blog Hop Lineup:
- Simon Says Stamp Blog
- Nichol Spohr
- Barbara Tarayao
- Emily Midgett
- Lisa Addesa
- Tina Smith
- Keisha Charles
- Heather Ruwe
- Barb Engler
- Lea Lawson
- Amanda Fitterer
- Charlene Madrid
- Maggie Haas
- Maura Hibbitts
- Sandi MacIver
If you are looking for more inspiration with this New Release, you can always visit (and contribute!) to the Heart to Heart release gallery!
Enjoy hopping around and good luck!!
The links for the products in this blog post are affiliate links that give me a little percentage of your entire sale! You can also use this link anytime to boost my earnings, if you want to support me even more! If you decide to use my links, thanks so much for your support! If not, I totally understand! Sometimes, it can feel like a hassle! Either way, I appreciate you coming to my blog and supporting me!!
Xx, Amanda