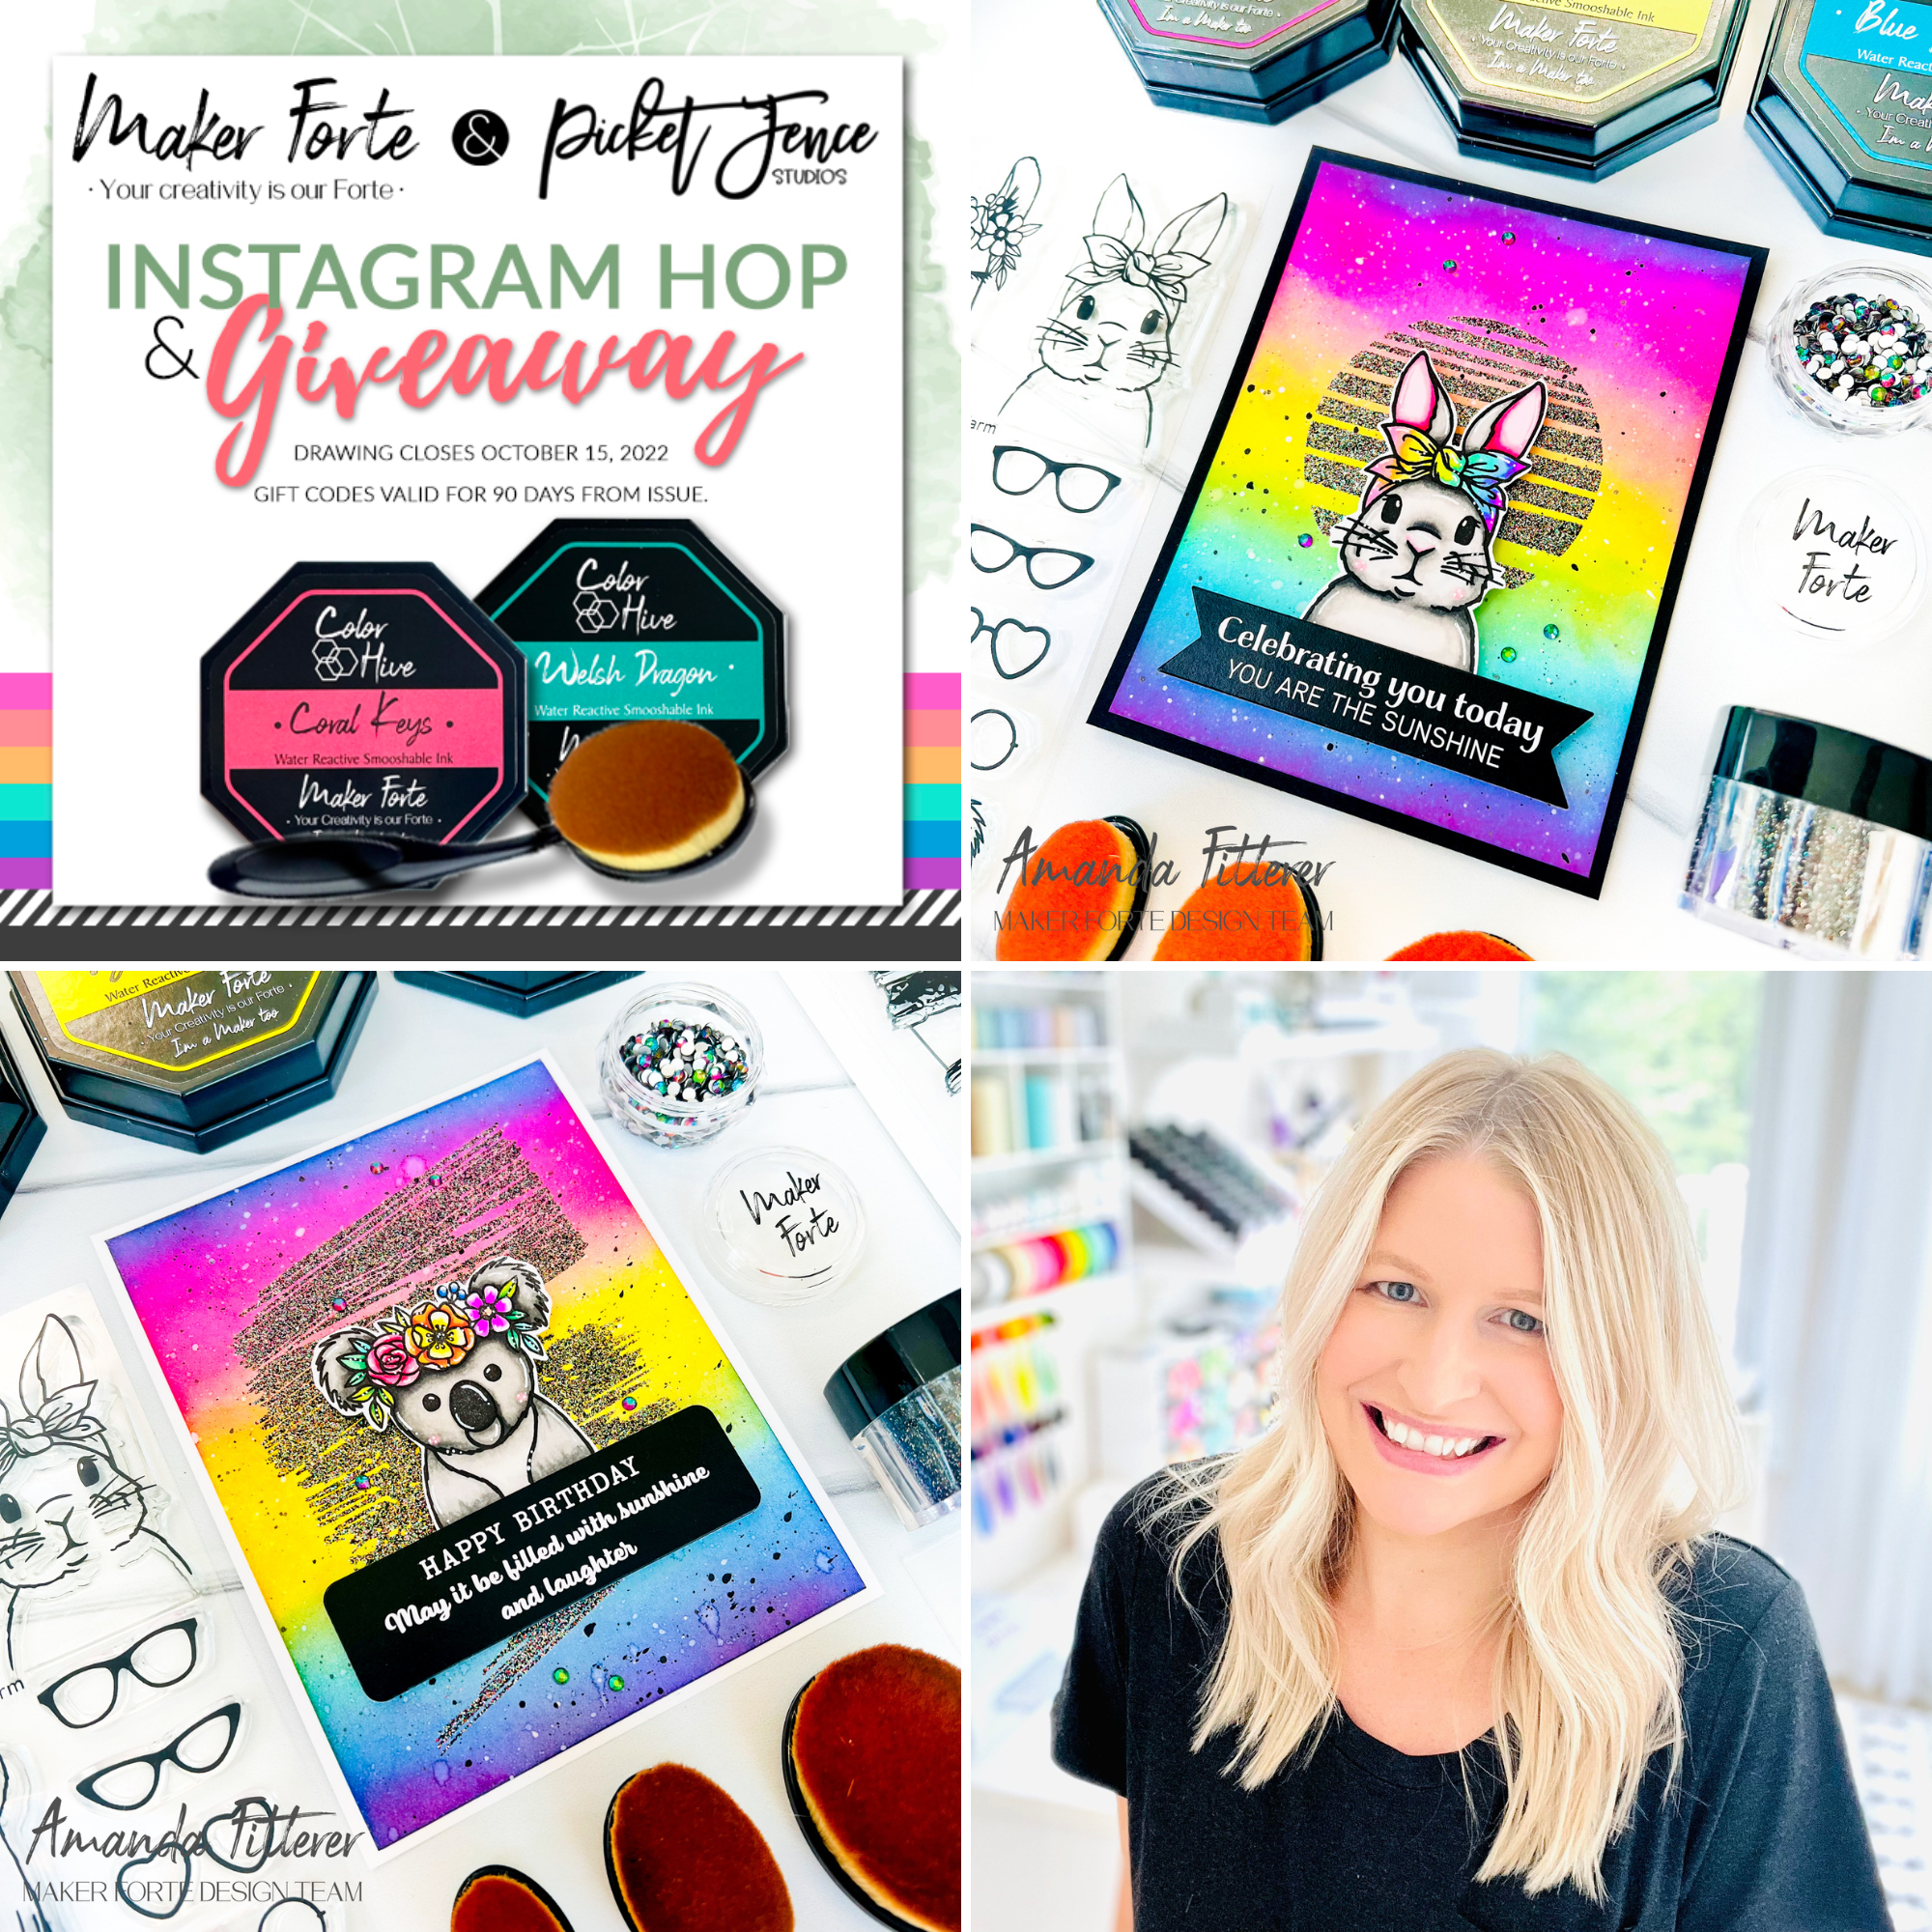
Hello friends! I am SO excited to be part of this amazing IG Hop with Maker Forte and Picket Fence Studios! Come join in the fun HERE. You could win prizes from both companies!
Maker Forte’s Color Hive Inks are ABSOLUTELY FANTASTIC! They are juicy and smooshy and vibrant! And I LOVE how they react with water! Picket Fence Studios Blending Brushes make blending these inks a breeze!! They are the perfect match for beautiful backgrounds, such as the ones I made for the Hop!
–> I have 2 RAINBOW BLENDS TO SHARE with you!
Blend 1: For my first card, I’m blending: * Pitstop Pink * Lemon * Blue Raspberry
For both of my cards, I’m using the CUTEST Maker Forte stamp set called Grovehill Farm. You can see the rest of the products used below!
Thank you so much for stopping by my blog today! To shop any of these products, you can use the affiliate links in my post! It doesn’t cost anything to you, but it does give me a teeny percentage which helps to fund my crafty tutorials for YOU! So THANK YOU for coming to my blog and using my links! I appreciate you!
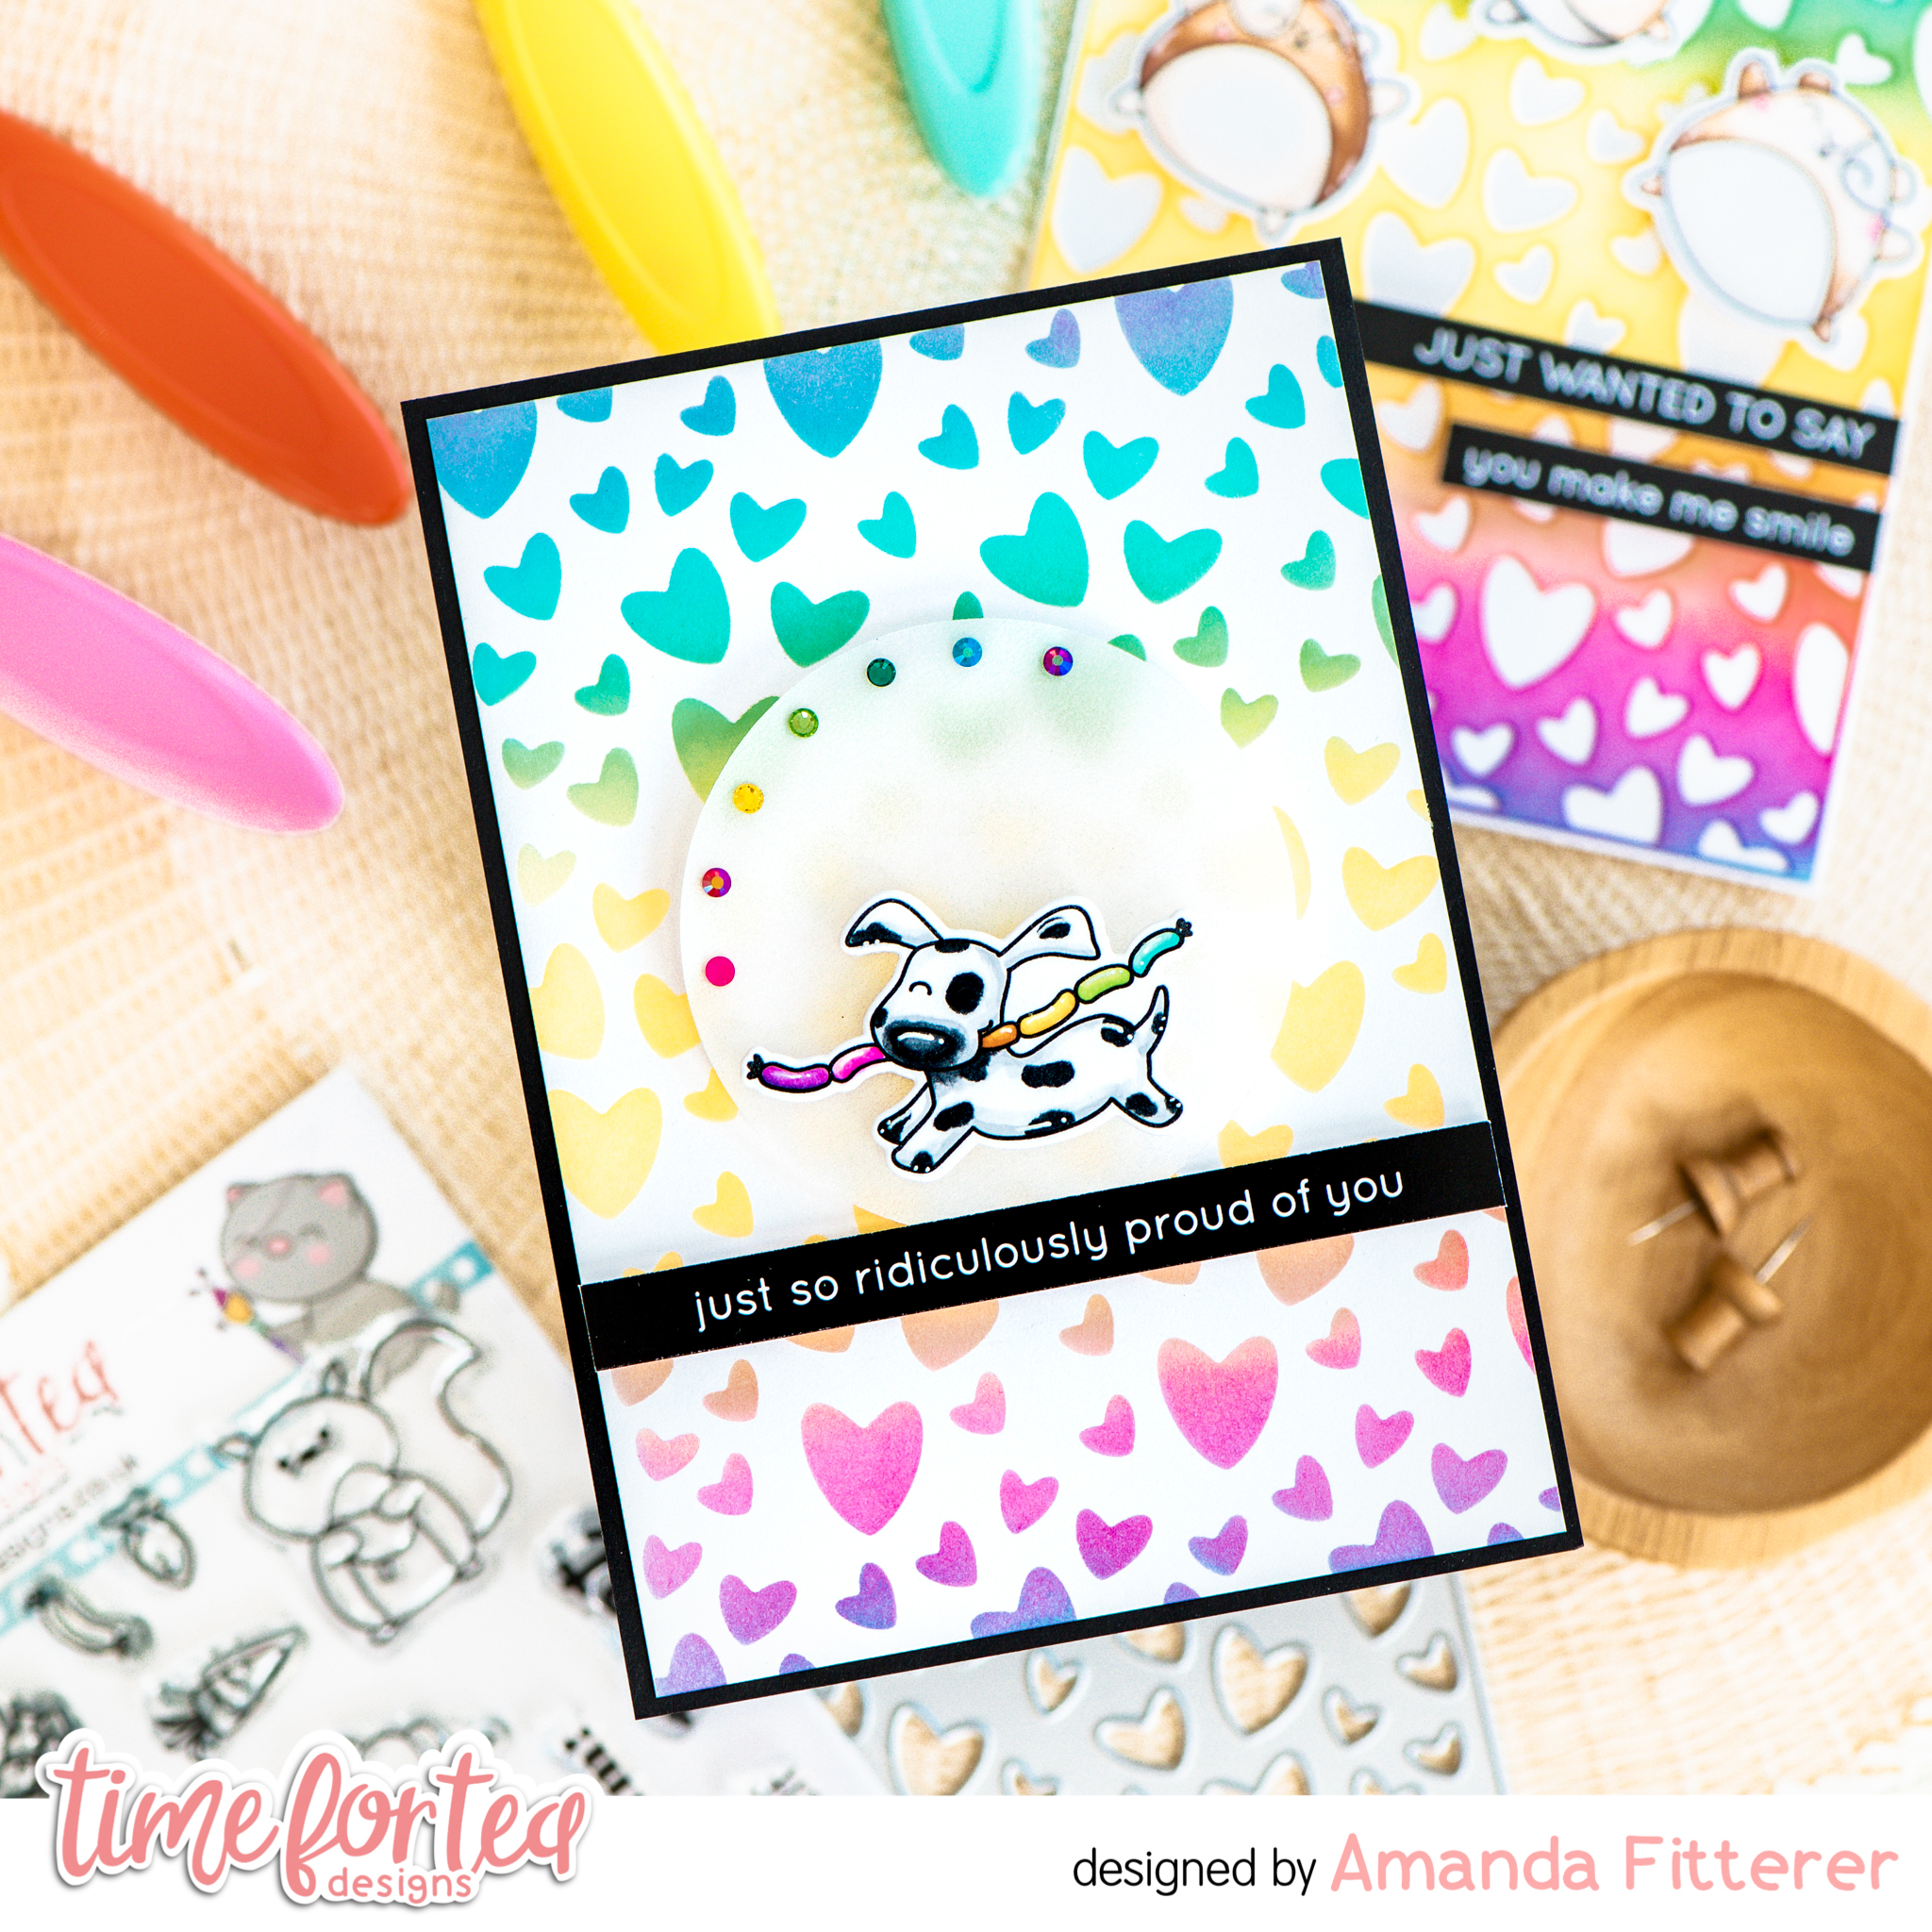
Did you see my last post where I created that beautiful rainbow background with the Scattered Hearts Cover Plate?? Today, I’m going to share the card I made using it!
To make this card, I die cut the Scattered Hearts Cover Plate on a piece of white cardstock. Once cut, I grabbed another piece of white cardstock and placed it underneath my die cut piece. Then, I blended a rainbow with Maker Forte Flamingo, Yellowstone, and Neon Lights inks. This gives me TWO backgrounds at once!
For my sweet pup, I used Enjoy the Little Things stamp set. I colored him with Copic markers and then die cut him with the coordinating dies. I propped him up with 3D foam squares and put him on a piece of round vellum.
For my sentiment, I grabbed my Brighter Days Sentiment Cards and trimmed out the “just so ridiculously proud of you” sentiment.
For the finishing touch, I added some rainbow colored gems!
The next step was to attach my heart background to a black card base with liquid glue.
Don’t forget, you can use code T4TAMANDA10 to get 10% off your purchase!
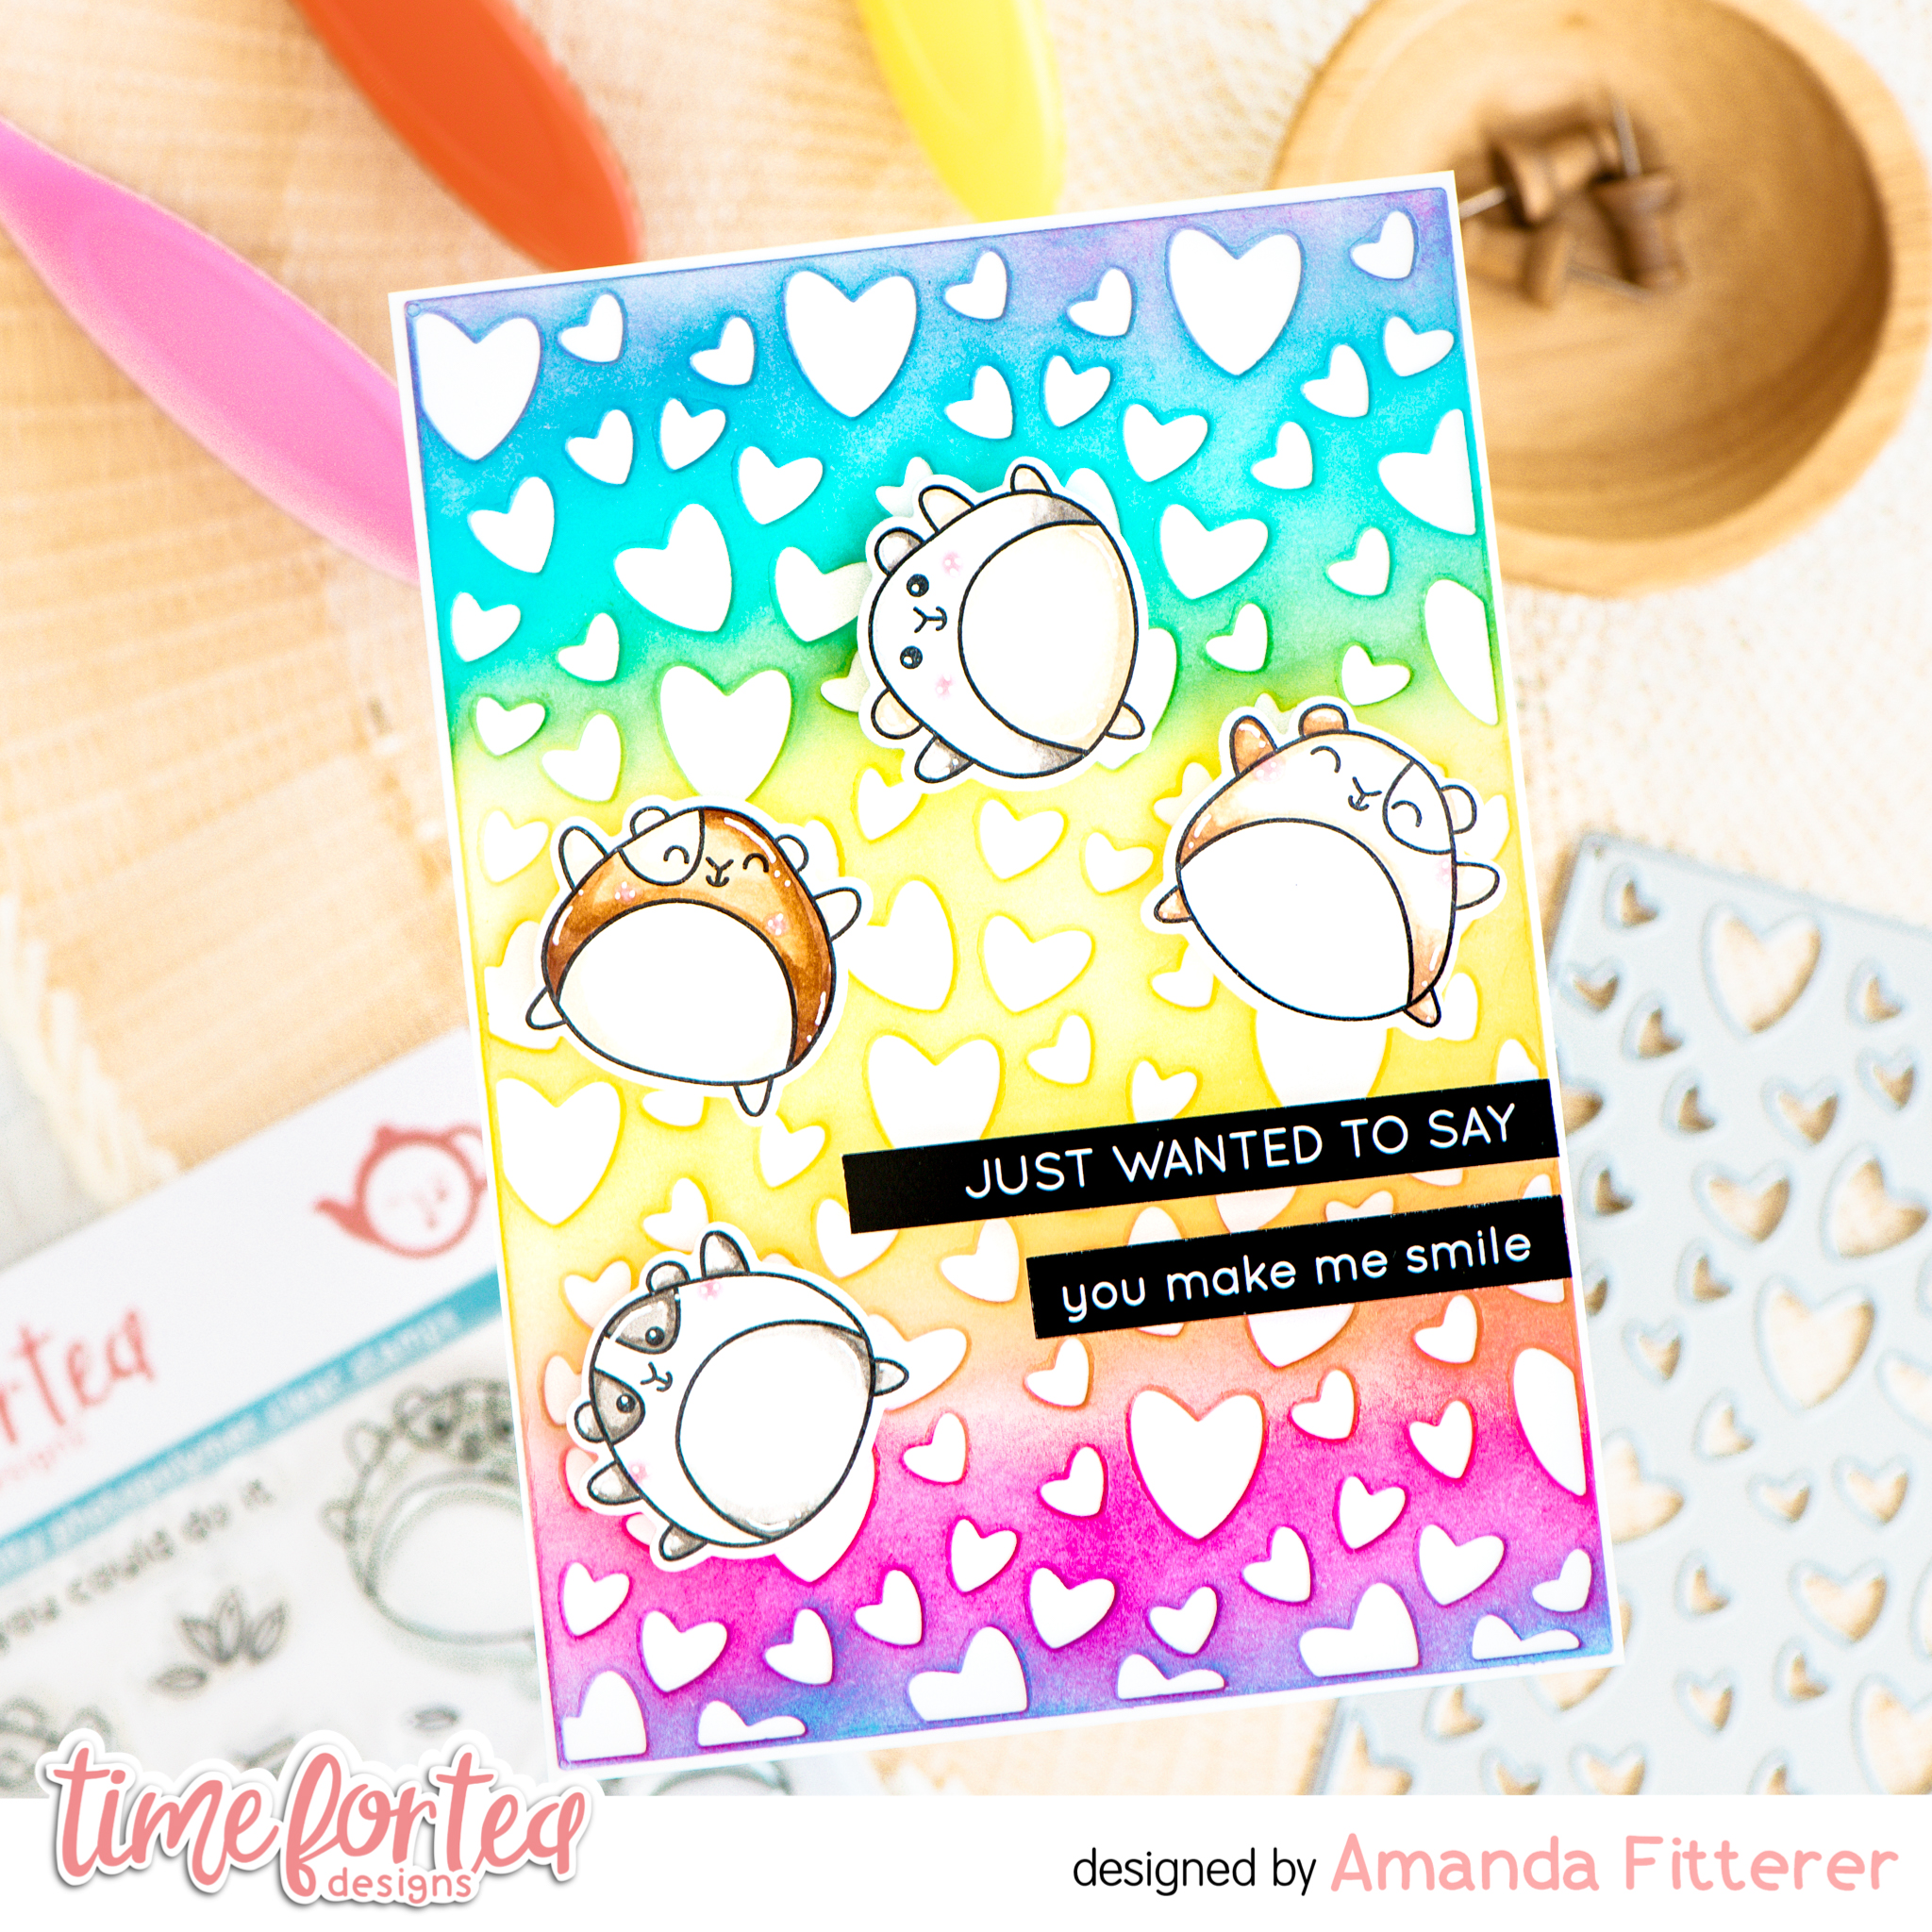
Well hey there, crafty friend! Today I’m sharing this fun rainbow card I made using the Hooray Hamster stamp set!
To make this card, I die cut the Scattered Hearts Cover Plate on a piece of white cardstock. Once cut, I grabbed another piece of white cardstock and placed it underneath my die cut piece. Then, I blended a rainbow with Maker Forte Flamingo, Yellowstone, and Neon Lights inks. This gives me TWO backgrounds at once!
Then, I was ready for my hamsters! I stamped them with black ink and then colored them in with Copic markers. I used the coordinating dies to cut them out.For my sentiments, I grabbed my Brighter Days Sentiment Cards and trimmed out 2 sentiments.
The next step was to attach my heart background to a white card base with liquid glue. For my hamsters and sentiments, I propped them up with 3D foam squares and strips.
Stay tuned for a card using the extra rainbow background NEXT WEEK! Woot woot! Use code T4TAMANDA10 to get 10% off your purchase! See you next week!
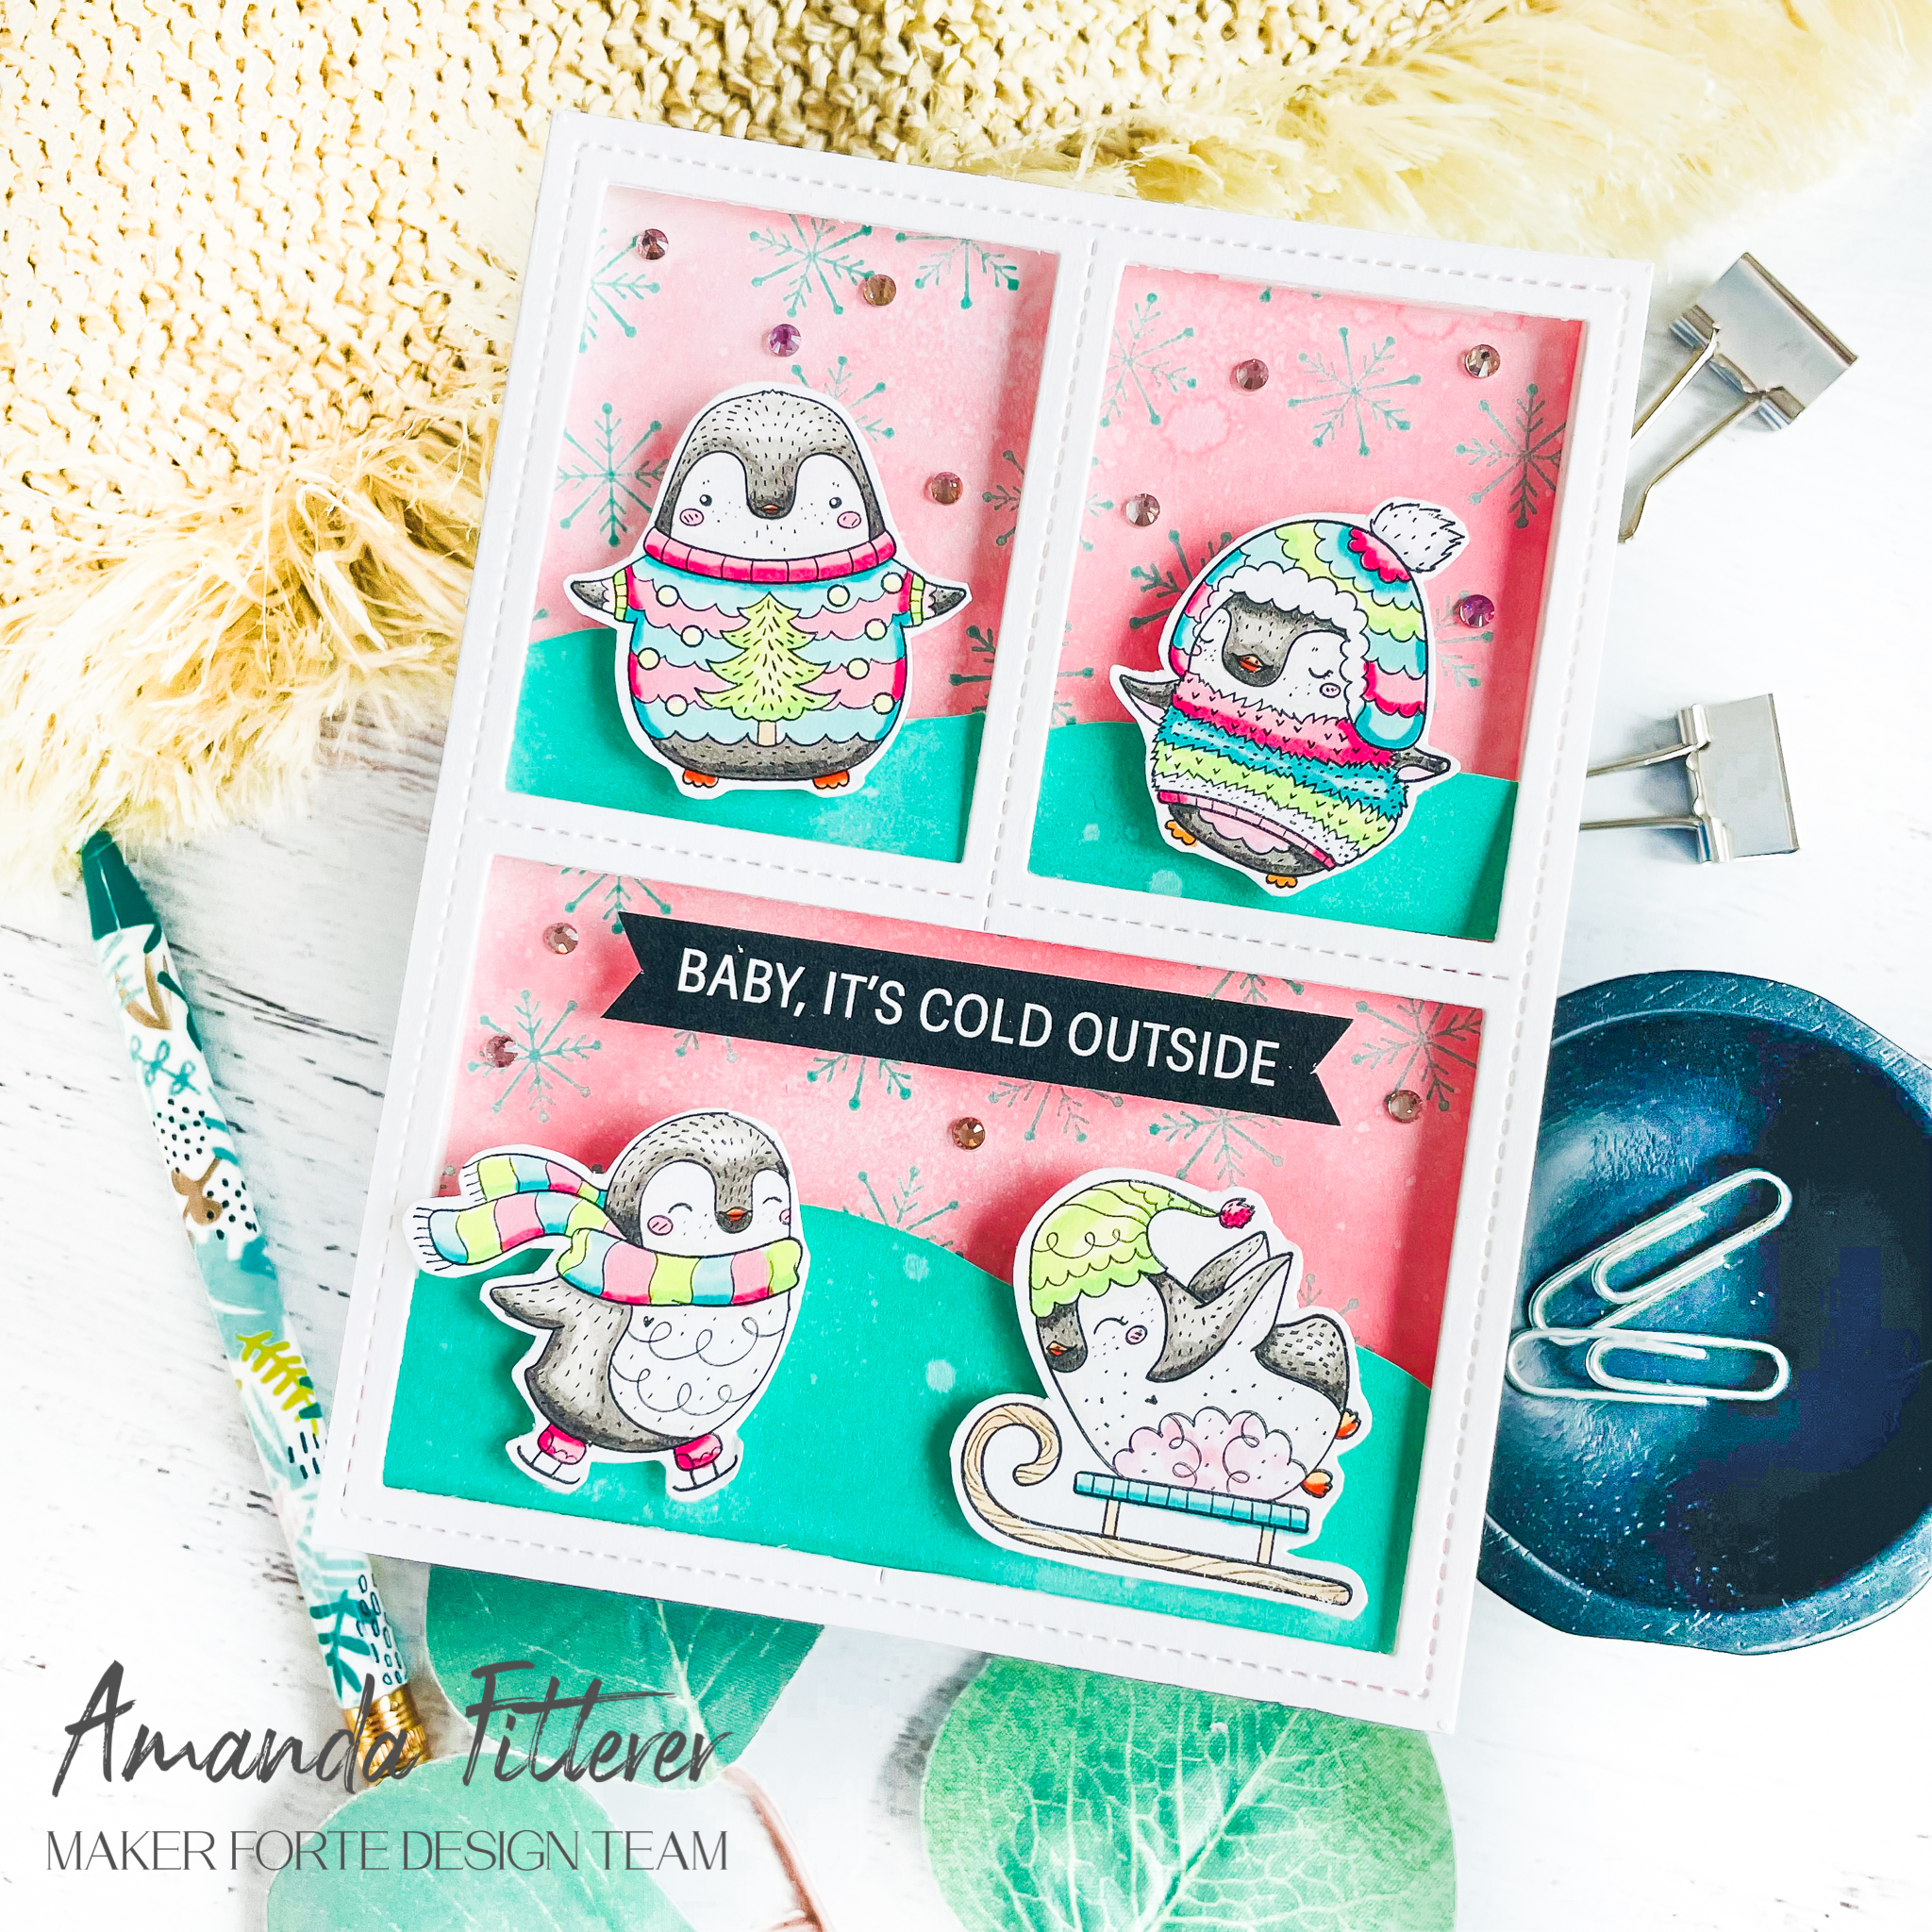
Hey crafty friends! The New WINTER Release from Maker Forte is available for purchase now! I have created so many wonderful cards using the new products!
If you usethis affiliate link to make your purchase, I’ll get a small percentage back from your order! (Thank you!!)
Check out some of these fun winter cards I made!
If you usethis affiliate link to make your purchase, I’ll get a small percentage back from your order! (Thank you for your support!!)
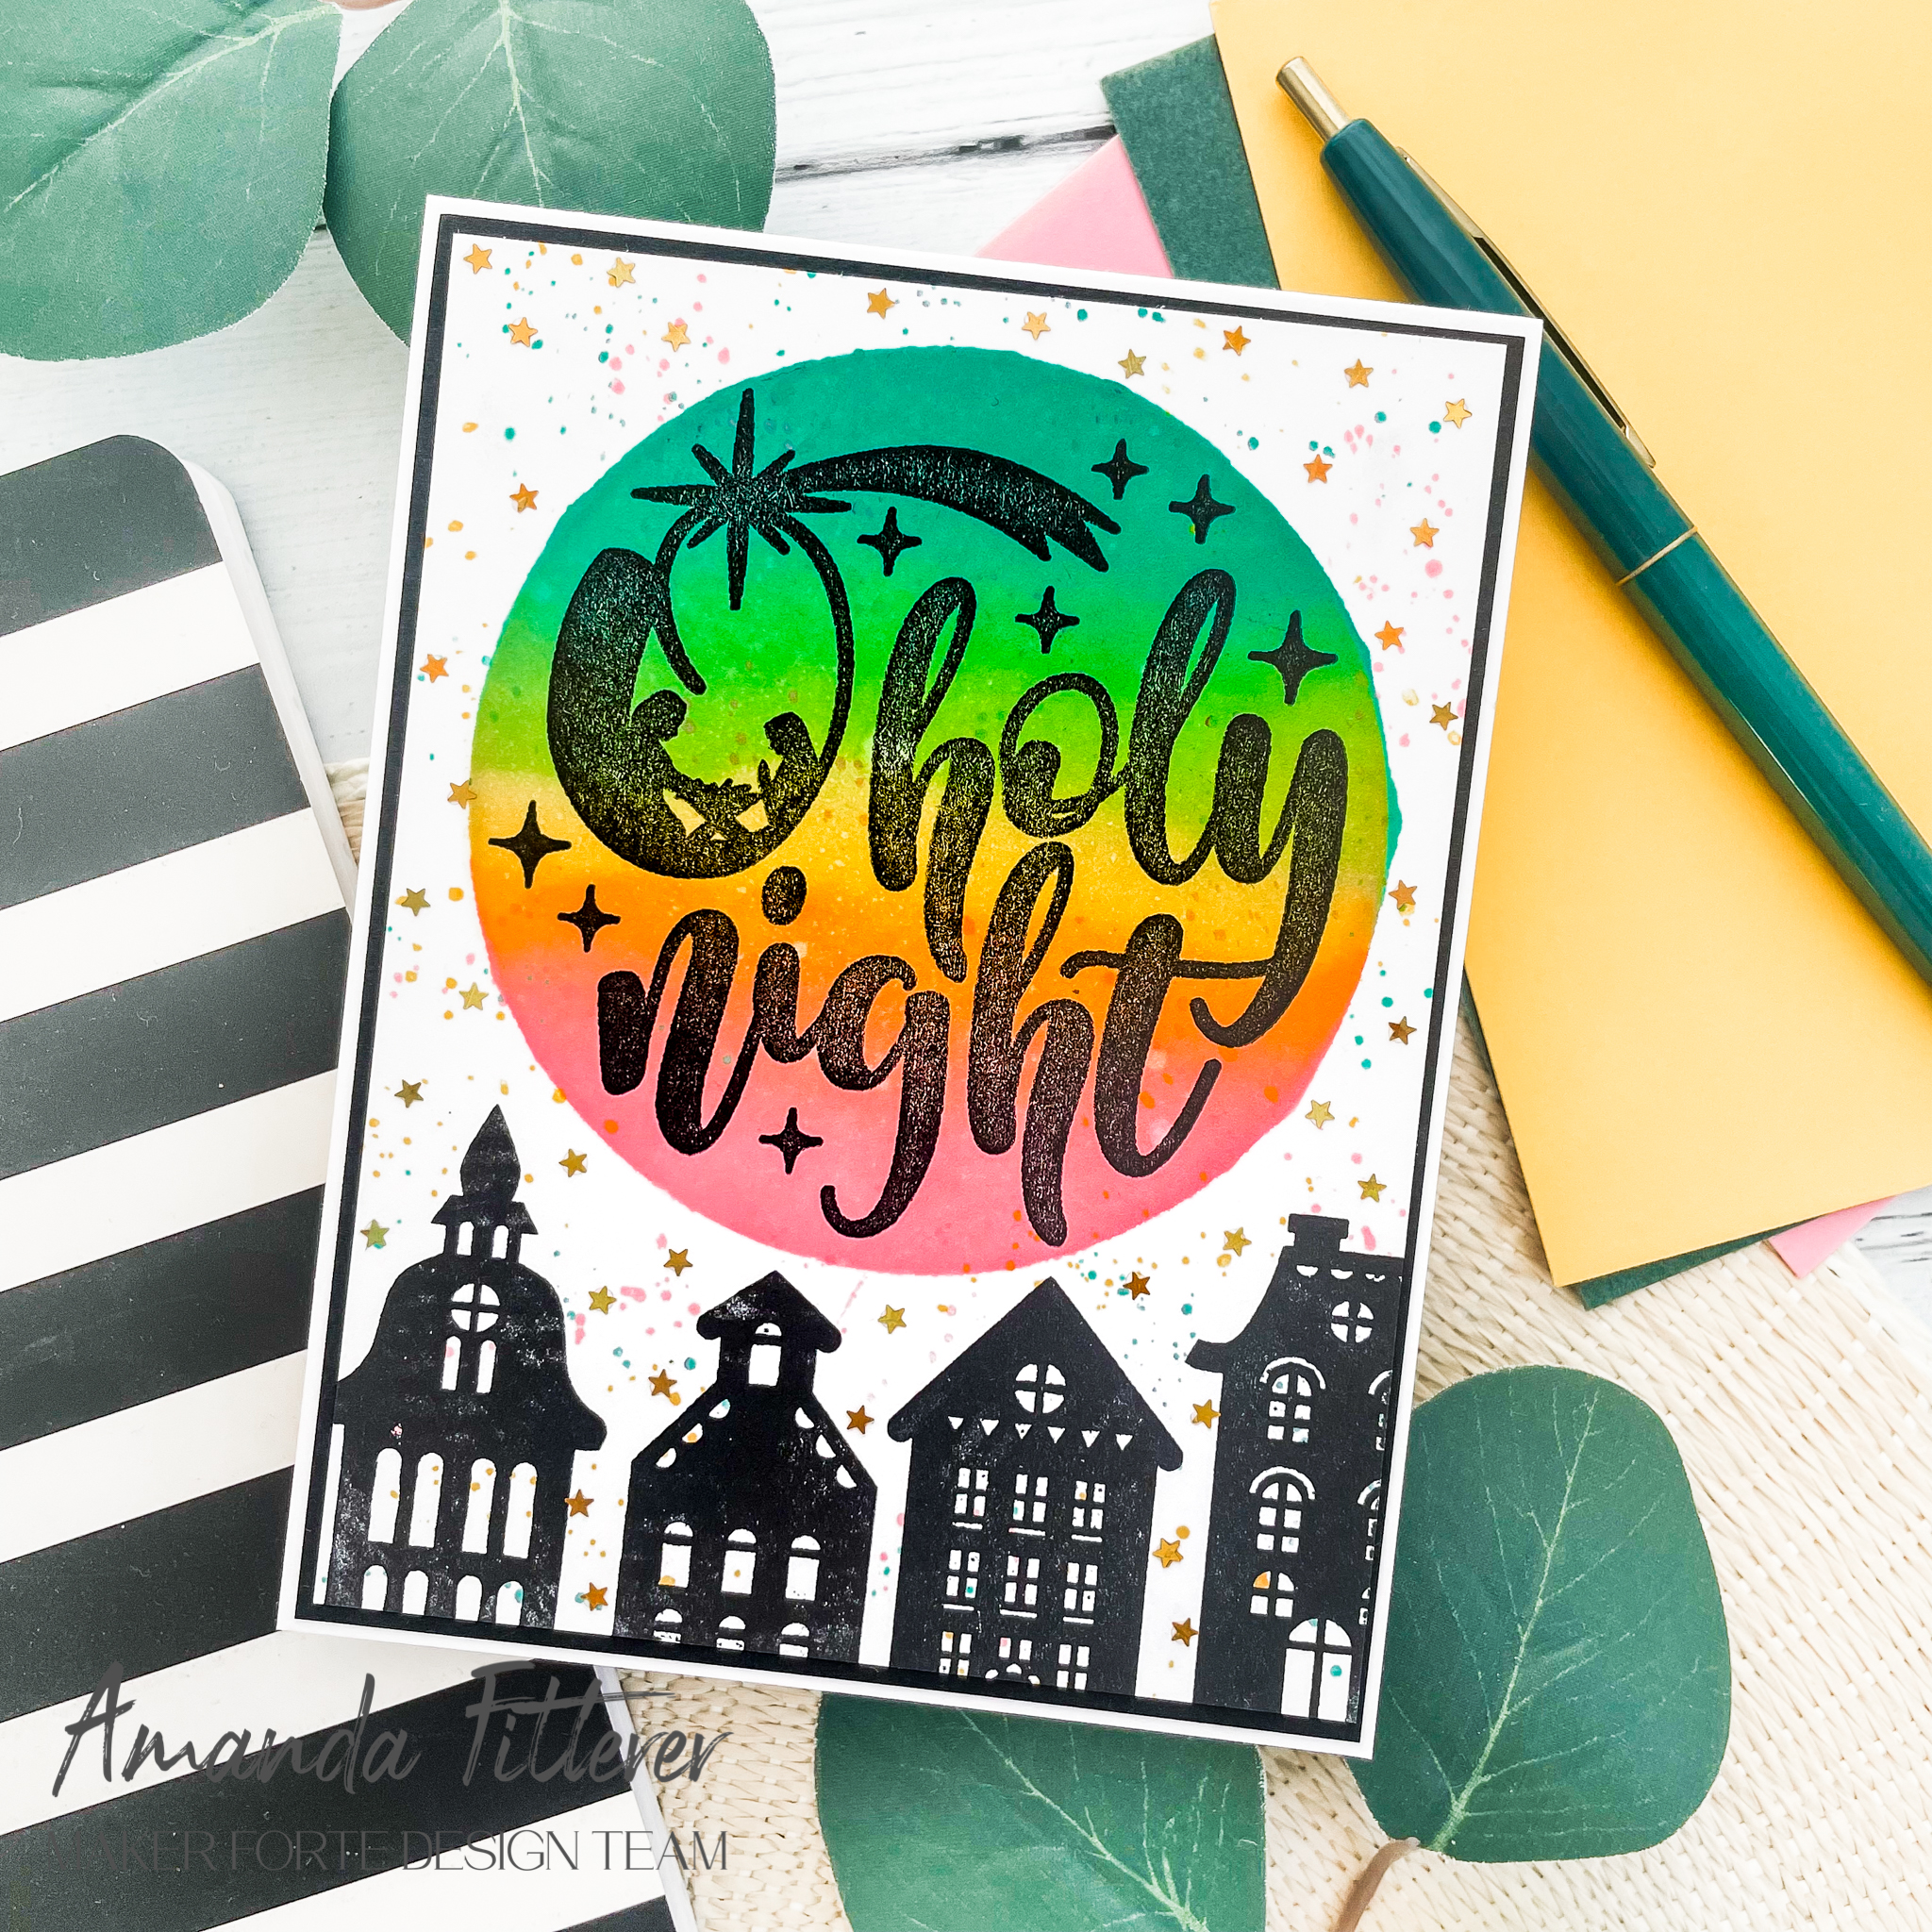
To make this card, I started by creating a beautifully blended background with the Circle Spotlight stencil and some Color Hive inks. I started with Coral Keys on the bottom, then English Mustard in the middle, then Limewired, and then finally Pop Art at the top.
Welcome to the Heffy Doodle, Maker Forte, and SugarPea Designs Collaboration Blog Hop! Design Team members from all three companies are sharing inspiration using products from all three companies!
Today, I am sharing 2 cards that I made using tons of awesome products from these companies!
For my interactive pull tab and slider card, I’m starting by stamping my images from the Heffy Doodle Otter Side and You Go, Gull stamp sets and the Sugar Pea Designs Captain of My Heart and Waves of Love stamp sets. To ensure I get a really crisp stamped image, I’m using my Smoosher Tool from Maker Forte and my MISTI. I’m coloring my images with Copic markers and then cutting the images out with my Die Cutting Machine.
Now I’m ready to create my waves. I’m using some colored cardstock and the Breaking Waves Dies, plus the Wavy Water Slides to create my coordinating wave slider.
For my front, I created sand using Copic markers. For my waves, I used the Breaking Waves Dies.
For my images, I am using the same sets as my first card. I’ve stamped my images, used Copic markers to color them, and now I’m attaching my little fishies and birds to small strips of acetate.
To make assembling my card easier, I am using my favorite Rainbow Tweezers.
And, that’s it! Both cards completed!
To be entered to win the giveaway, all you need to do is comment at each stop along the Blog Hop! Maker Forte will be giving away $35, Heffy Doodle will be giving away £25, and SugarPea Designs will be giving away $25 to their respective stores! Be sure to comment before 11:59 PM EST on Aug 20th to be entered to win!
Hello, hello! Can you believe it is November already!? I am sad at how fast the holidays are approaching, but I am EXCITED about the new Hedgehog Hollow Box for November! It’s filled with lots of goodies!! If you didn’t catch the Reveal Video yet, you can find it here! You can also see a list of the products here. If you sign up before November 14th, you can still get this November box! What are you waiting for?!
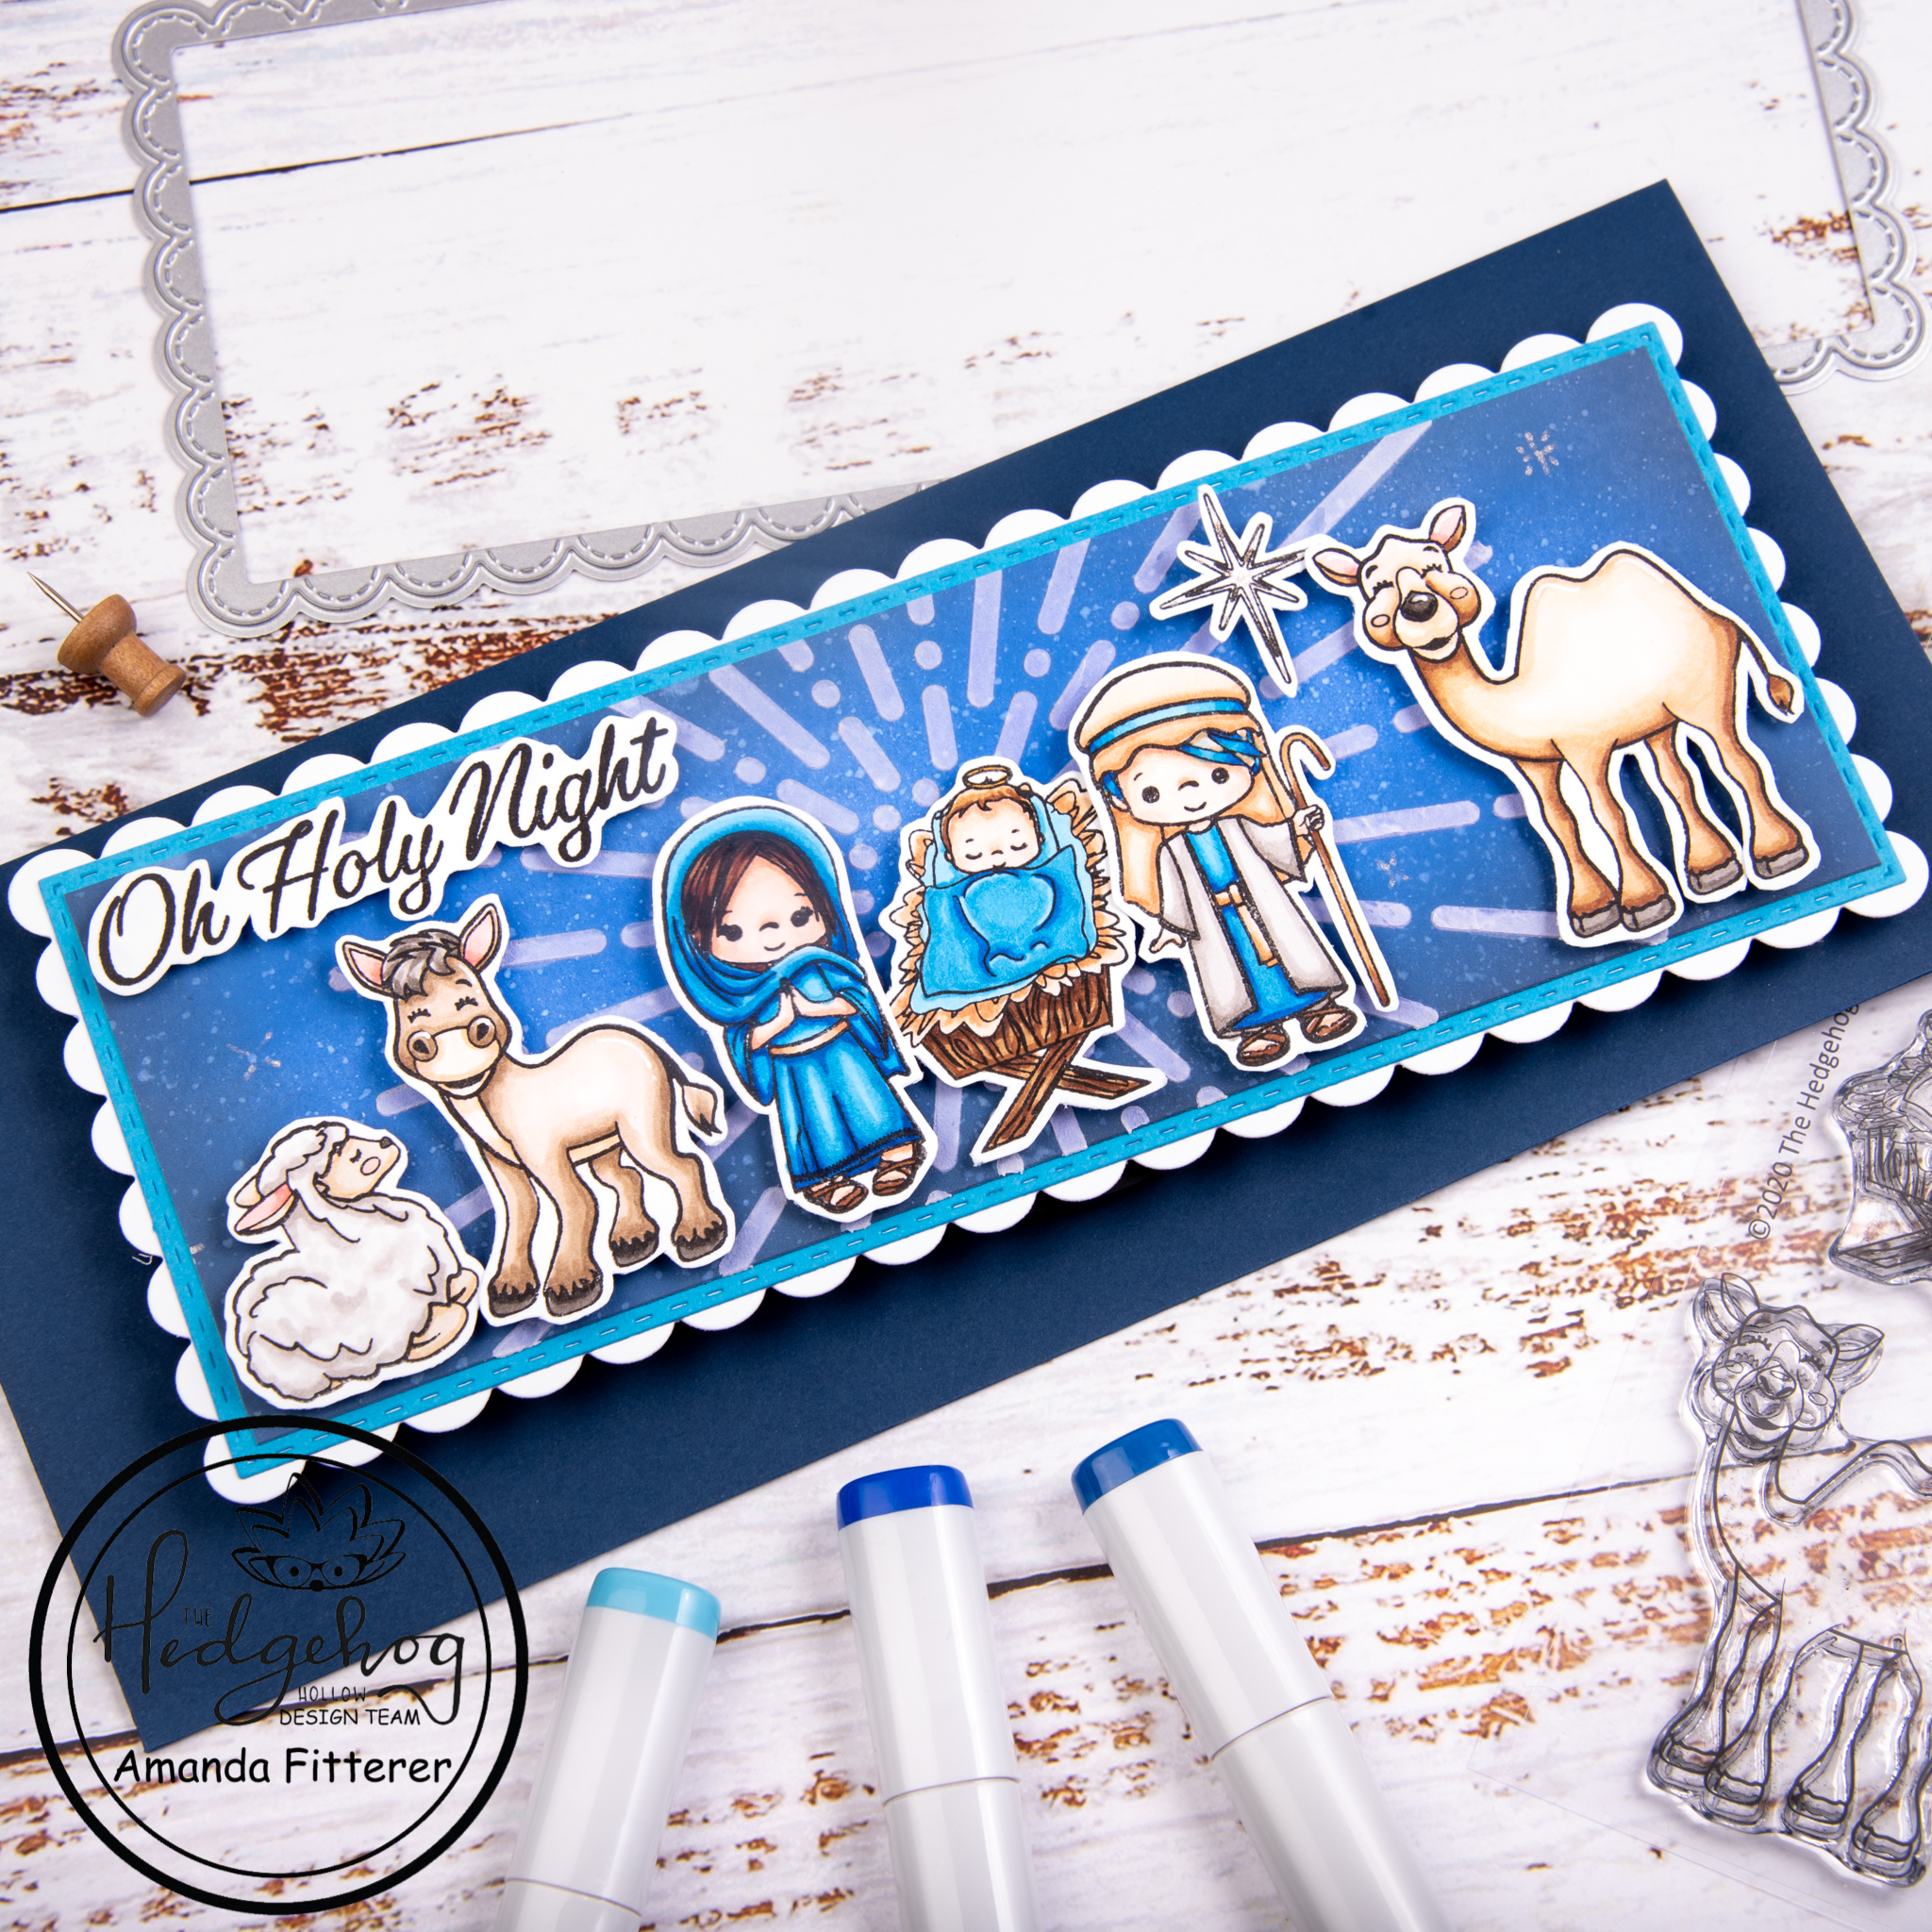
Today, I am sharing this Nativity Scene card with you! I think these images are just so sweet!
To create this card, I started with this AHHHHMAZING cardstock called “Perfect Blend Slimline Mini Strips” by Maker Forte. Blending Distress Inks and Oxides on this cardstock is just a breeze! I blended Faded Jeans, Blueprint Sketch, and Black Soot to create a dark background. I flecked water onto the background to create a “starry” effect.
I used the Simply Radiant Stencil from Heffy Doodle to create a starburst in my background. Using a spatula, I lightly applied some embossing paste.
While that dried, I stamped my images from the “Nativity” stamp set that was included in the November Subscription Box. I colored my images with Copic markers and then fussy cut each image out with detail scissors.
I love the way all of these images from the Nativity stamp set go together! They make the perfect little Christmas scene!
I hope you enjoyed my post! If you’re not already following me on Instagram, you can find me here. Later this week, I will be back with another project using the November Subscription Box! I can’t wait to keep sharing some more inspiration!
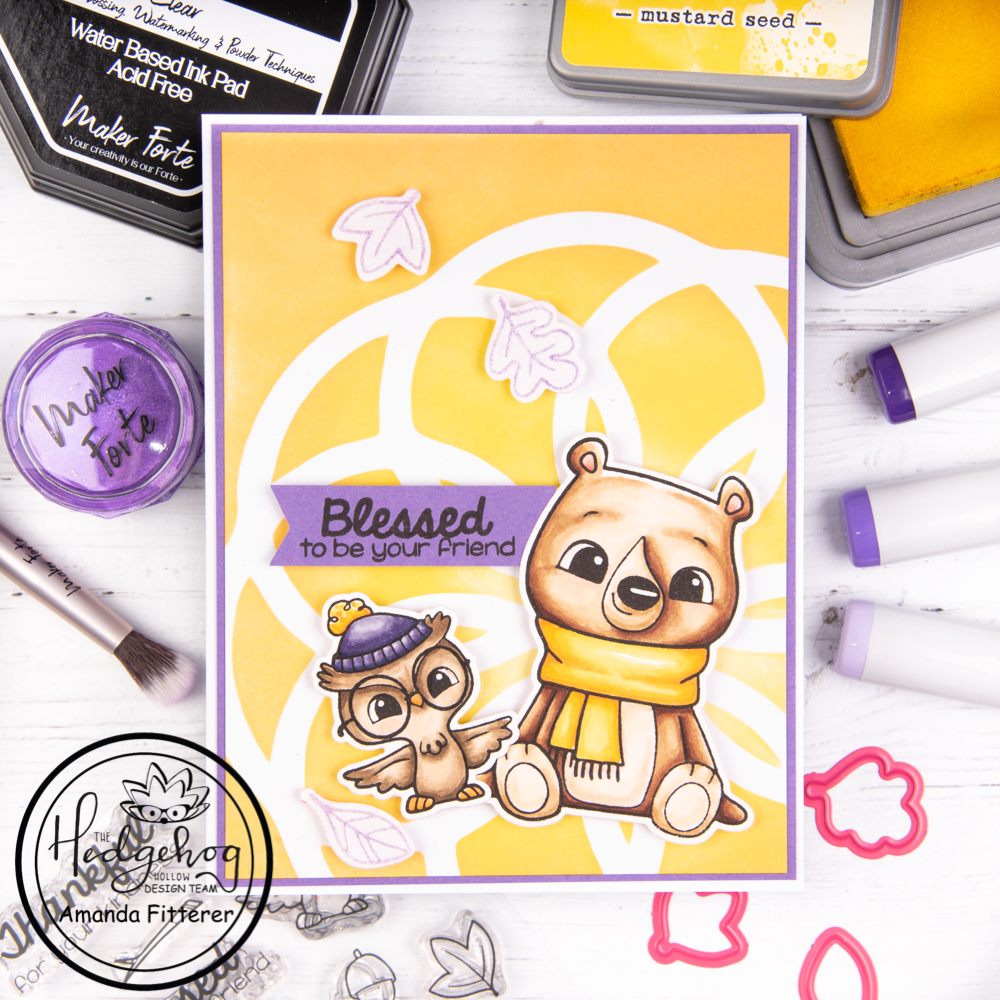
I’m sharing a video tutorial with you today making this super sweet fall card. I hope you have some time to watch it! If you’re interested in how to color with Copic markers, I walk through coloring in these cute little guys!
I used the stencil that was included in the October Subscription Box to create this bright and beautifully blended background! I blended Squeezed Lemon, Mustard Seed, and Carved Pumpkin Distress Oxides. To keep my stencil in place, I used Pixie Spray Adhesive. The cardstock that I use to get the BEST blending is the Snow Flurries Perfect Blend Card Fronts. For my images, I used Pink and Main’s Happy Fall stamp set. I stamped using Hero Arts Intensified Black ink because it is alcohol-friendly ink. I colored the images with Copic markers and then die cut them using the coordinating dies. To make these glittery leaves, I stamped the images with Color Hive Hexagonal Embossing Glue Ink Pad. I brushed on a bit of the Nebula Kaleidoscope Powder using the Rose Gold Dual Tip Powder Brush. All of these items were included in the October Subscription Box! I trimmed the yellow stenciled background cardstock down to 4″ x 5.25″. I cut a piece of purple cardstock down so that it was just a bit larger. I adhered these card fronts to a card base that was 8.5″ x 5.5″. I adhered my stamped images to my card front using 3D foam squares. If you weren’t signed up before October 14th and missed out on this box, you can check back later here to see if it’s available as a One-Off. All the subscription options can be found here.
I cannot wait to see what’s in the November box! How about you?!
I really hope you enjoyed my post! I can’t wait to share some more posts with you in November!! Xoxo, Amanda