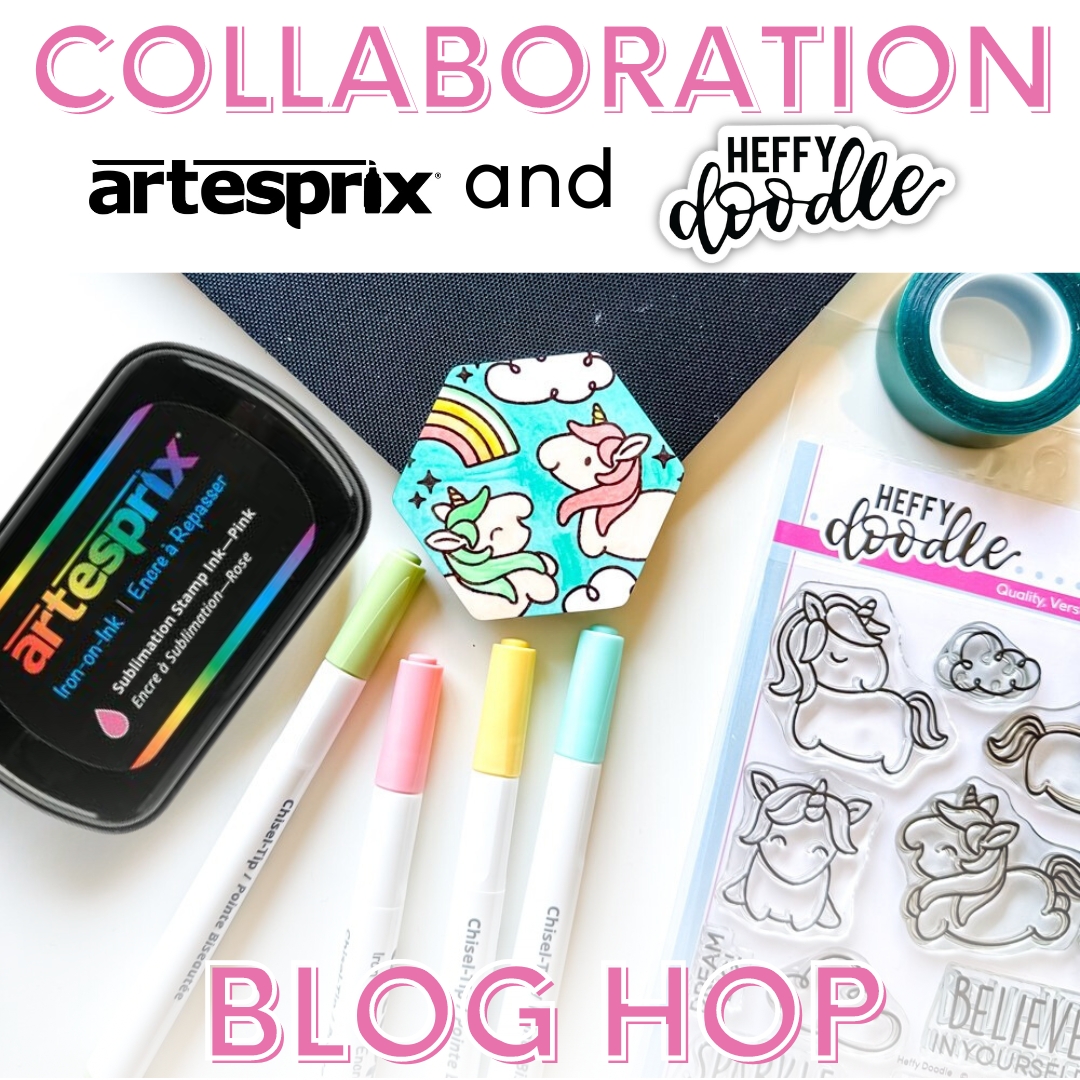

Welcome to the Heffy Doodle and Artesprix Collaboration Blog Hop!
Did you know you could use your clear stamps with Iron-on Sublimation from Artesprix? This Collaboration Blog Hop is full of ideas doing just that!!
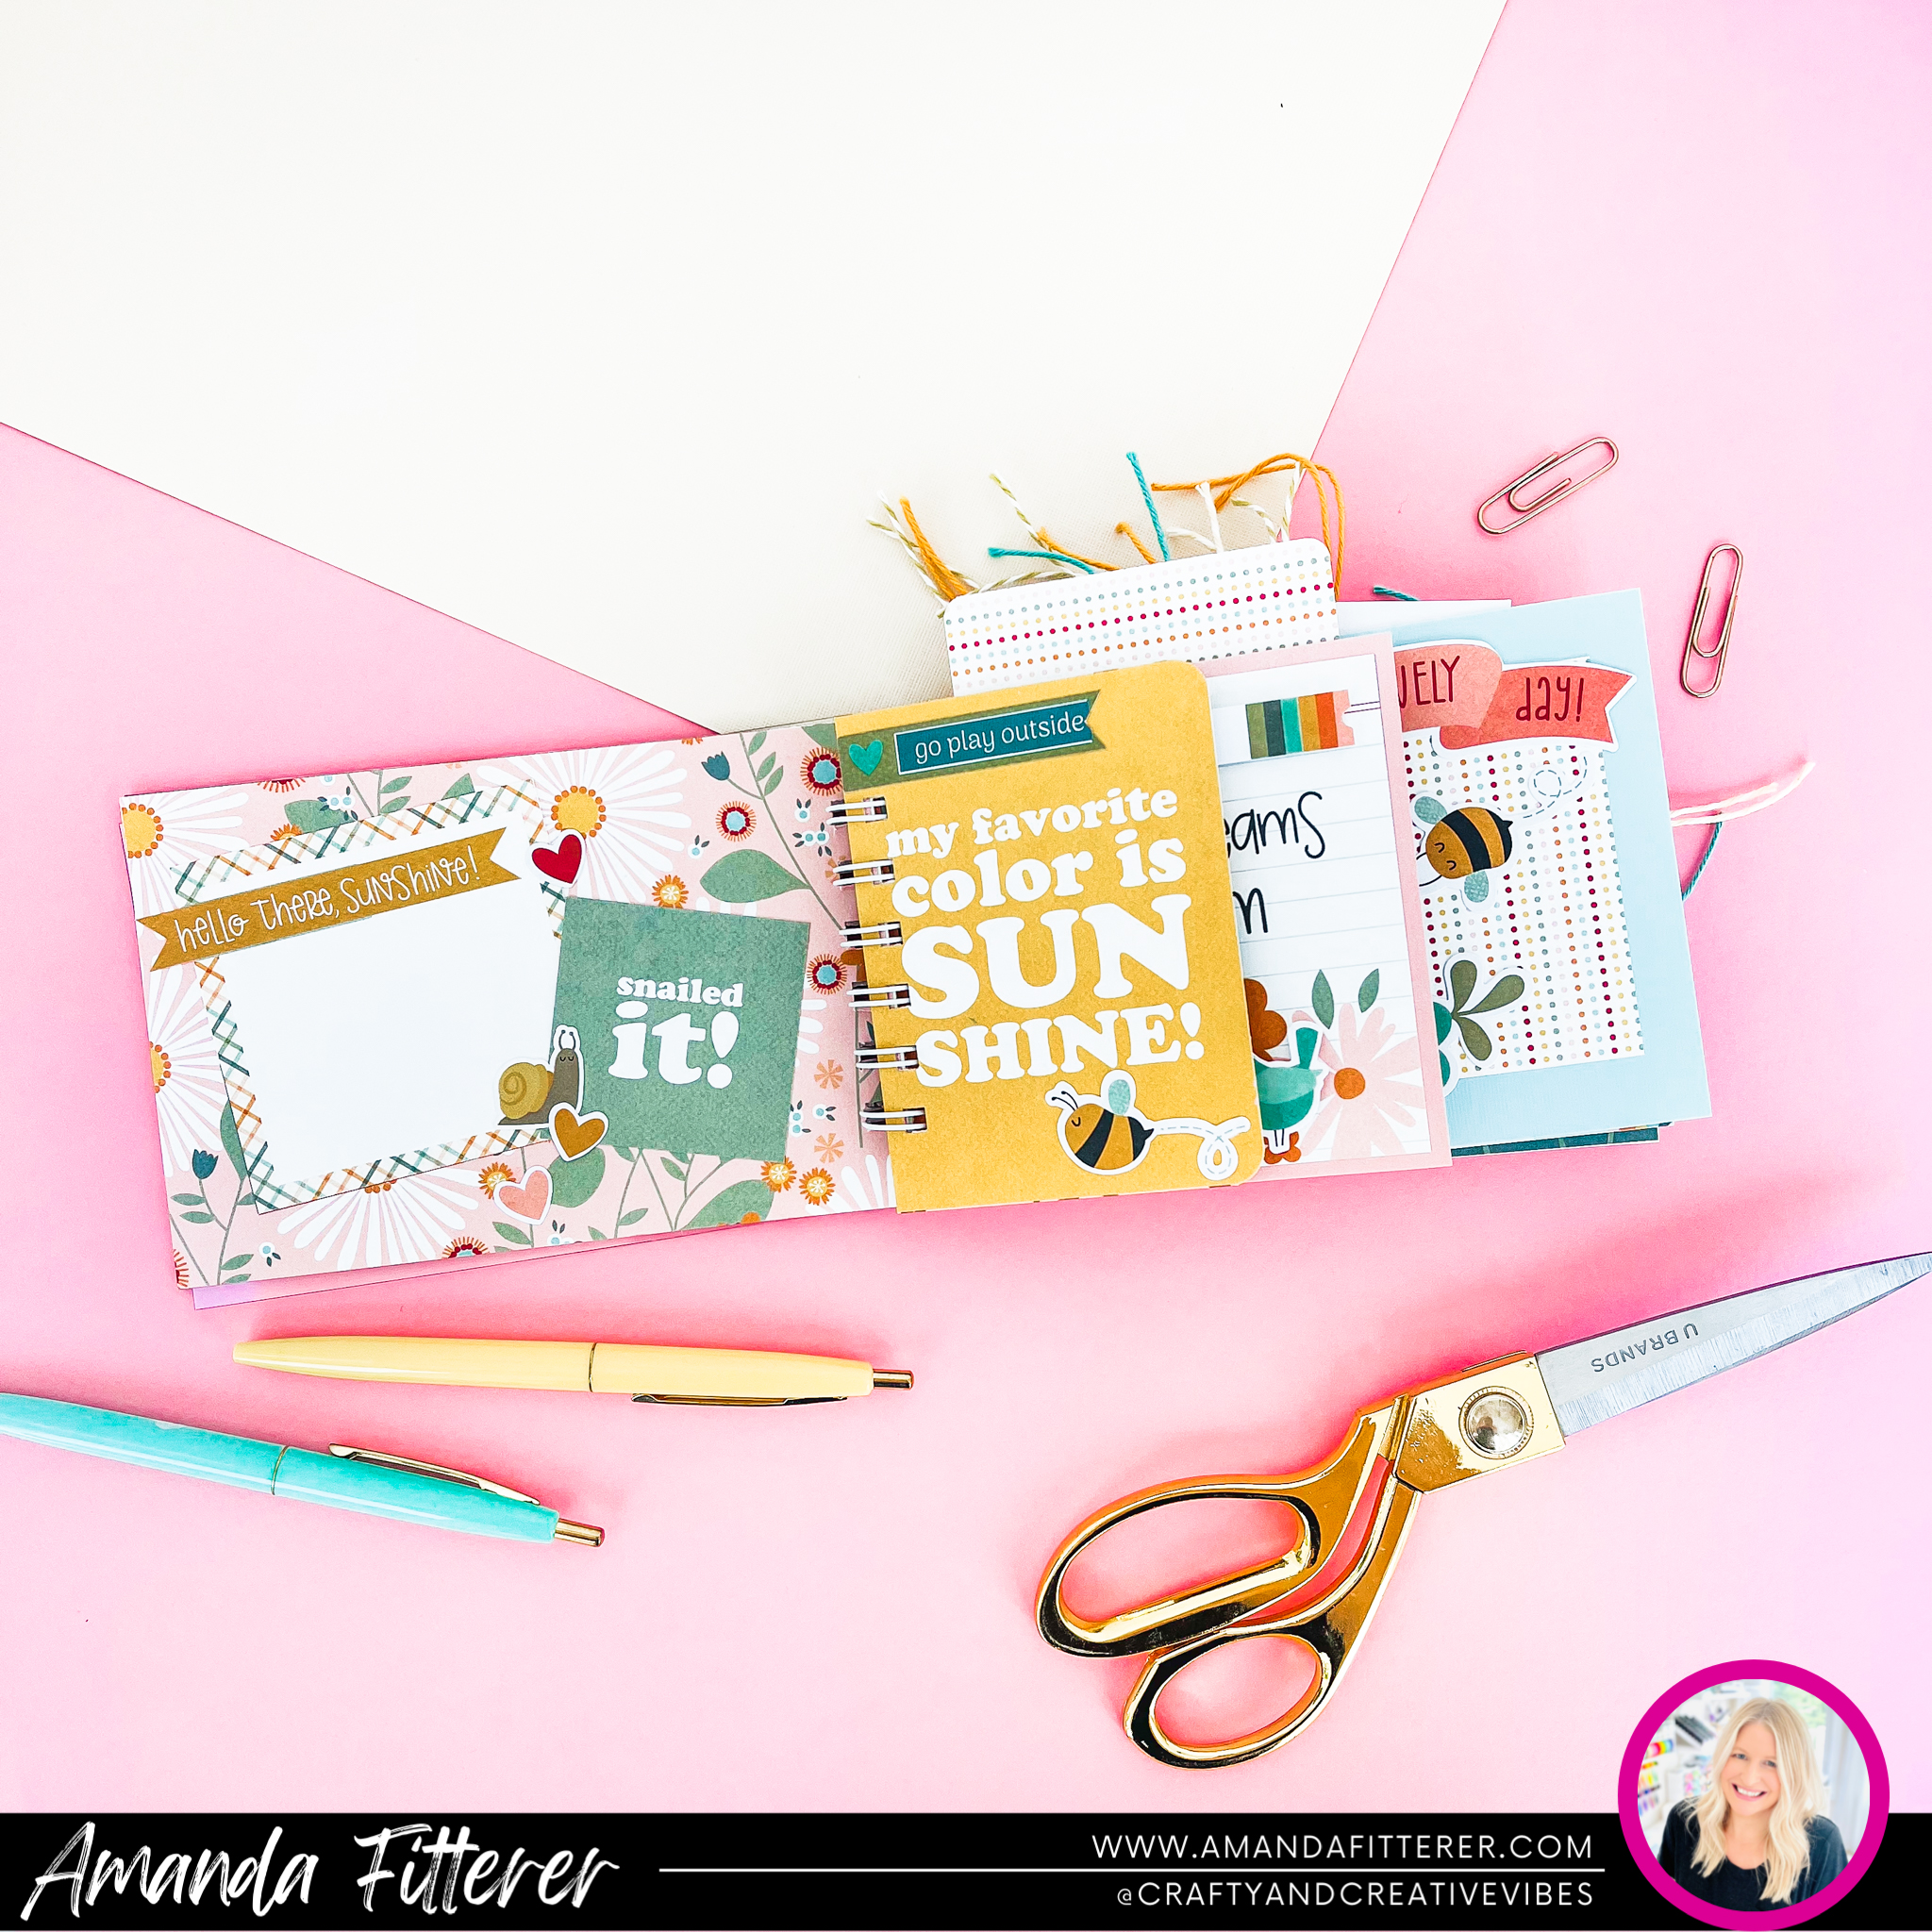
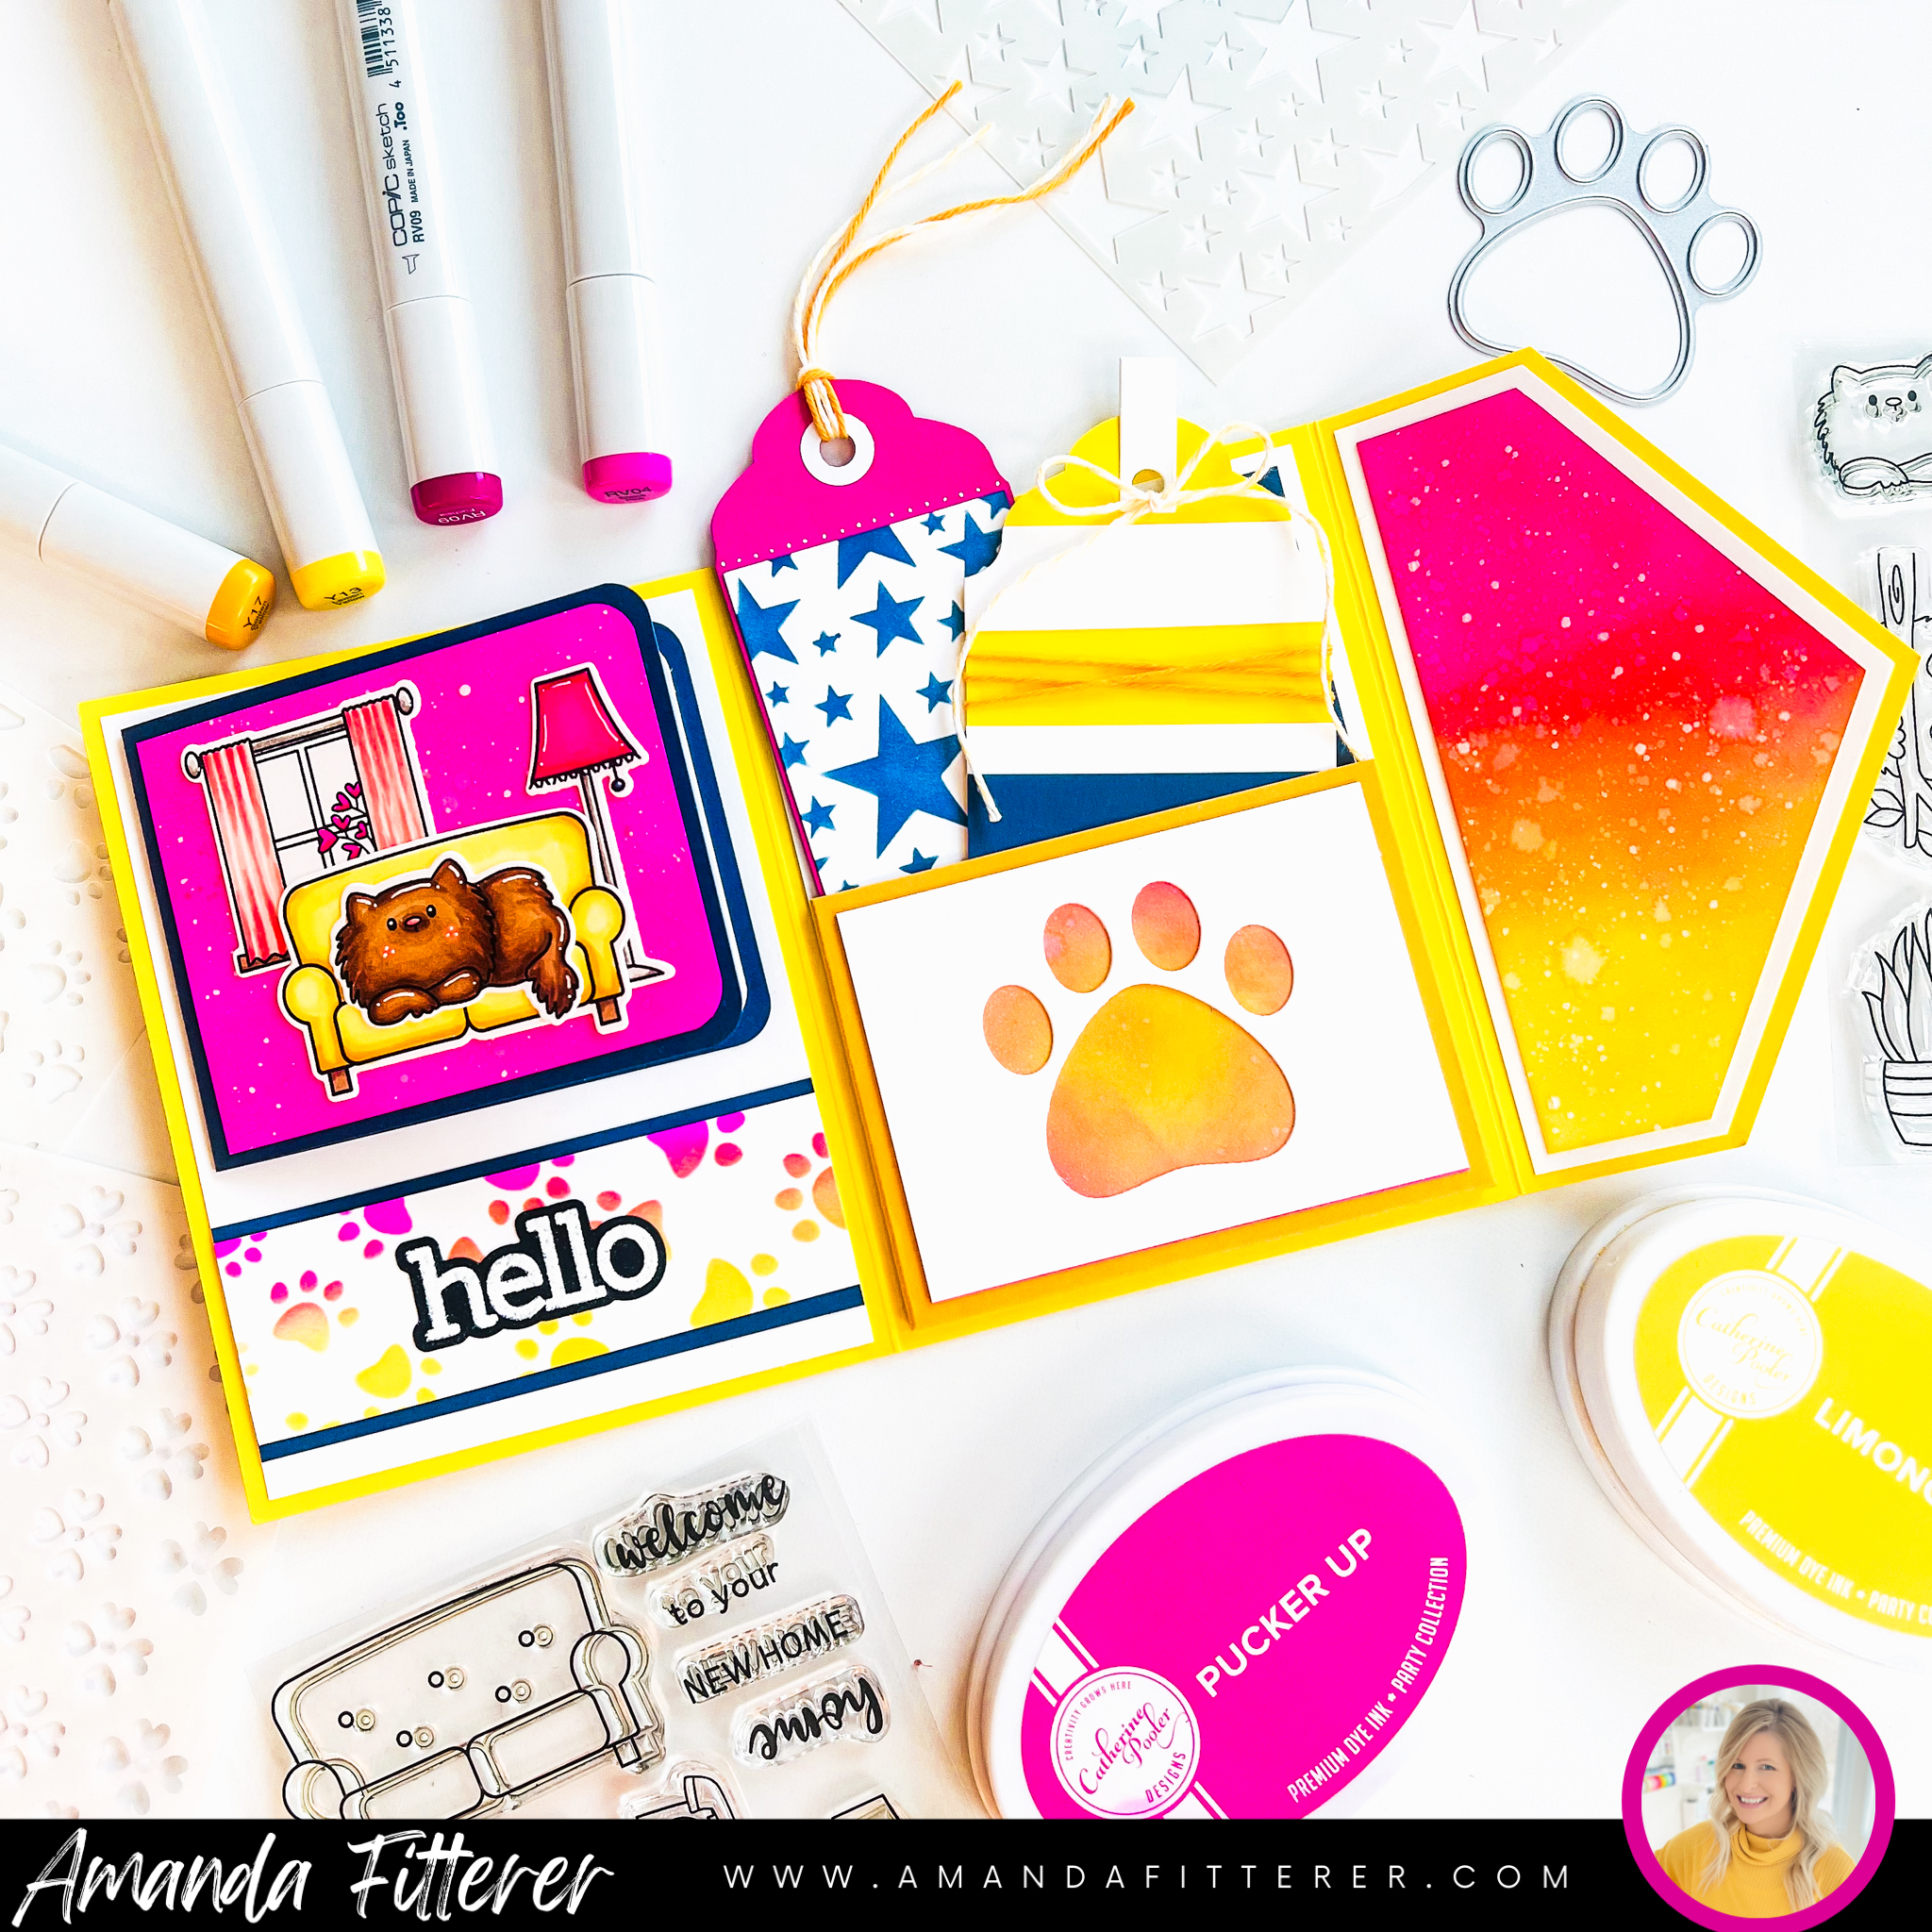
I have created 3 different projects to share with you! I’ve made a luggage tag, a magnet, and a bookmark!
I’m going to show you how easy this process is using the magnet as an example! You will need:
1. Artesprix Magnet Blank
2. Artesprix Markers
3. Artesprix Iron-on Black Ink Pad
4. Heat Tape
5. Protective Paper
6. Protective Project Mat
7. Fluffy Puffy Unicorns Stamp Set
8. An iron or heat press


There is a whole range of product blanks you can purchase to make some really fun projects! Check them all out here:
I’ve used the Luggage Tags, Magnets, and Bookmarks.
For my Luggage Tag, I used the Llamazing Llamas Stamp Set. For the Bookmark, I used the Be Hoppy Stamp Set.


Here’s a link to Artesprix’s Directions for using their products: Link
Blog Hop Giveaway Deets:
To be entered to win the giveaway, all you need to do is comment at each stop along the Blog Hop!
Artesprix will be giving away $30 (US addresses only) and Heffy Doodle £20 to their stores! Be sure to comment before 11:59 PM EST on November 27th to be entered to win!
Each company will post their random winner on November 29th at 10AM EST! Make sure to check the Heffy Doodle Blog and Artesprix blog to see if you’re a winner!
Blog Hop Lineup:
Amanda Fitterer <– You are here
Alison Heikkila <– Go here next!
Have a fabulous time hopping around to see all the amazing creations! Xx, Amanda
Thanks for using my affiliate links! You all are the BEST! Using an affiliate link in this post above or down below costs you nothing, but it gives me a teeny percentage of your sale to buy more crafty goodies to continue to share card tutorials with YOU! So, thank YOU! Xx, Amanda
👇🏻👇🏻 Subscribe 👇🏻👇🏻 to be alerted of new posts by yours truly!