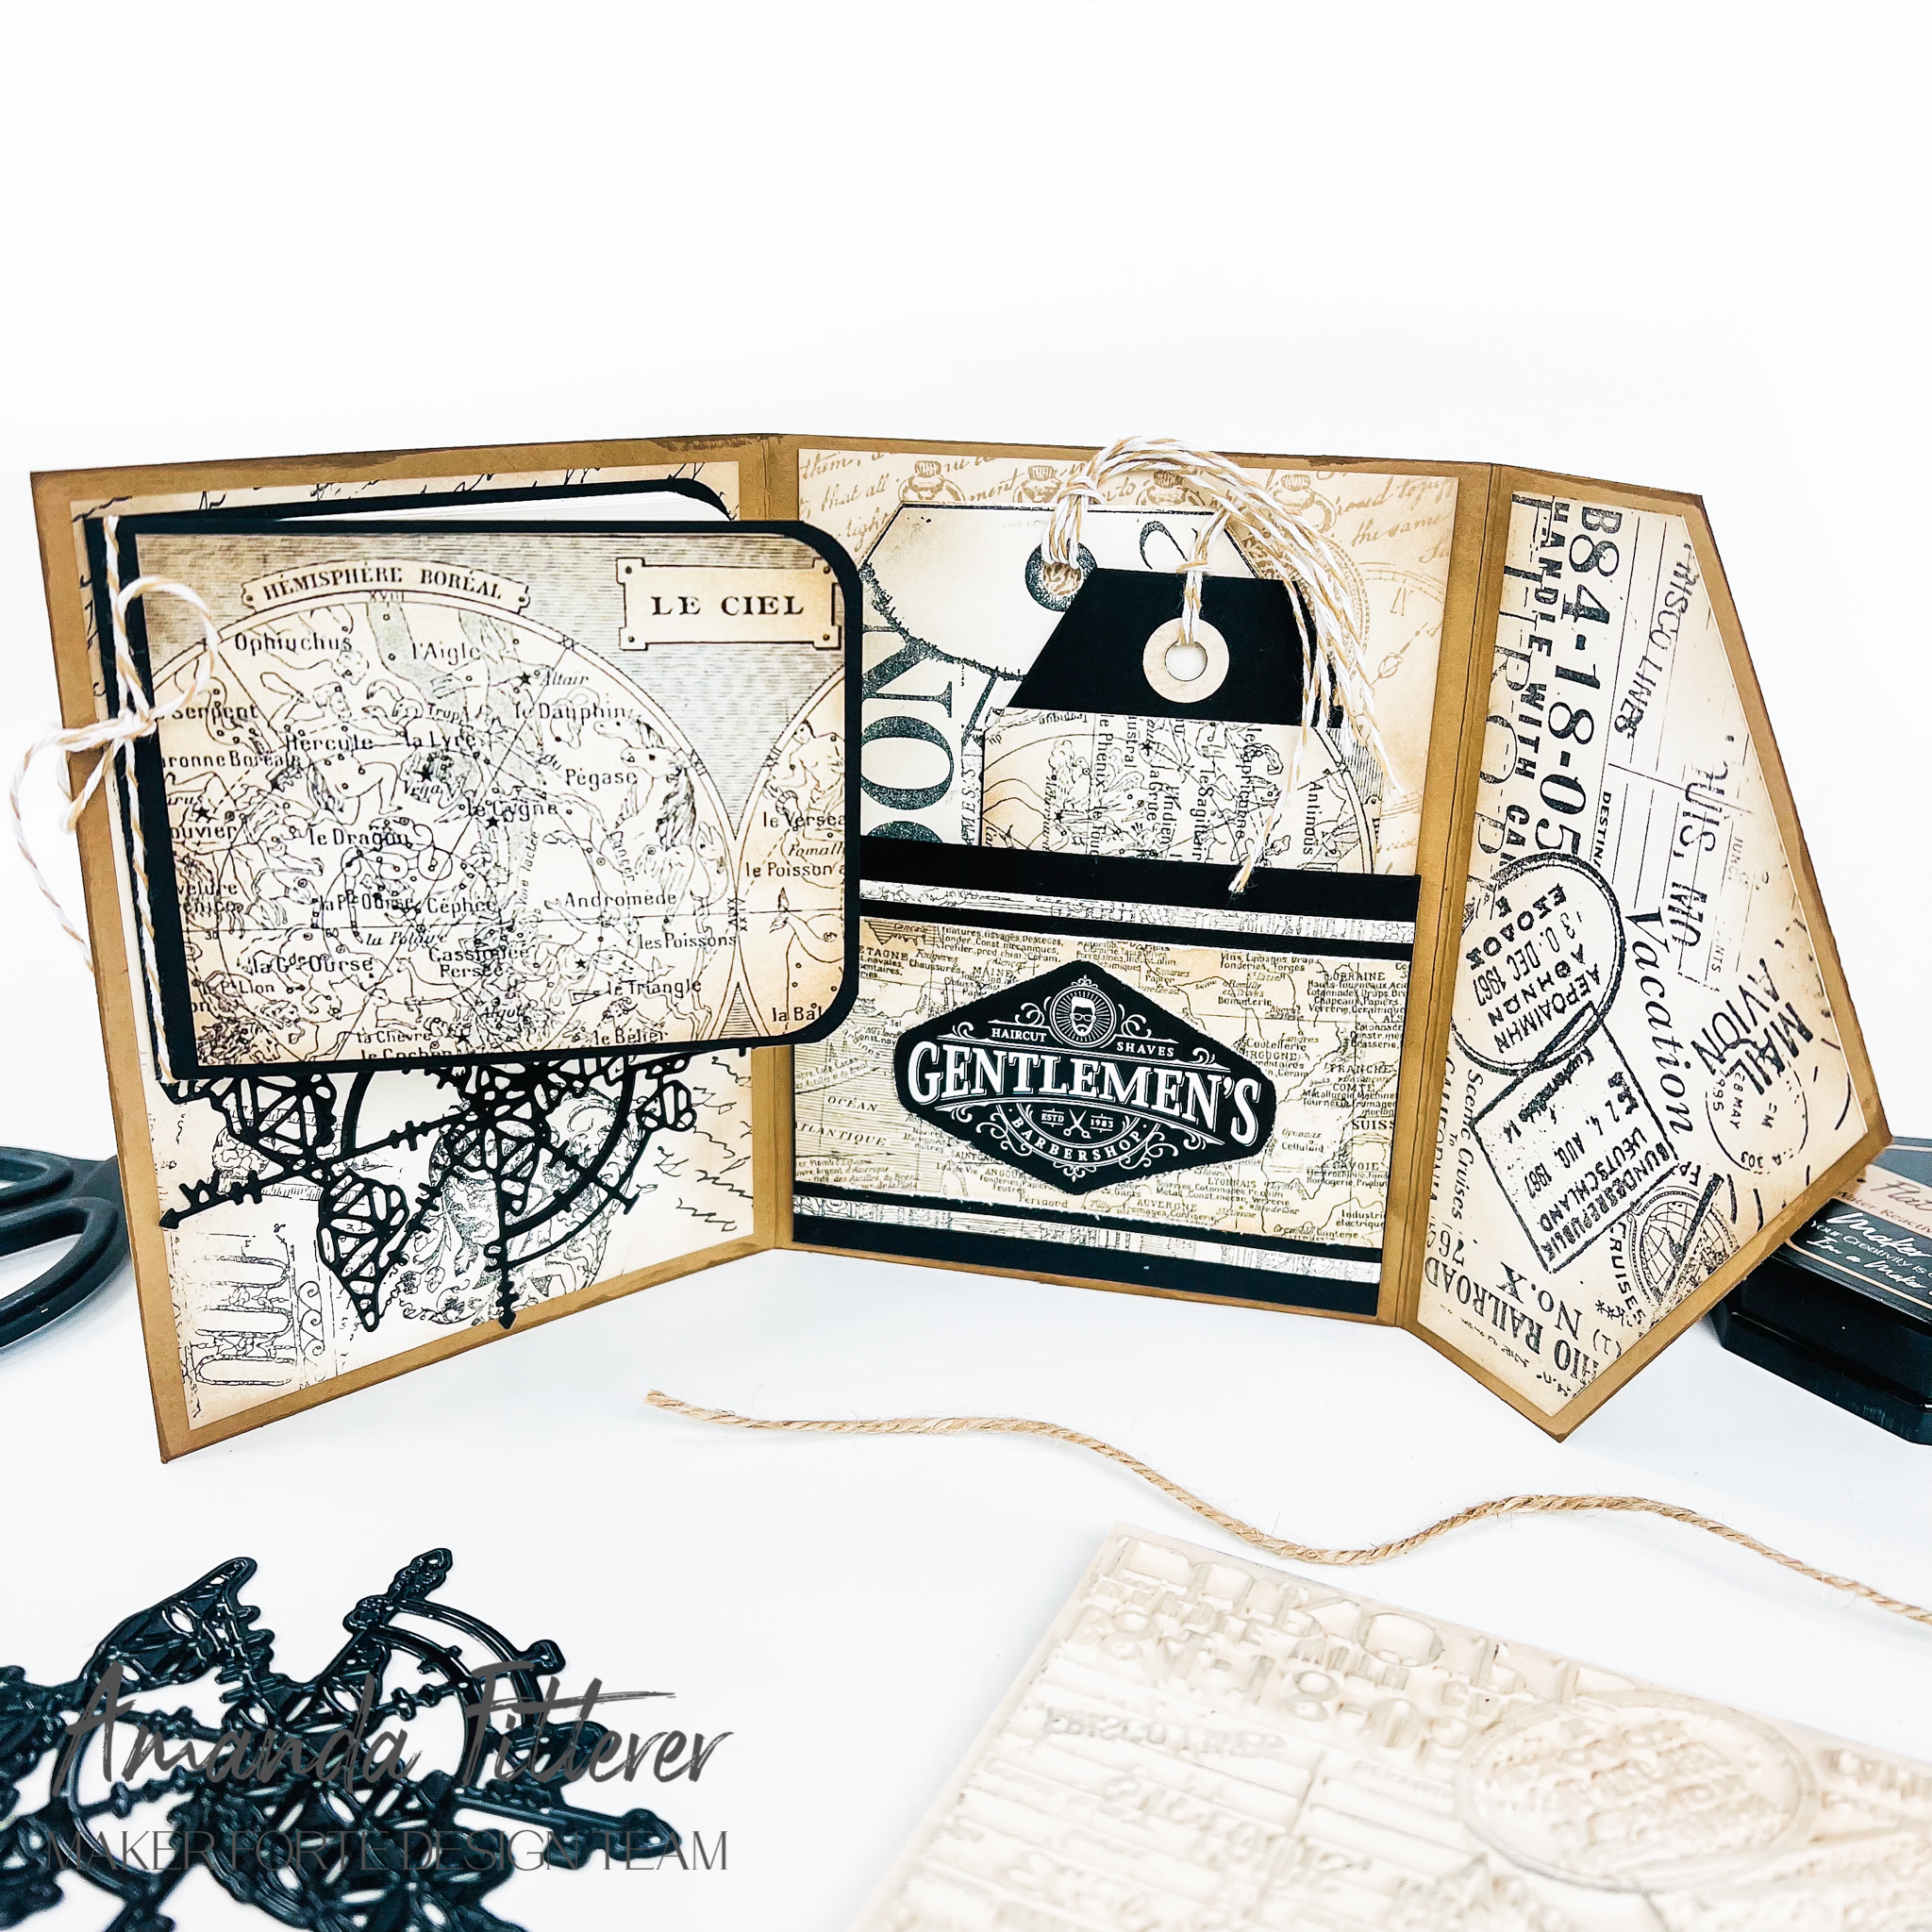
Hey friends! Today I am sharing this really fun tri-fold journal and tag holder! I love how masculine it is! This Mister Maker line of products are all masculine, which makes it so much easier!
Check out this image to see which products I used:
You can shop all the Mister Maker products using my affiliate link (at no charge to you.. I just get a small percentage of your sale, which helps me fund my craftiness!)
Thank you so much for your love and support! If you would like me to do a tutorial on how I made this tri-fold, just leave a comment!
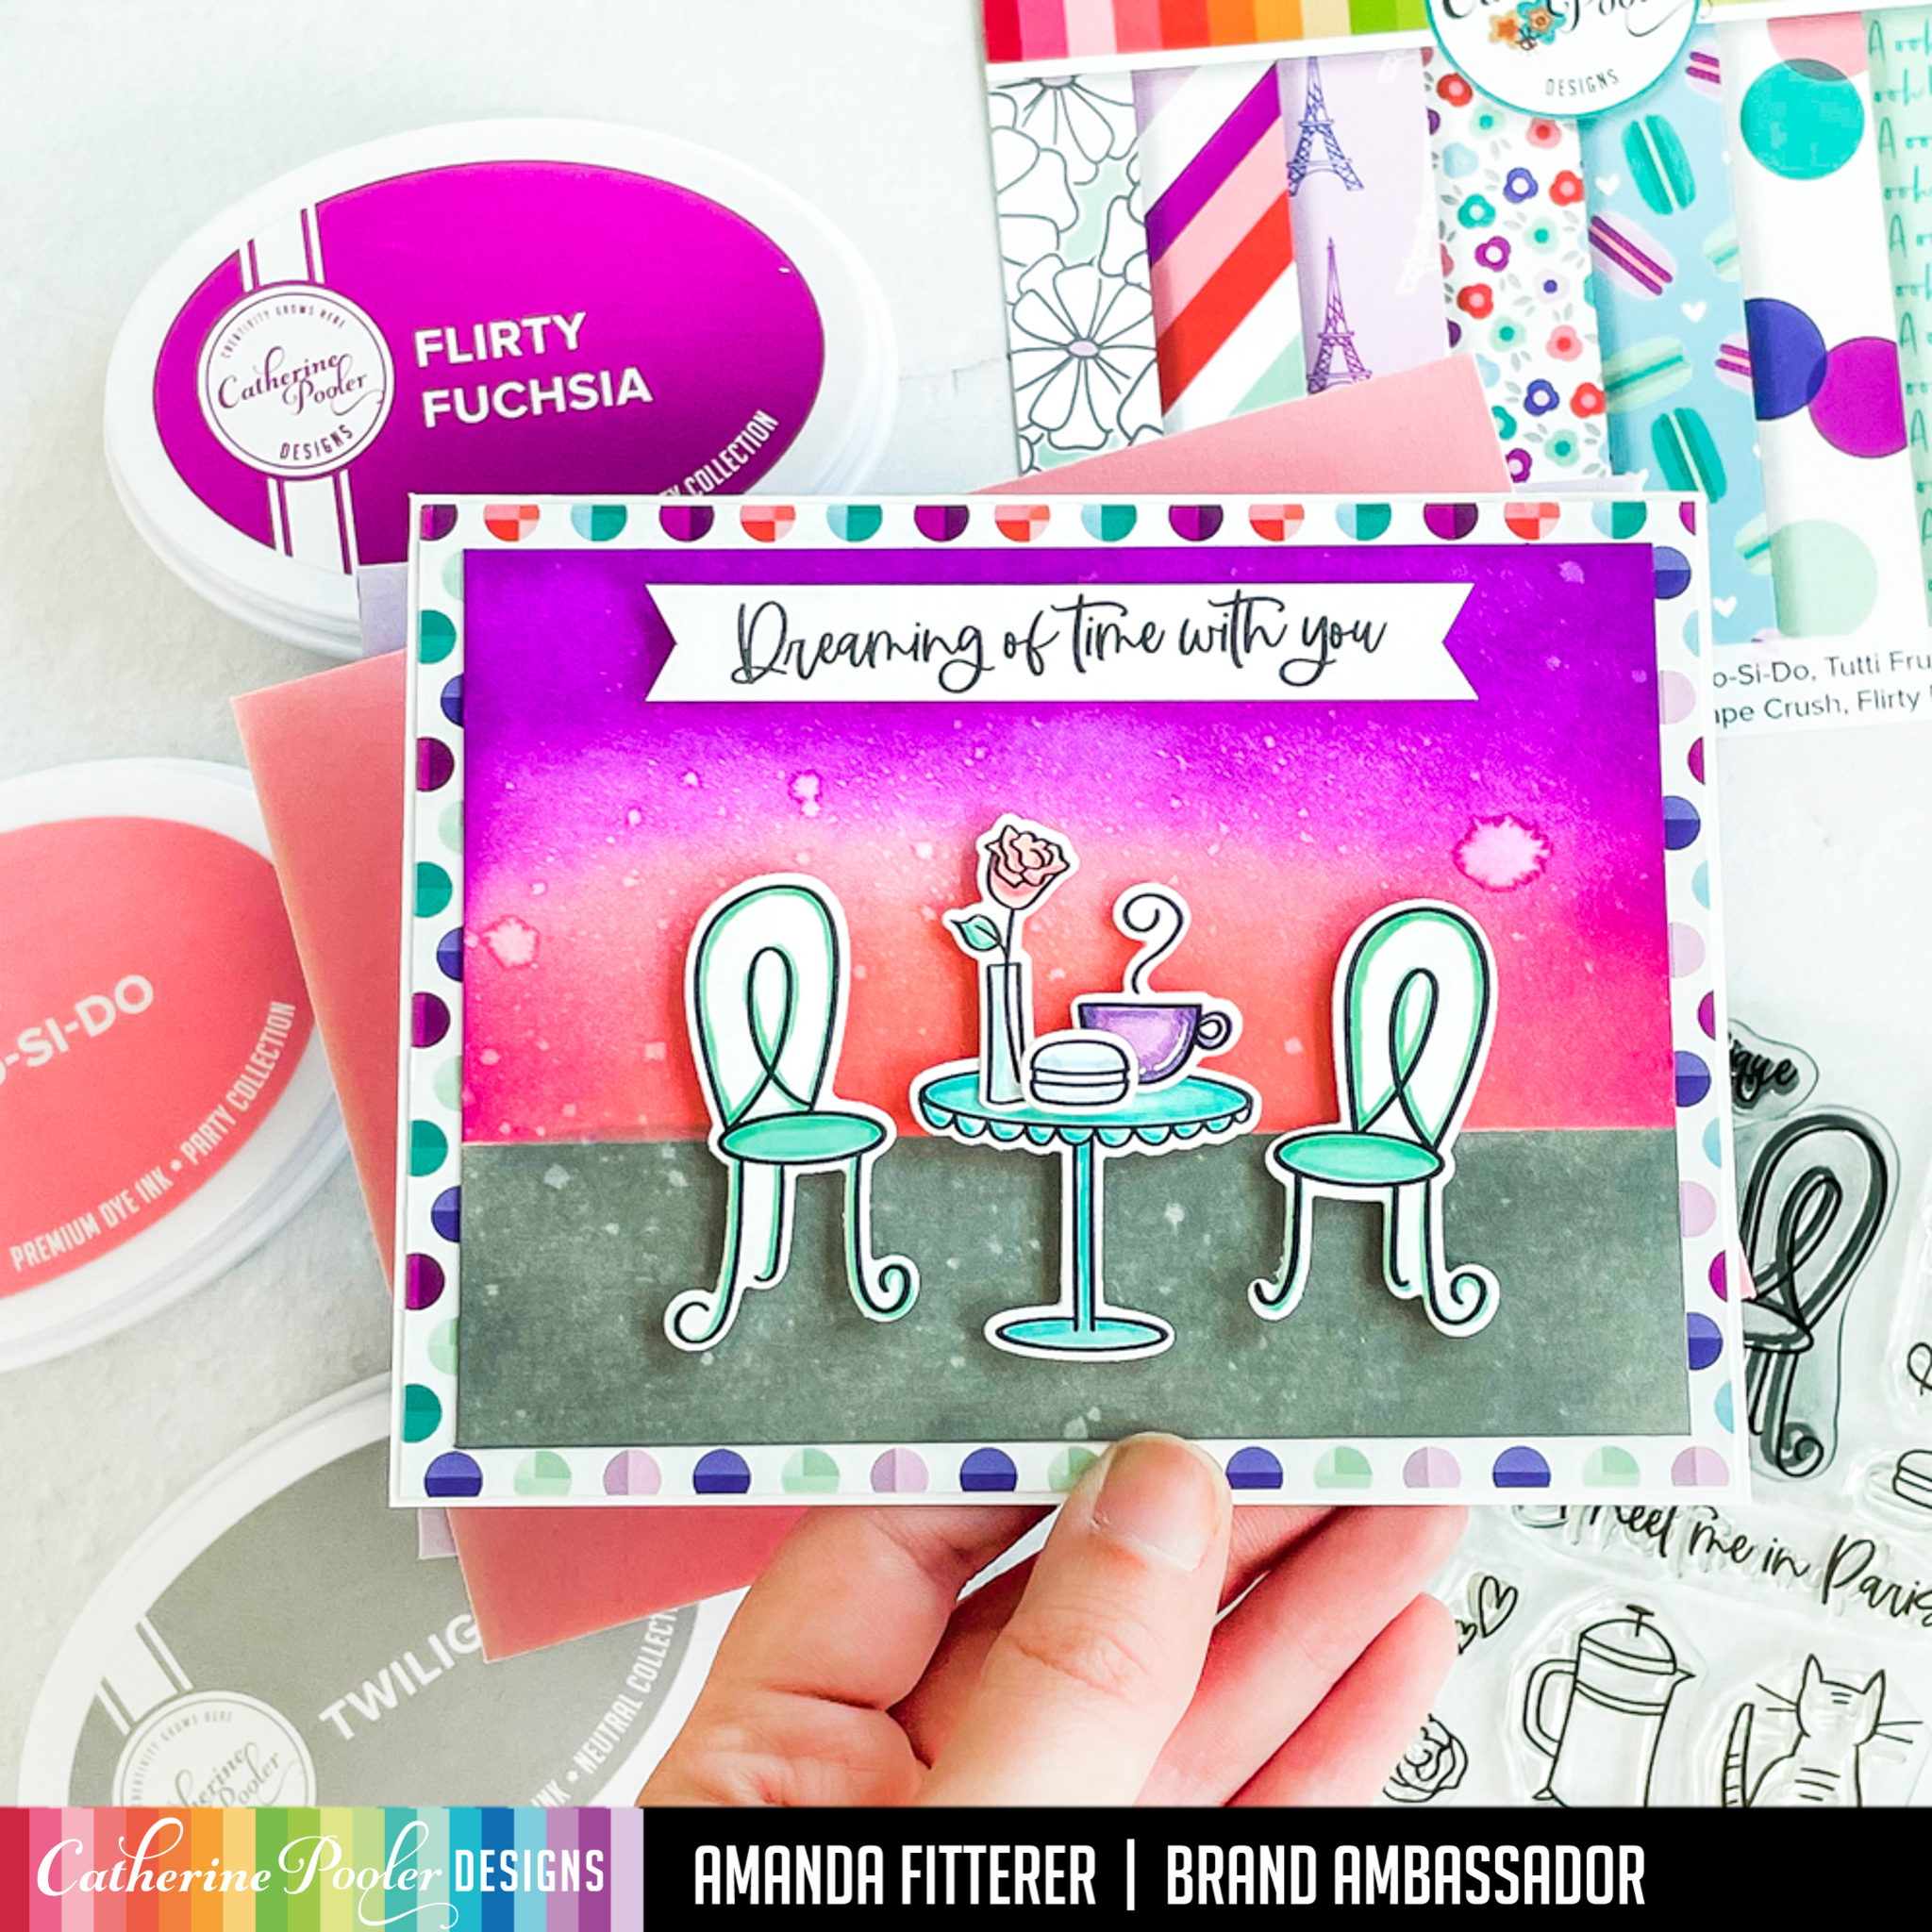
Did you catch the release of the new Global Adventure Pt. Deux Release from Catherine Pooler?! Omgoodness! The cuteness! This collection is taking you around the world! You HAVE to check it out!
I will be back in the next few days to share some more cards using this New Release!
–> If you want to use my affiliate link to shop the New Release, click here.Thank you for all your support!!All the links in this post are affiliate links. This helps me to get some extra crafty cash to buy more goodies to share more projects with you!It is SO appreciated! <–
Hey crafty friends! The New WINTER Release from Maker Forte is available for purchase now! I have created so many wonderful cards using the new products!
If you usethis affiliate link to make your purchase, I’ll get a small percentage back from your order! (Thank you!!)
Check out some of these fun winter cards I made!
If you usethis affiliate link to make your purchase, I’ll get a small percentage back from your order! (Thank you for your support!!)
Welcome to the Honey Bee Stamps Summer Release Blog Hop – Day 2! To celebrate this huge release, Honey Bee Stamps is giving away a $25 gift certificate to the store for each day of the Hop! Be sure to comment on every stop along the way for Day 1 and Day 2 to win!
I’m going to make a different roof for each house! I’m die cutting the roof from the Beach House Add-On Honey Cuts. For my first house, I’m using Scattered Straw and Frayed Burlap distress ink and oxide. I’m also adding E34 to the embossed parts. For the 2nd house, I’m using Copic markers and a flicking motion to color in the entire roof. I am using E41, E42, E43, and E44. For the last house, I’m using the Scattered Straw and Frayed Burlap again, but doing a lighter coat.
I’m using the doors and windows that come with the House Builder Base for the 2nd and 3rd houses and coloring them with Copic markers.
Now I’m going to start stamping my images from the Beach House Add-On Stamps and coloring them with Copic markers. Click on any image to view it larger! For my “Welcome” sign, I’m using a paddle as my stick!
For my palm trees, I’m going to blend Mowed Lawn and Twisted Citron distress inks on a piece of white card stock and then die cut my leaves. For the trunk, I’m using E50, E31, E23, and E55.
Now I’m ready to start adhering my cards together! The process is the same for each card, so I’m only showing one house below. I am using 3D foam squares and strips for items I want to stick out (such as the palm tree, bike, and tiki torches). I am using a glue pen for tiny things, such as the leaves on the wreath and the palm leaves. I am using double sided tape for the fence.
Here’s another look at the finished cards!
For my 2nd project, I created these shaker tags!
To make these tags, I am using the Tag Along dies from Heffy Doodle. I am using the same tag die to cut the acetate for my shaker portion so that it fits perfectly. Next, I’m blending some backgrounds with distress oxides and stencils.
I’m stamping my images using Memento Tuxedo Black ink and then using my Copic markers to color my images.
I am adding “margarita salt” to the rim of my margarita using liquid glue and Frosted Sugar Powder from Dress My Craft. For my shakers, I’m using the Frosted Sugar Powder and Crystal Ice Cubes from Dress My Craft.
Thank you so much for stopping by my post! If you’re not already following me on Instagram, please follow me if you want to see more cards from me! @craftyandcreativevibes Xoxo, Amanda