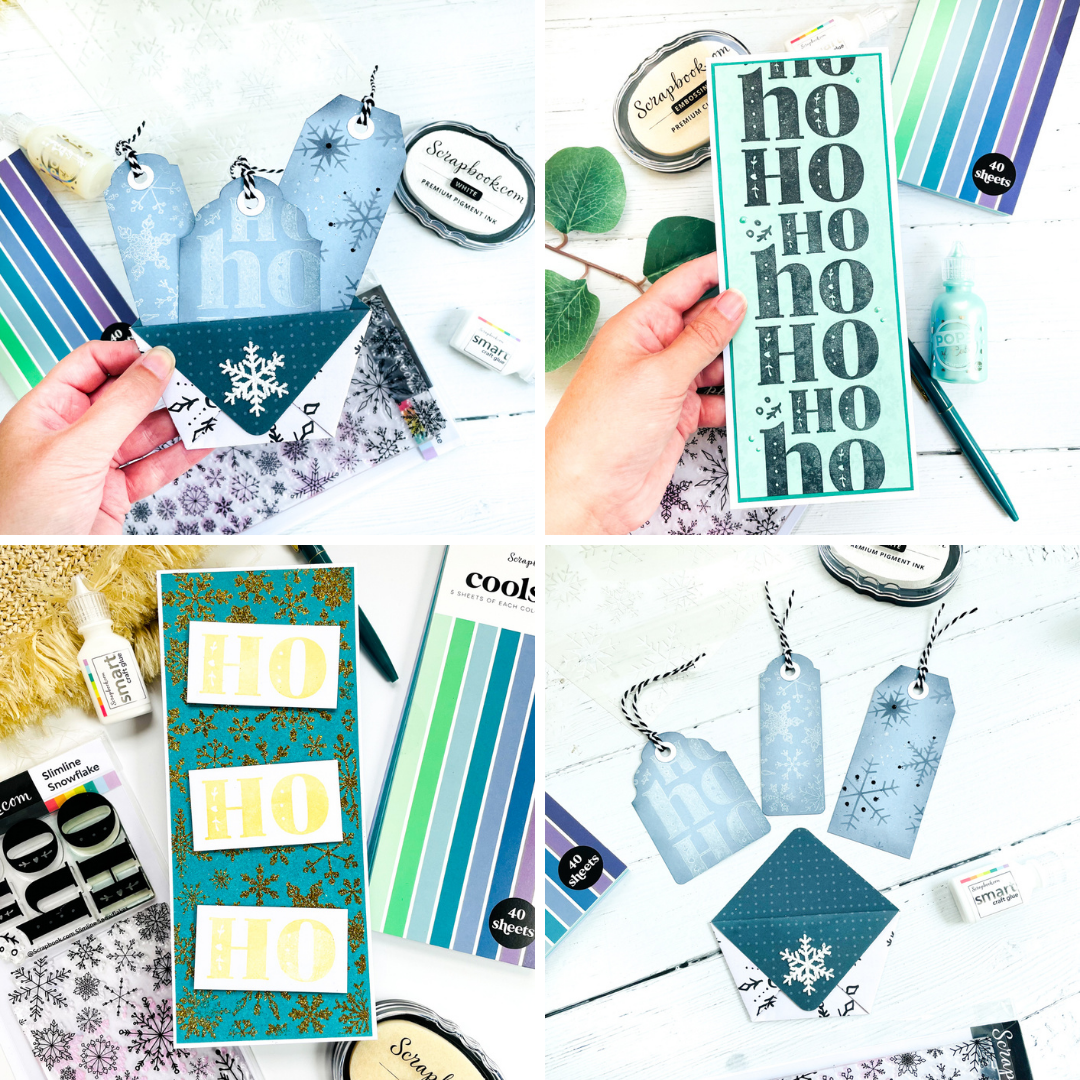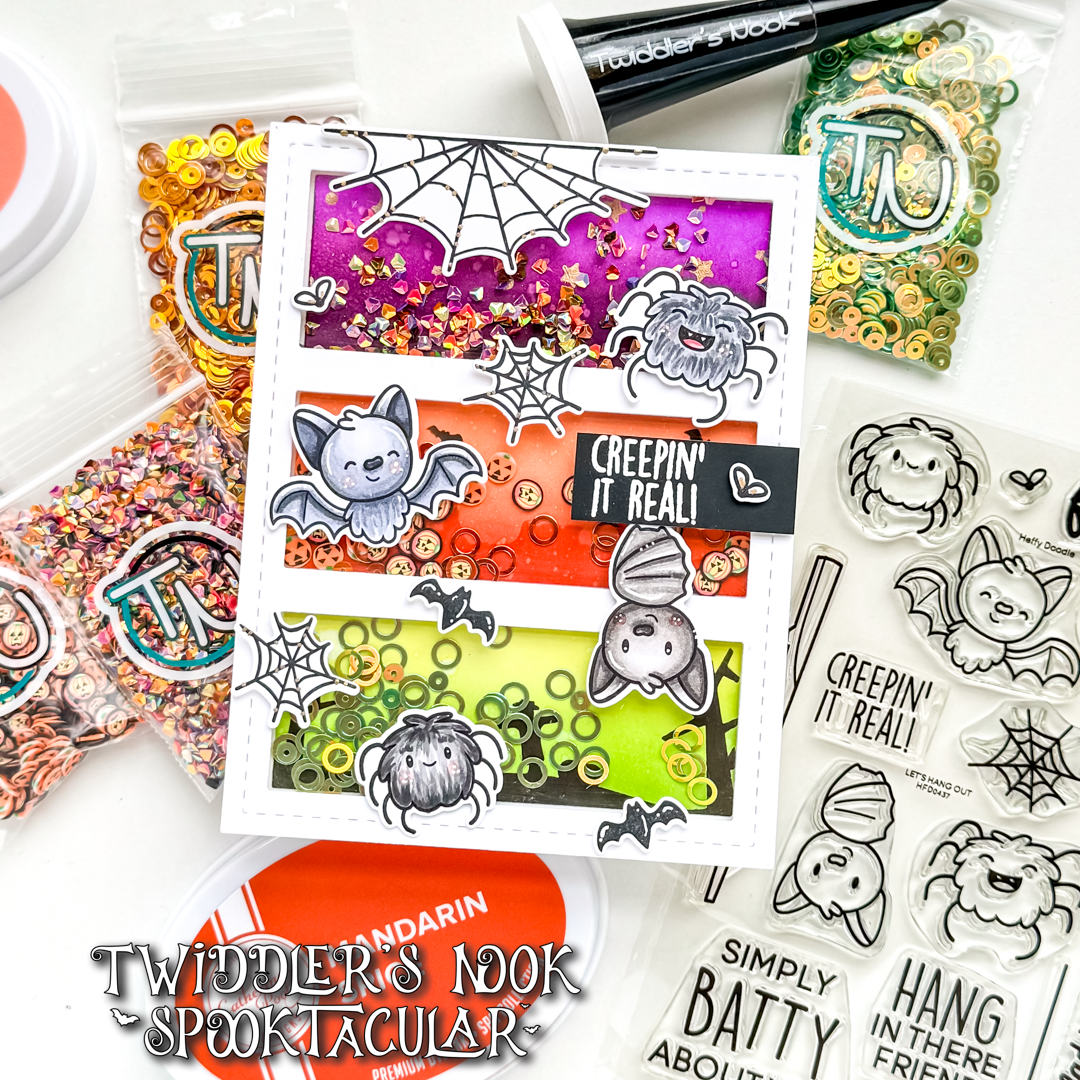
Hey guys! I wanted to share how I put together this shaker card for the Twiddler’s Nook Spooktacular Instagram Hop! To win, you’ll have to head to the Hop on Instagram, but definitely scroll down to see how to make this card and all the awesome supplies I used!!

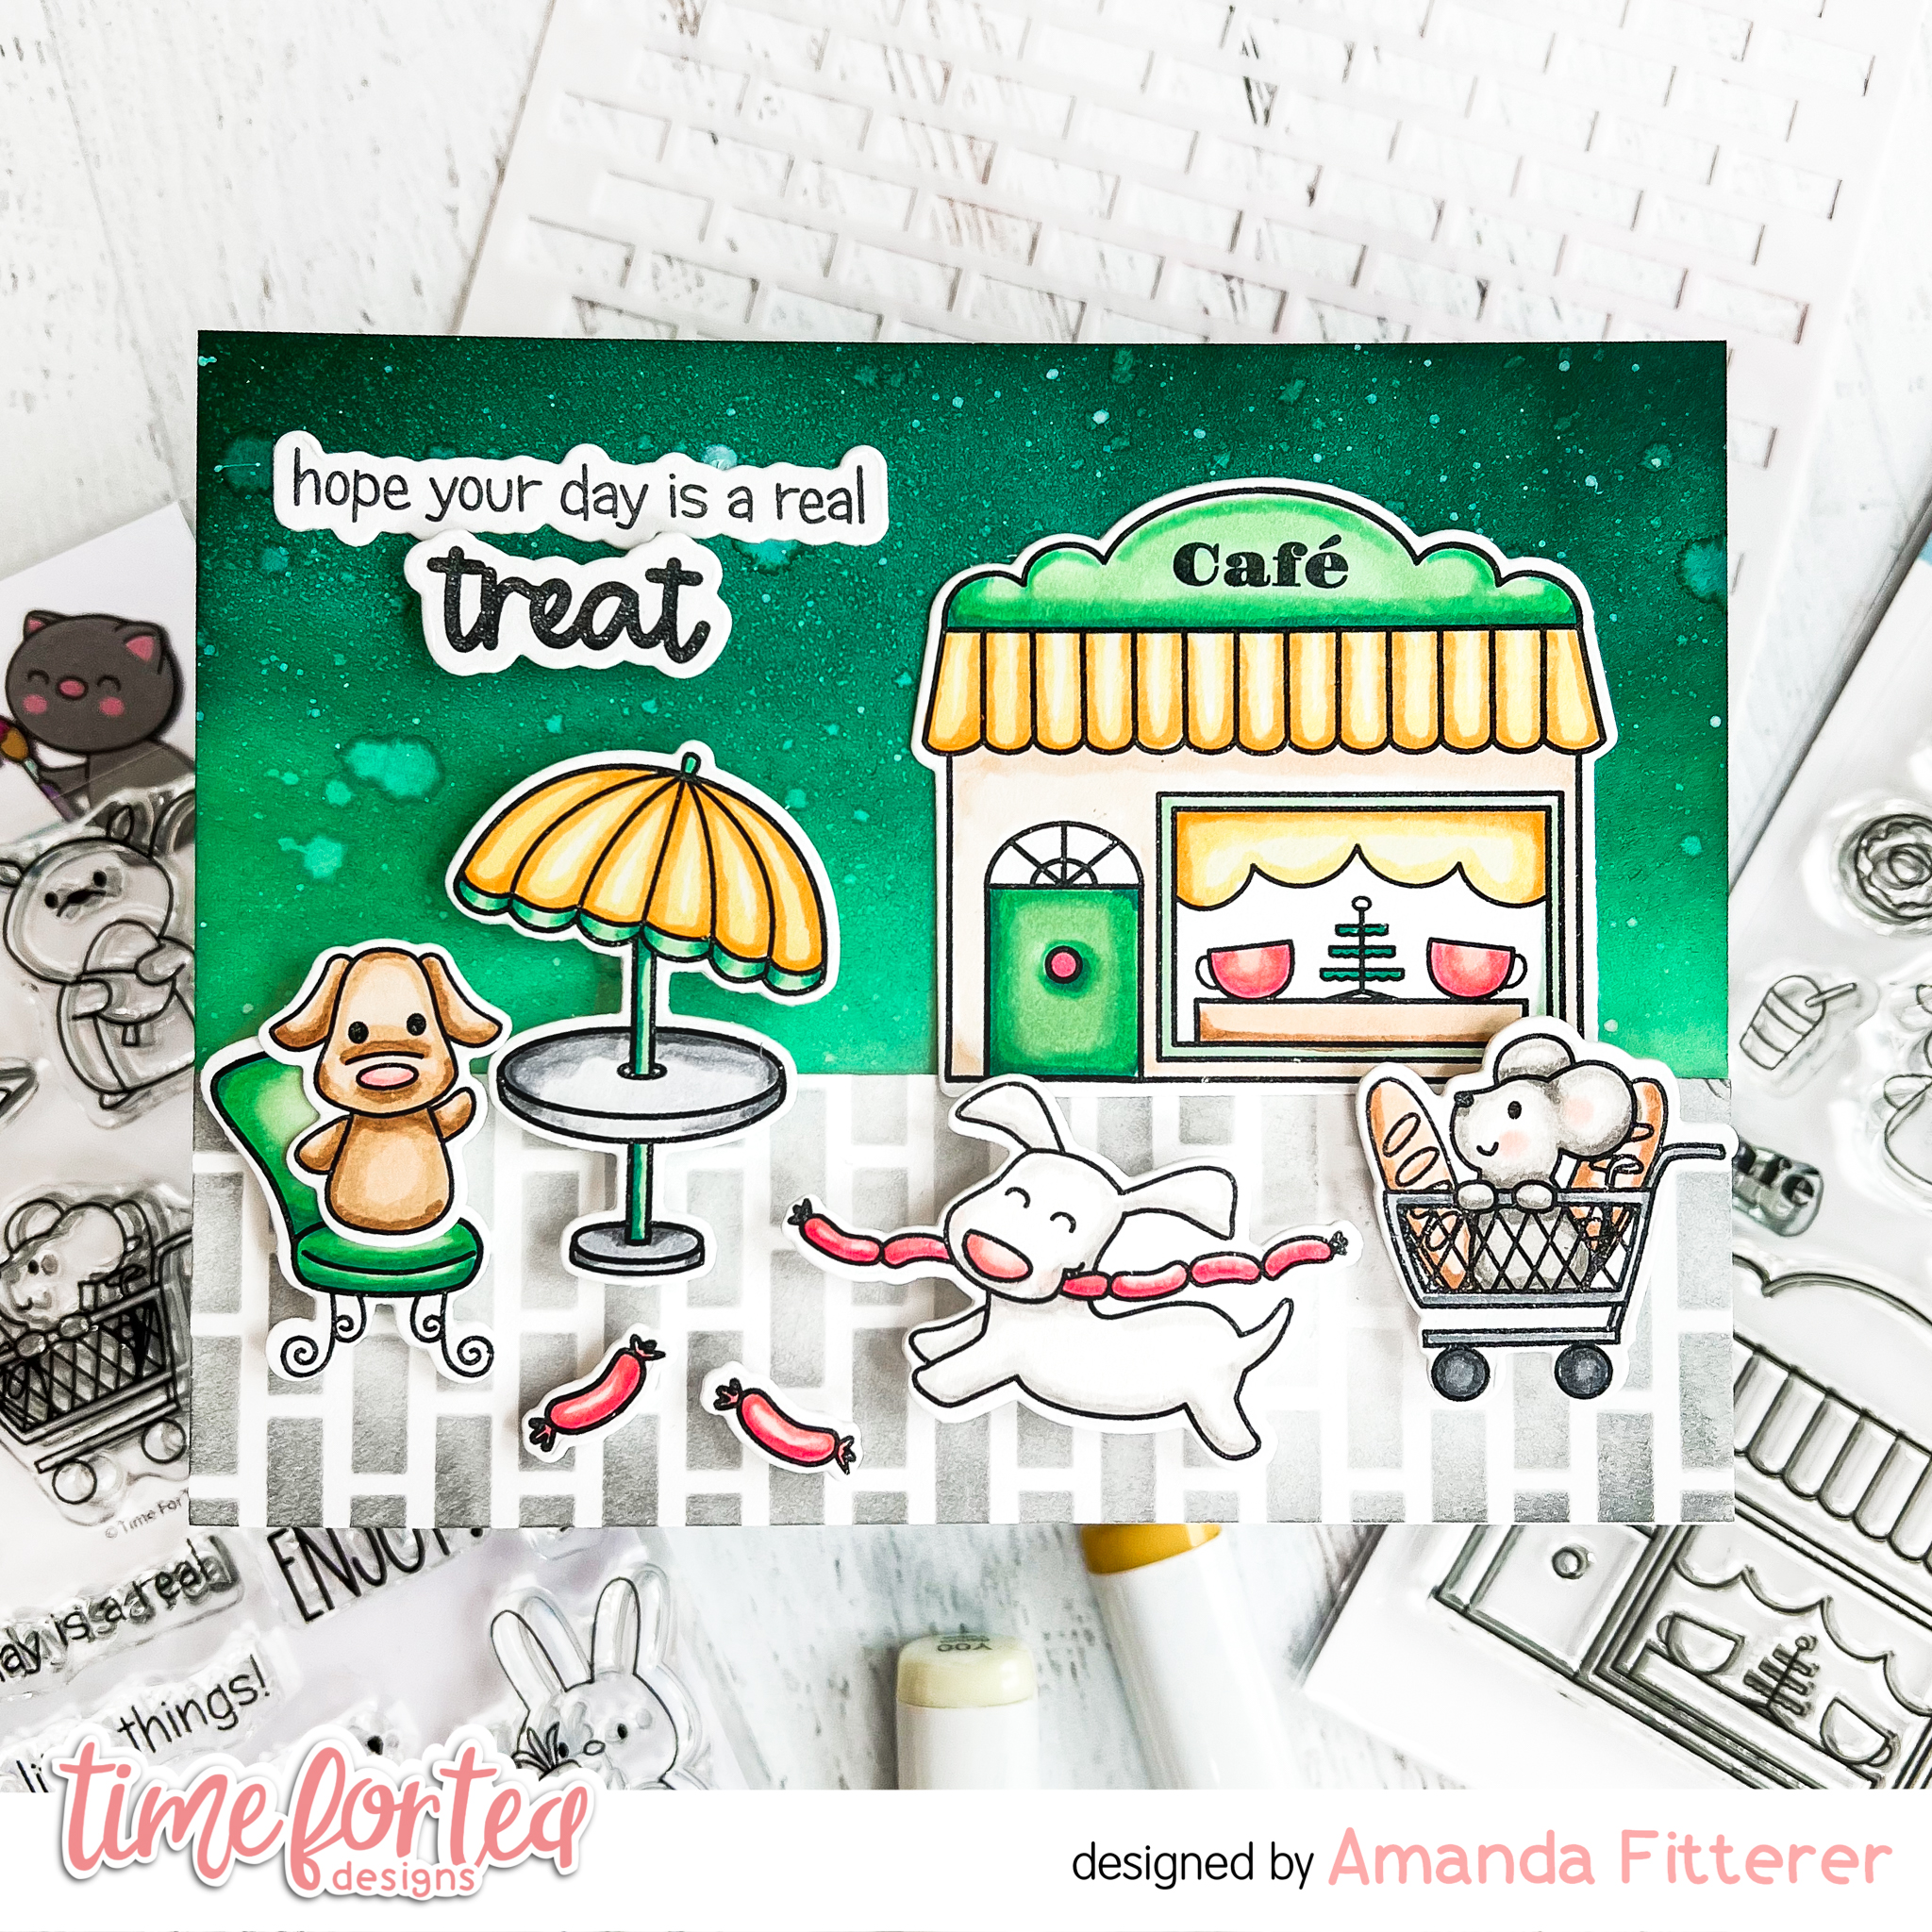
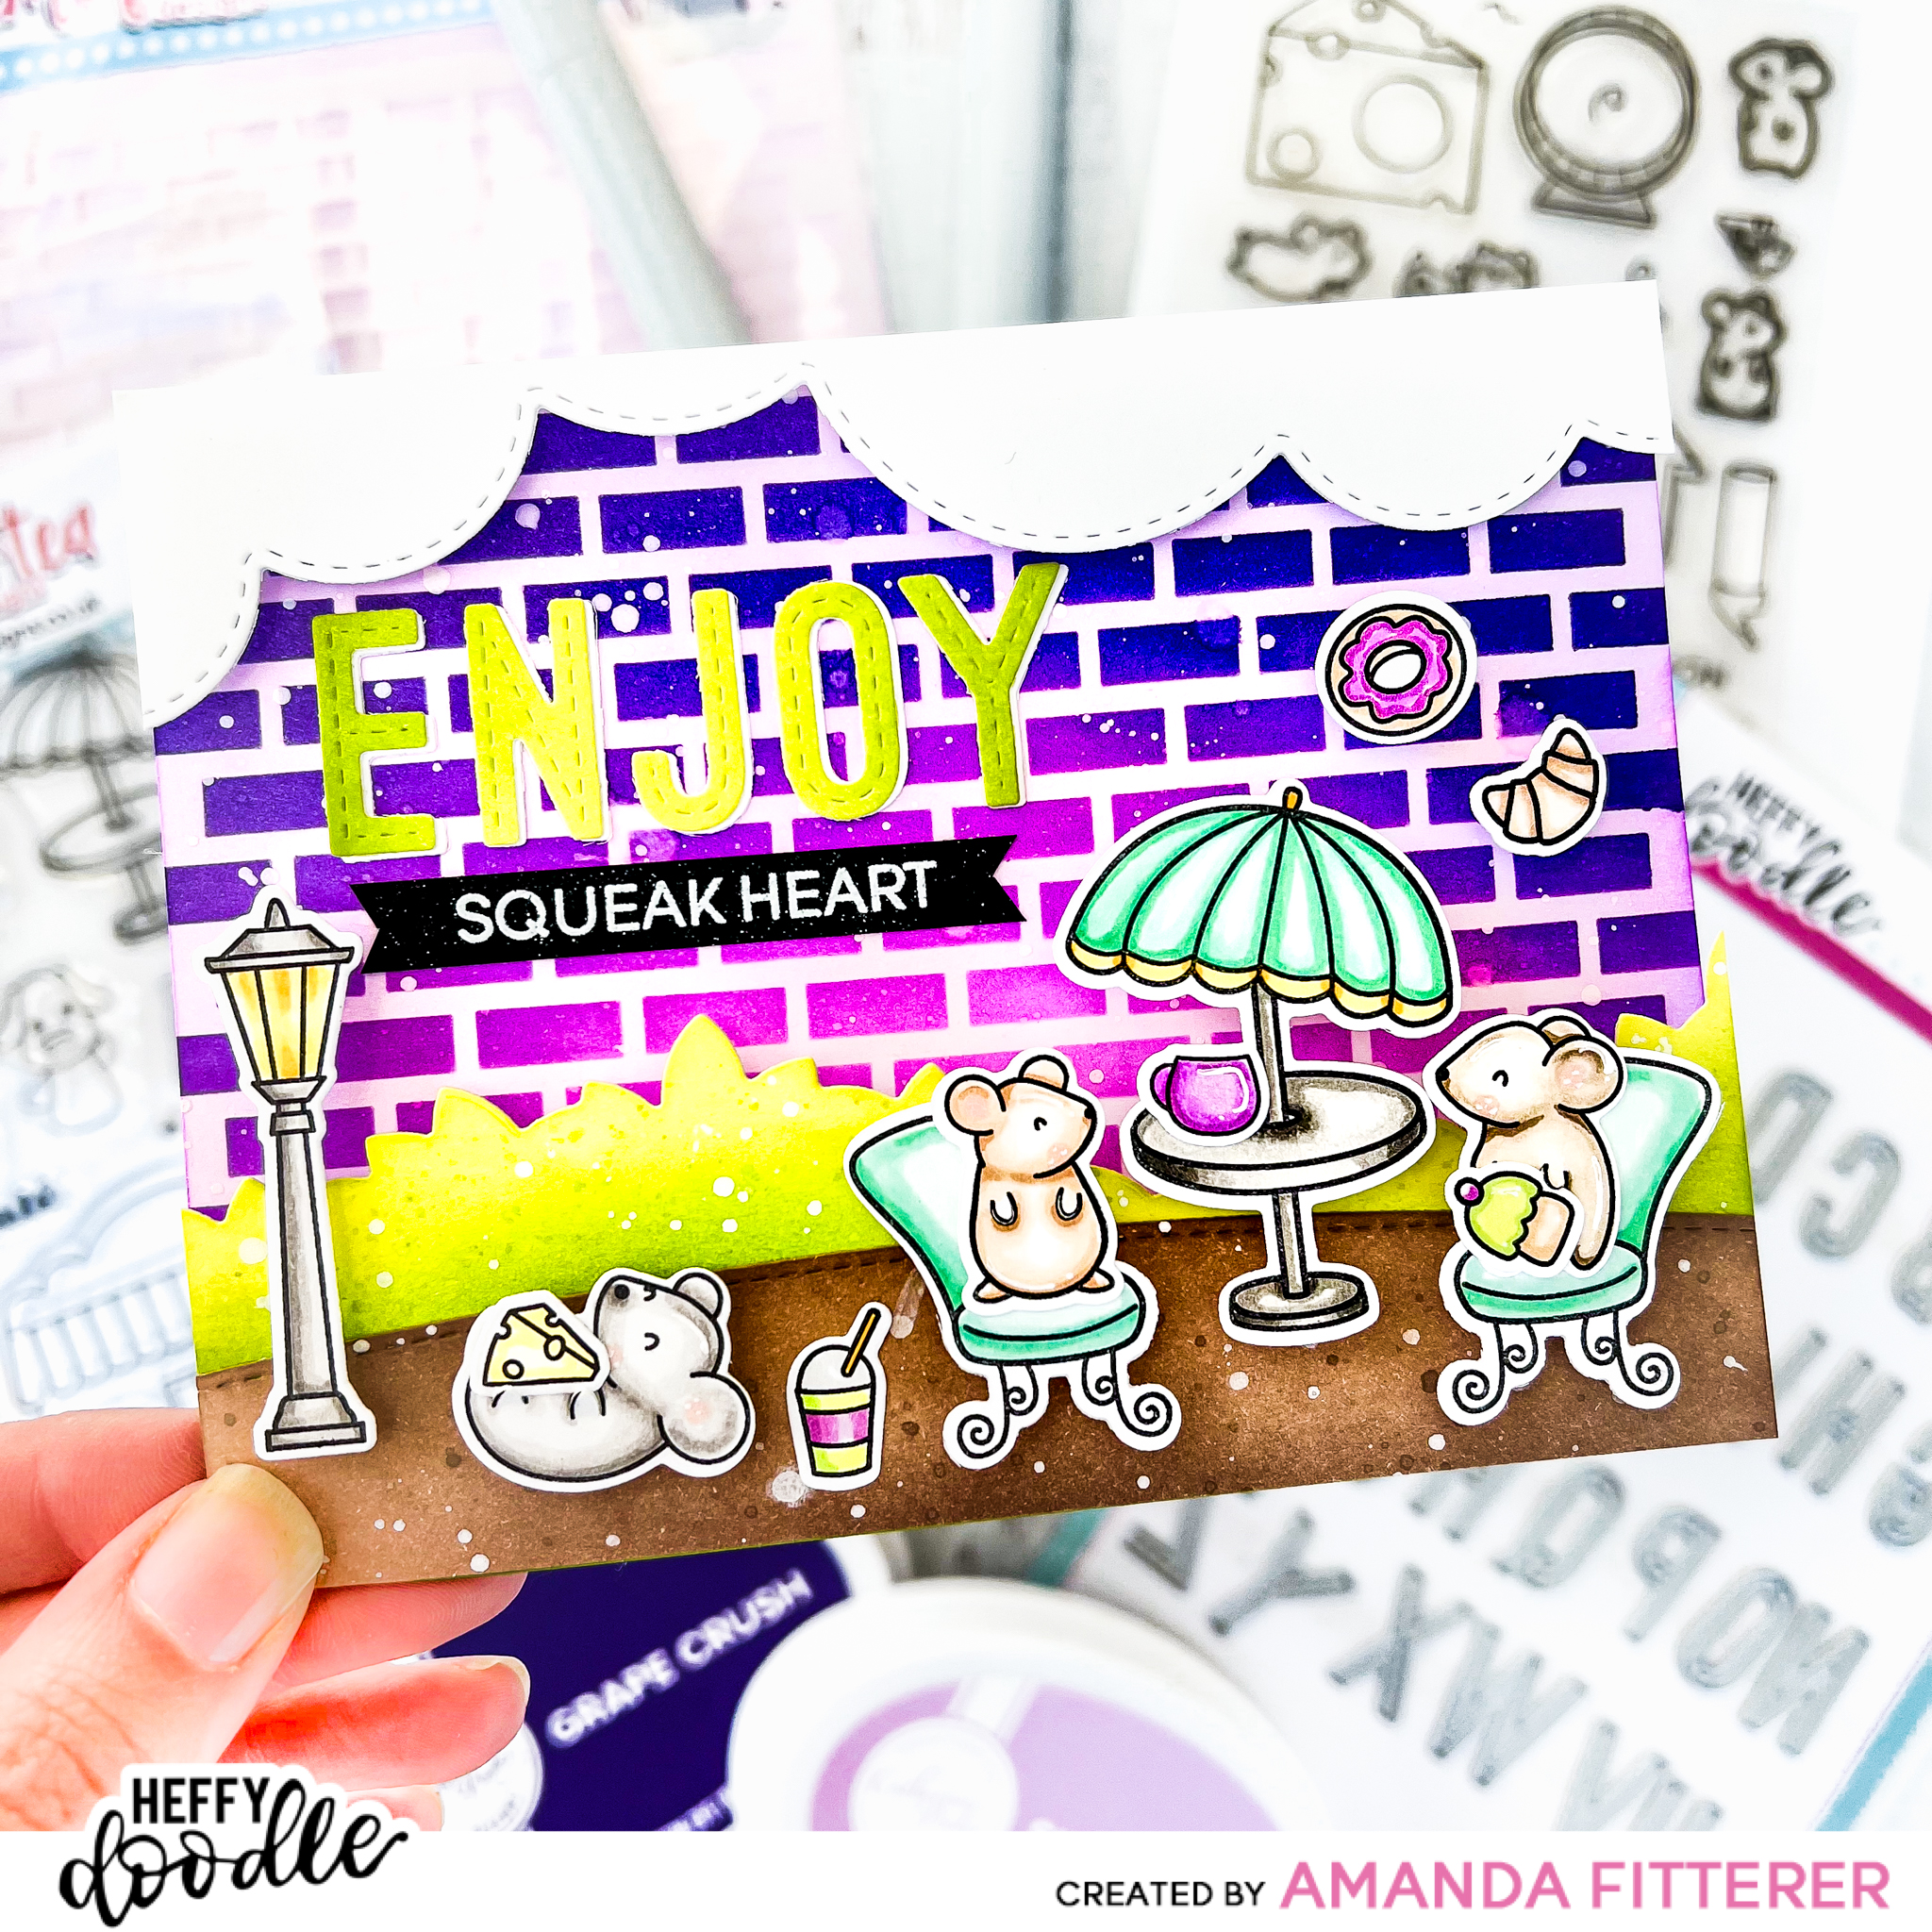
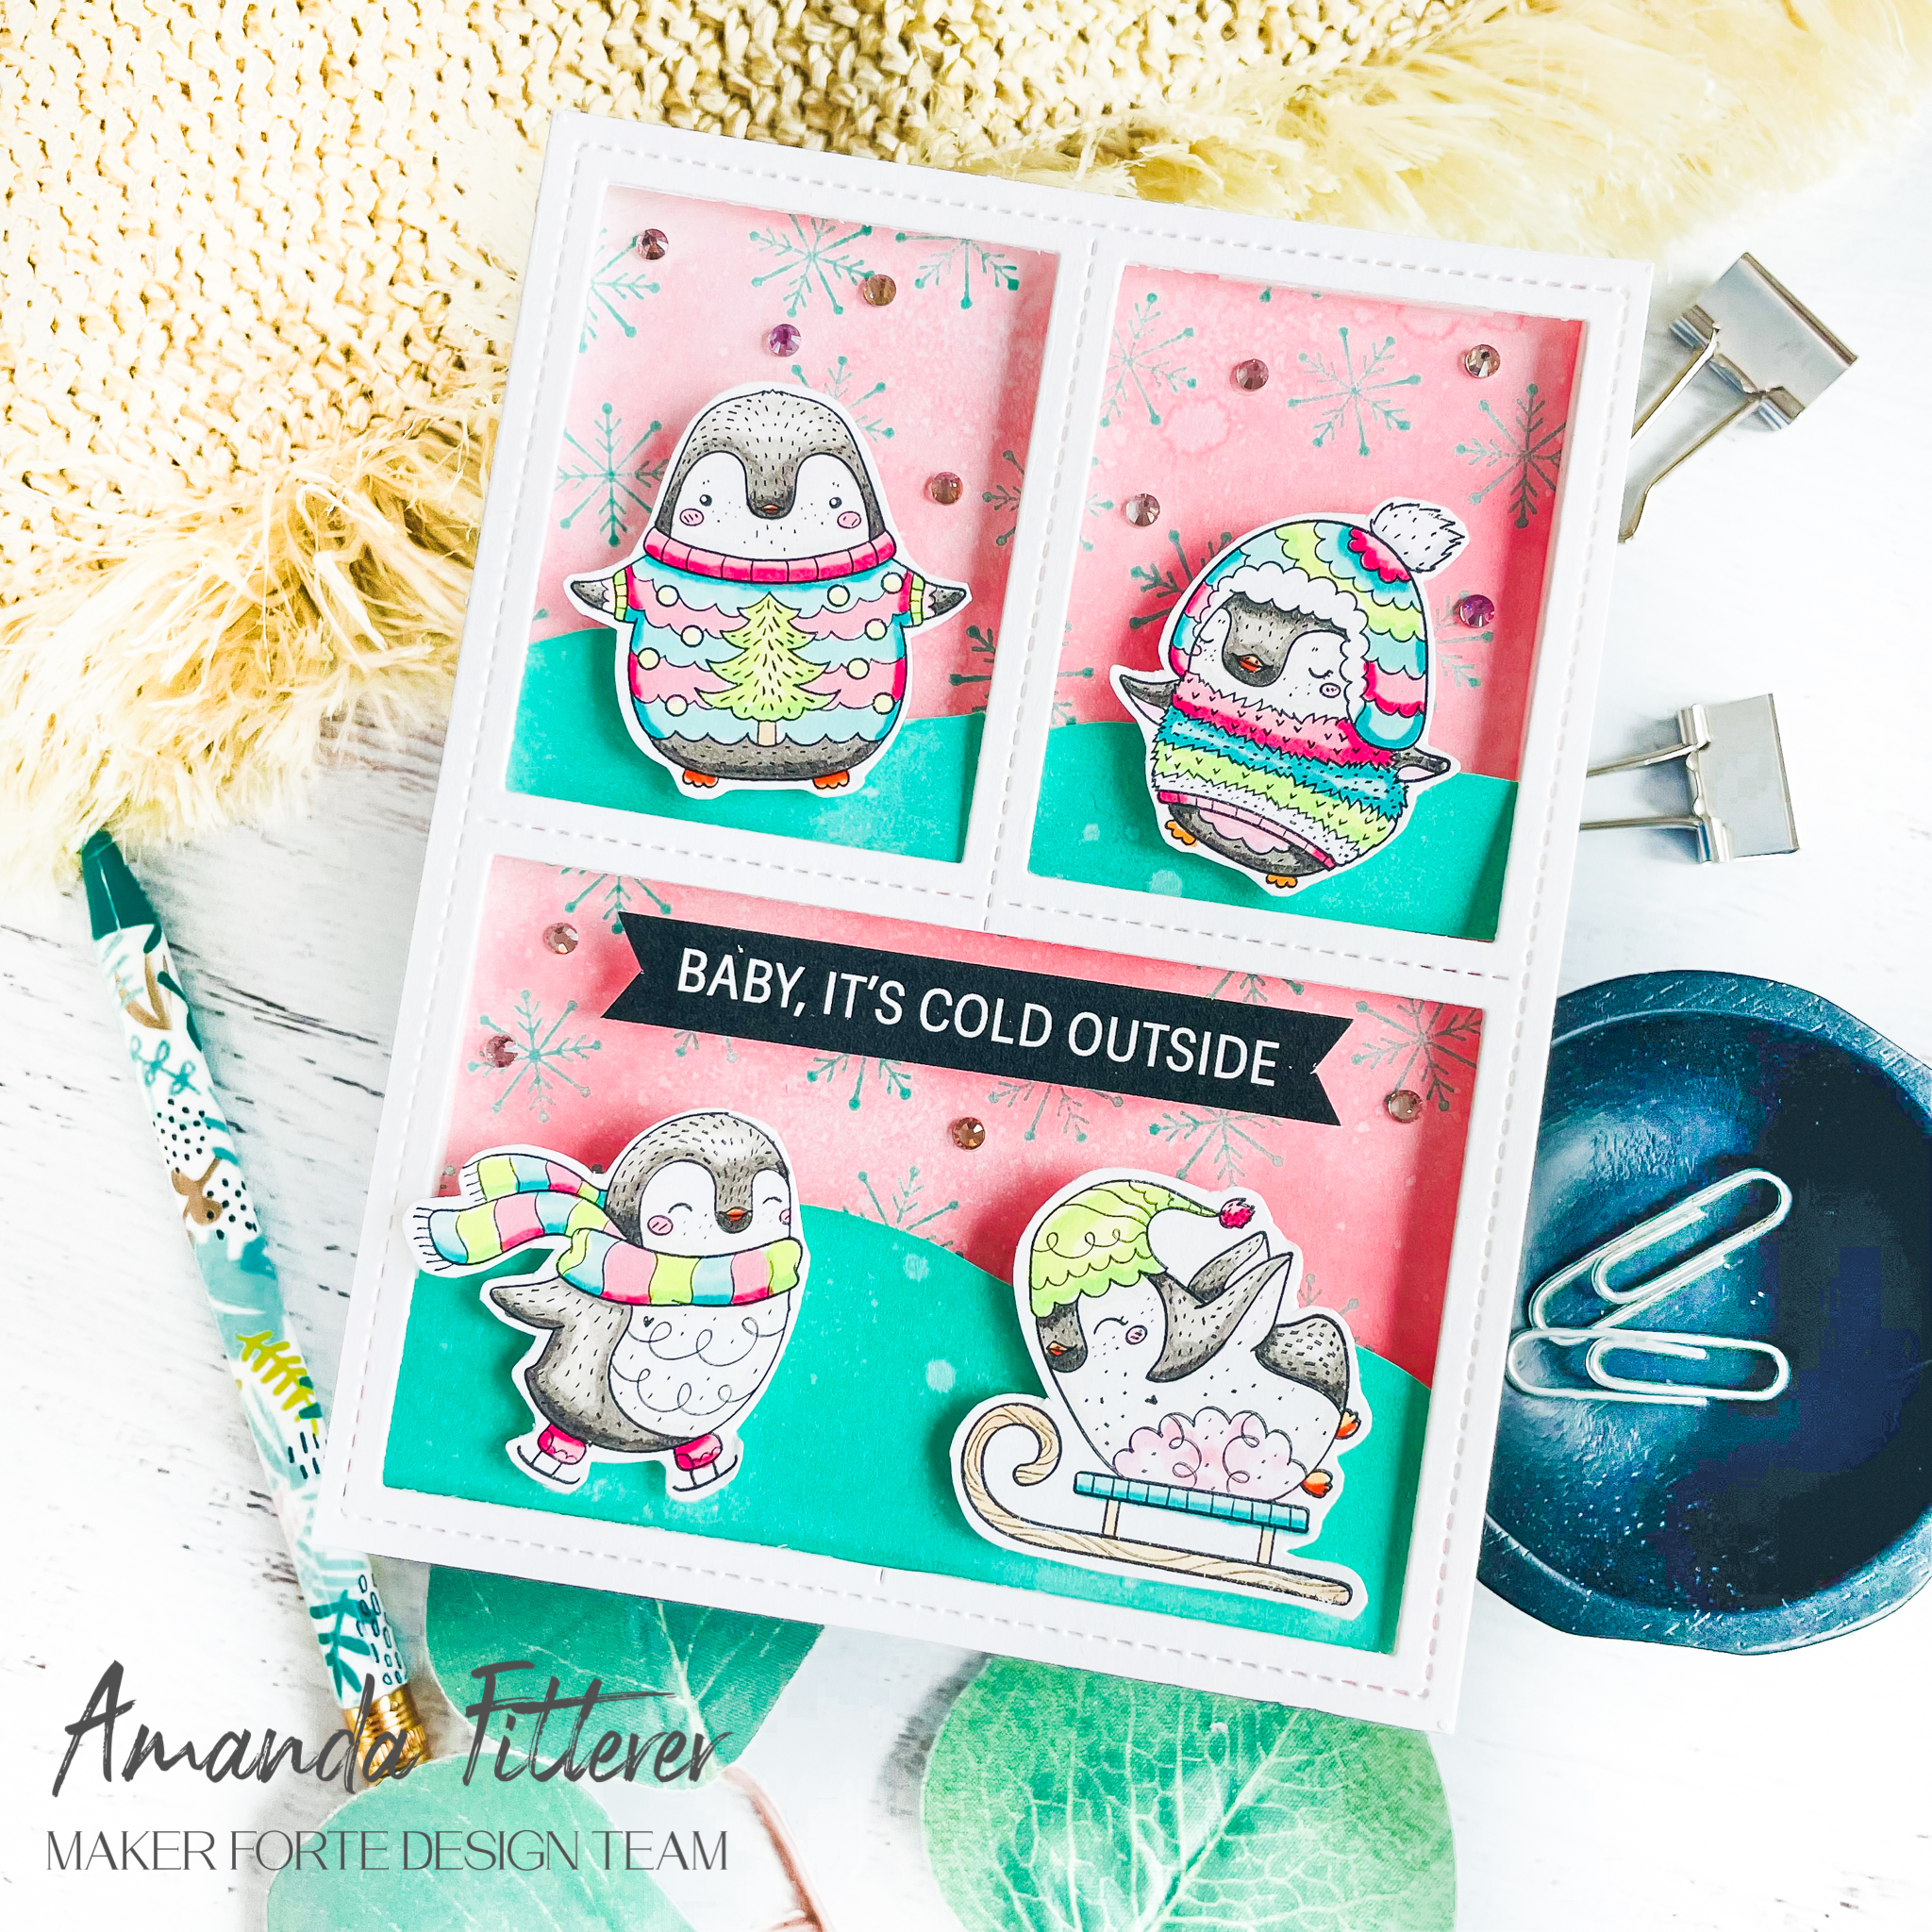
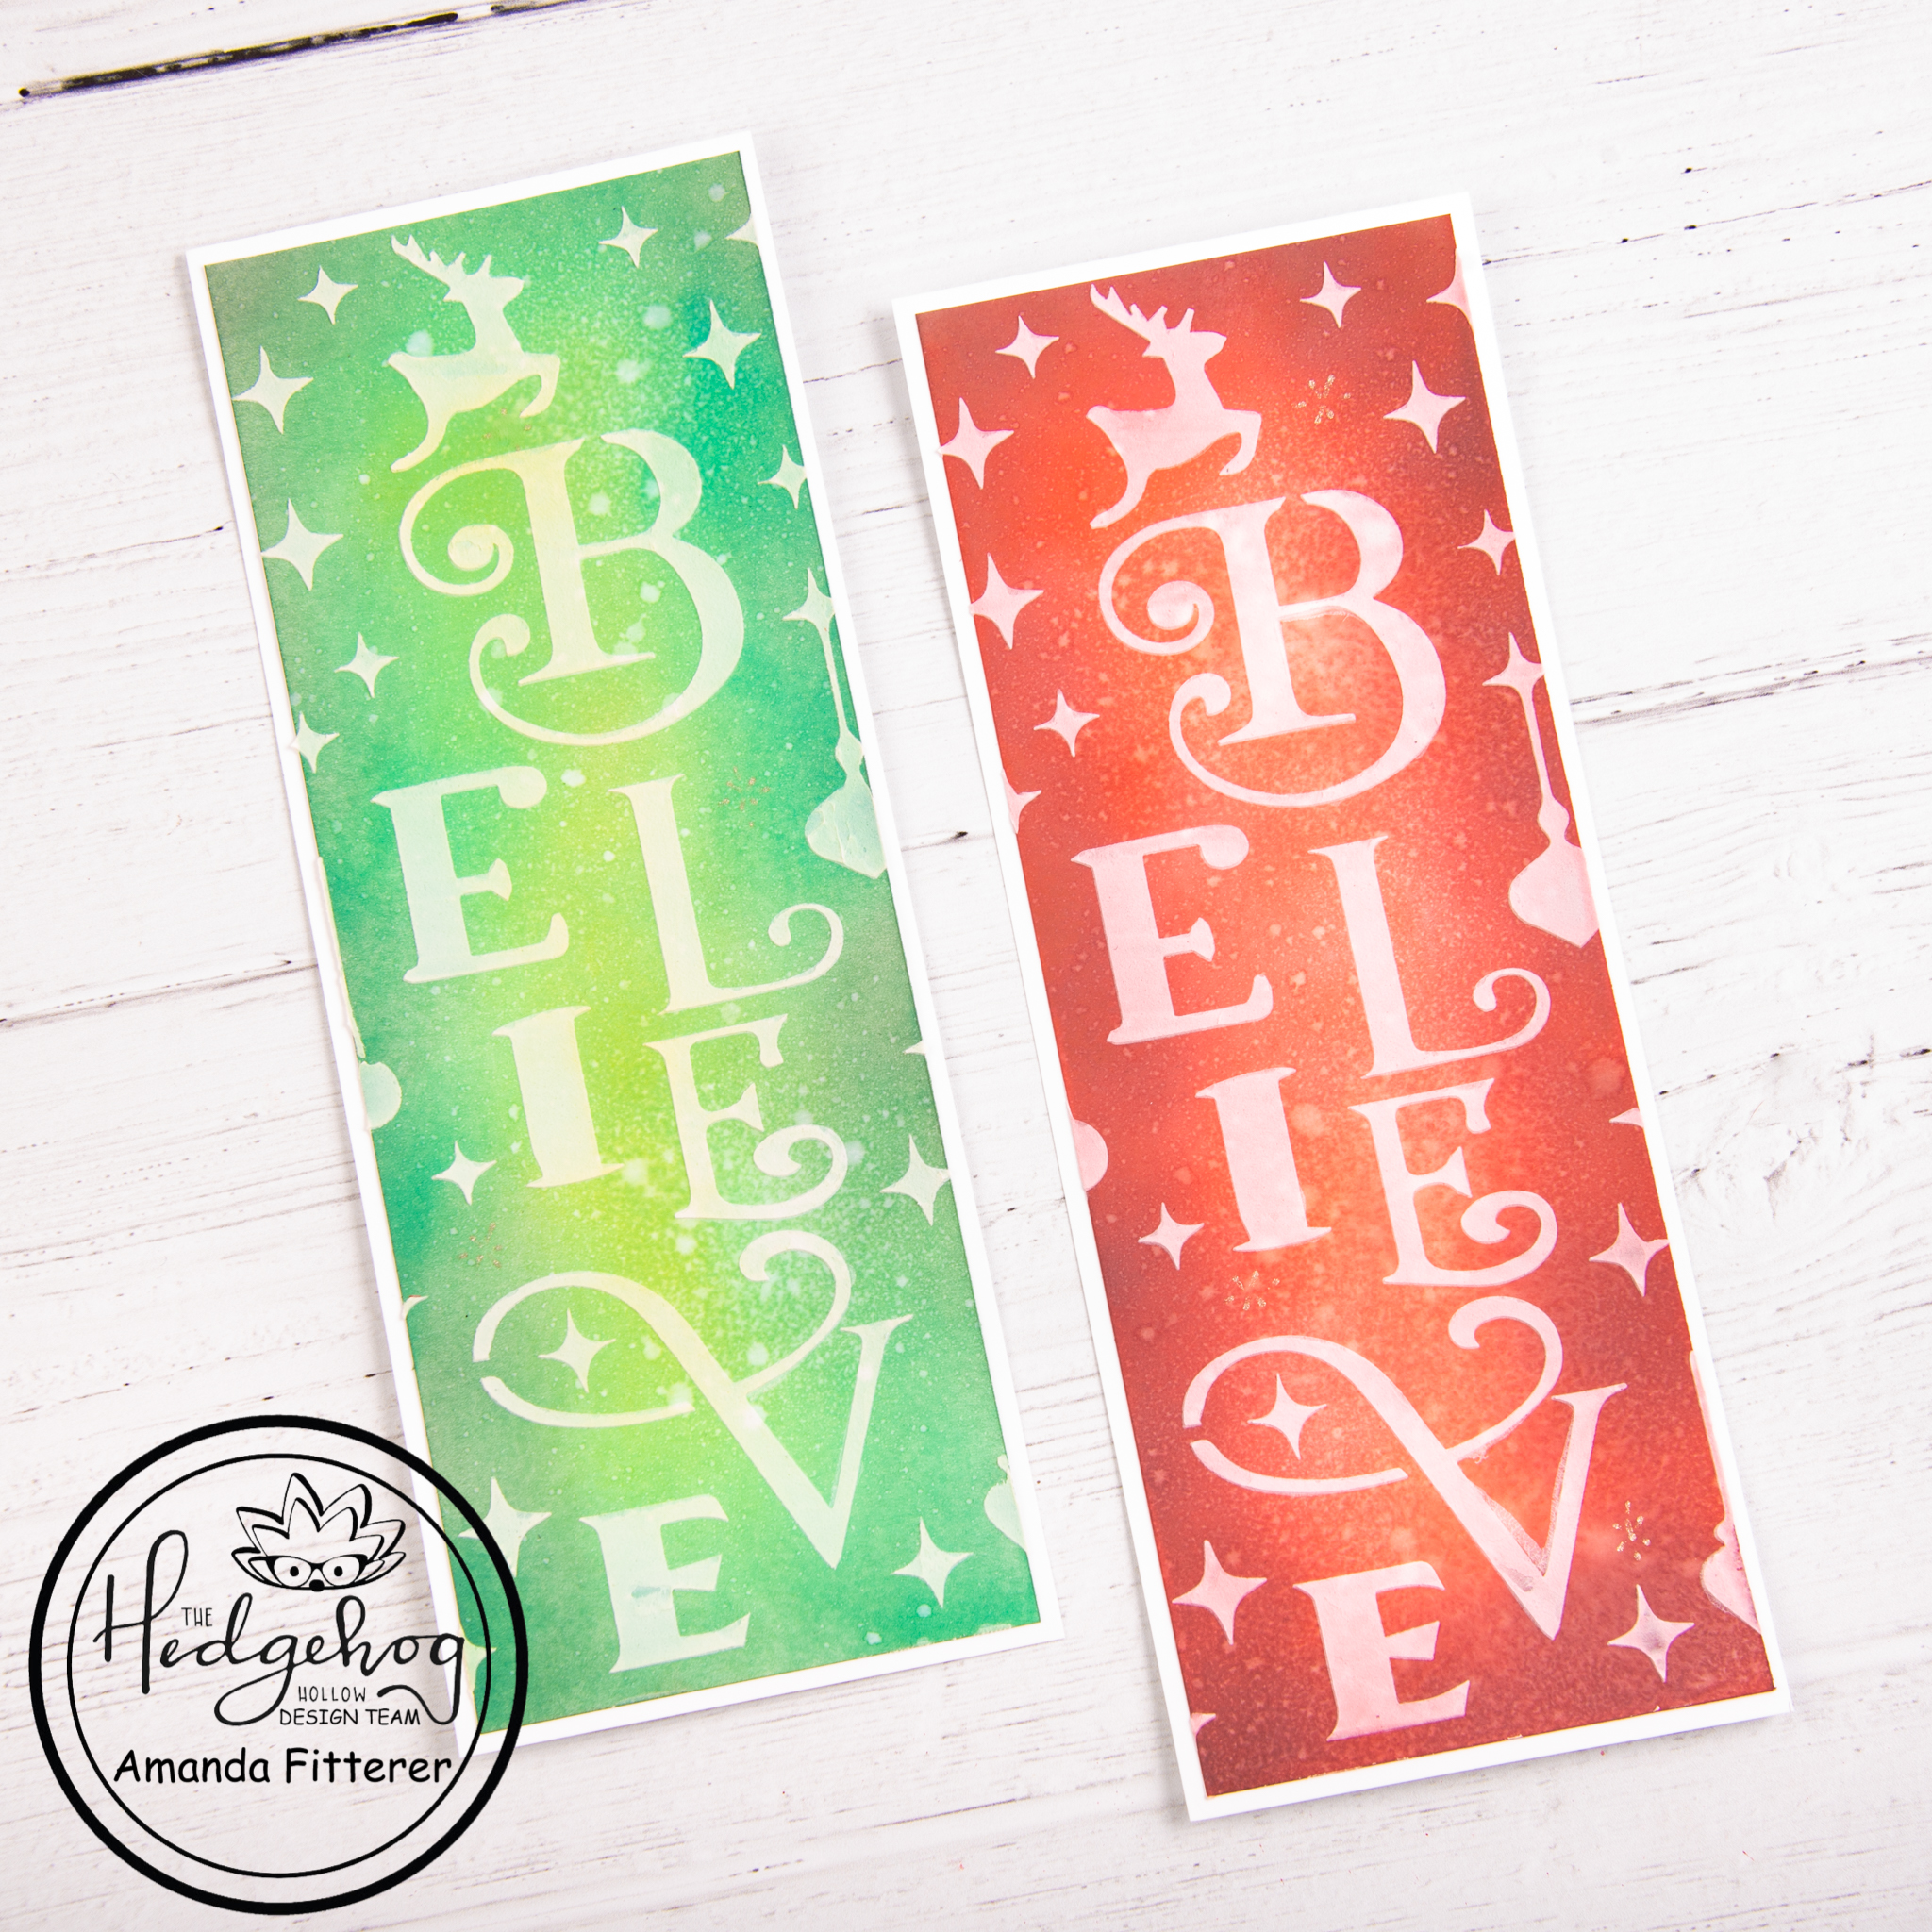
I used the Heffy Doodle Stitched Birthday Trio Dies with a piece of white cardstock. I then created 3 “scenes” with the 3 cut out pieces. On the top one, I blended Catherine Pooler’s Flirty Fuchsia and Glam inks. I also added some stars using a gold gel pen and the Starfall Stencil. I used Bellini and Mandarin Spice for the middle one. I added a background using the Sleepy Hollow Stencil. The bottom one is blended with Melon Ice and Garden Party and the Sleepy Hollow Stencil.

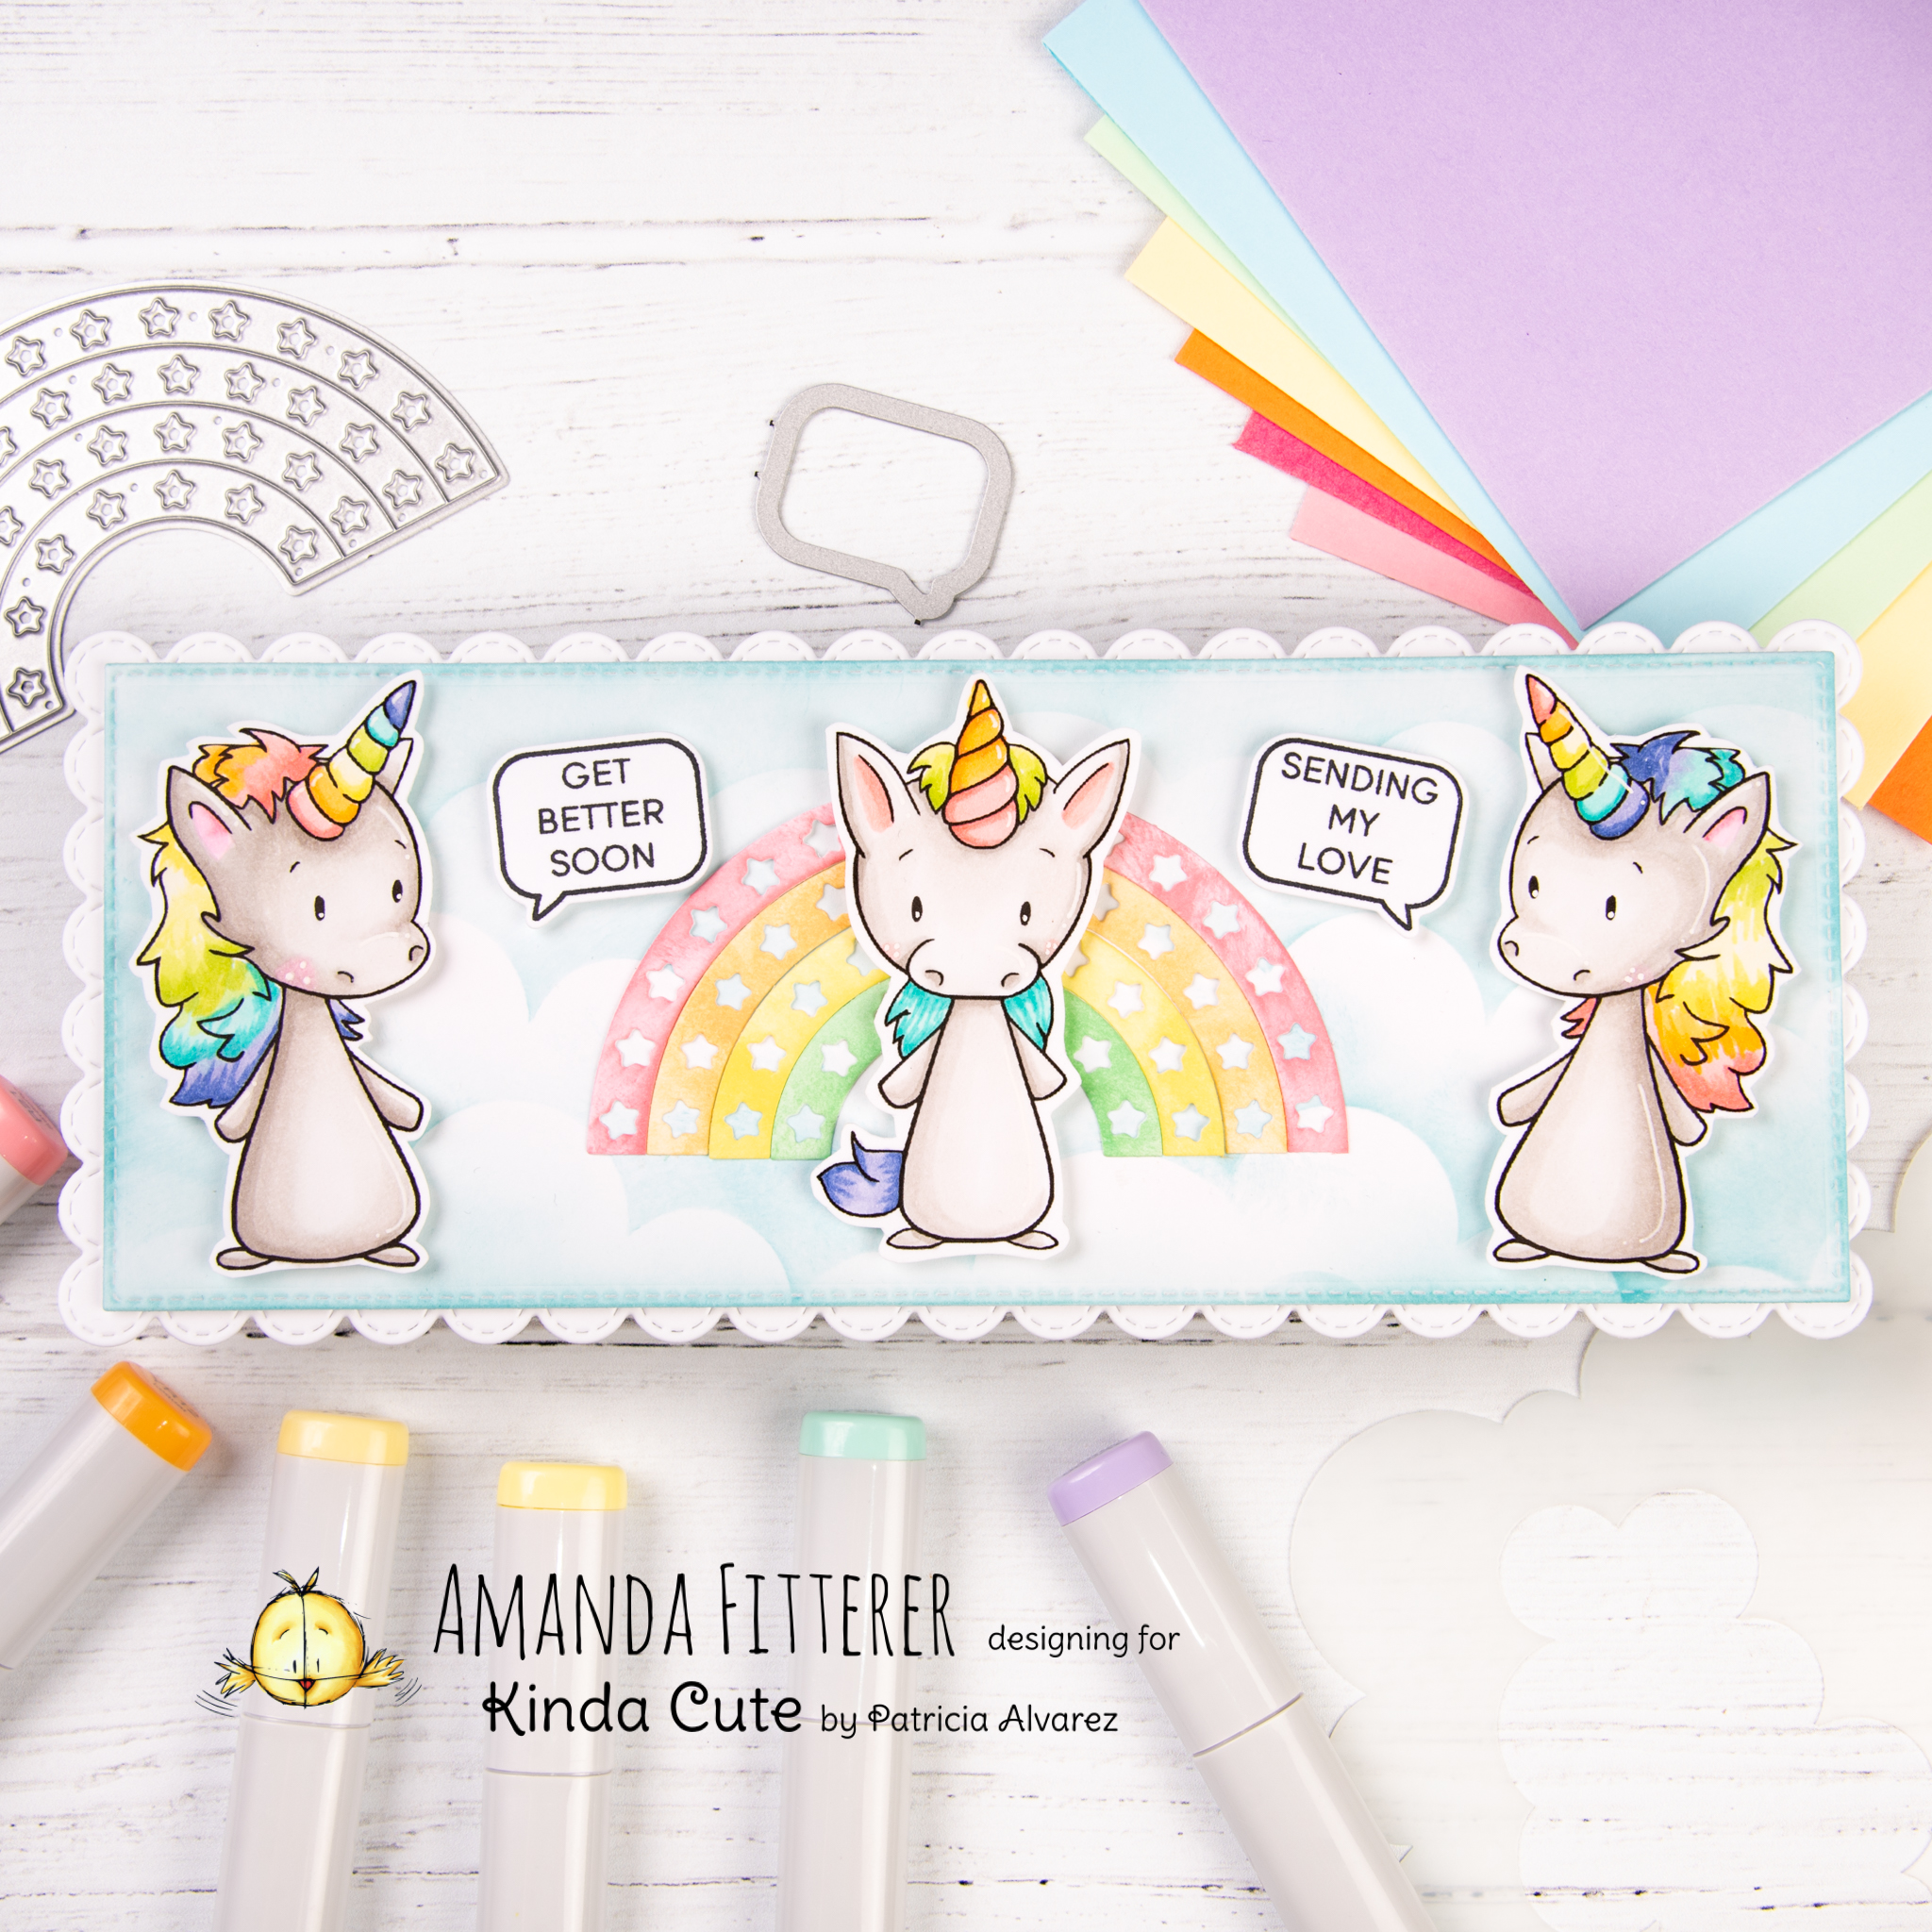
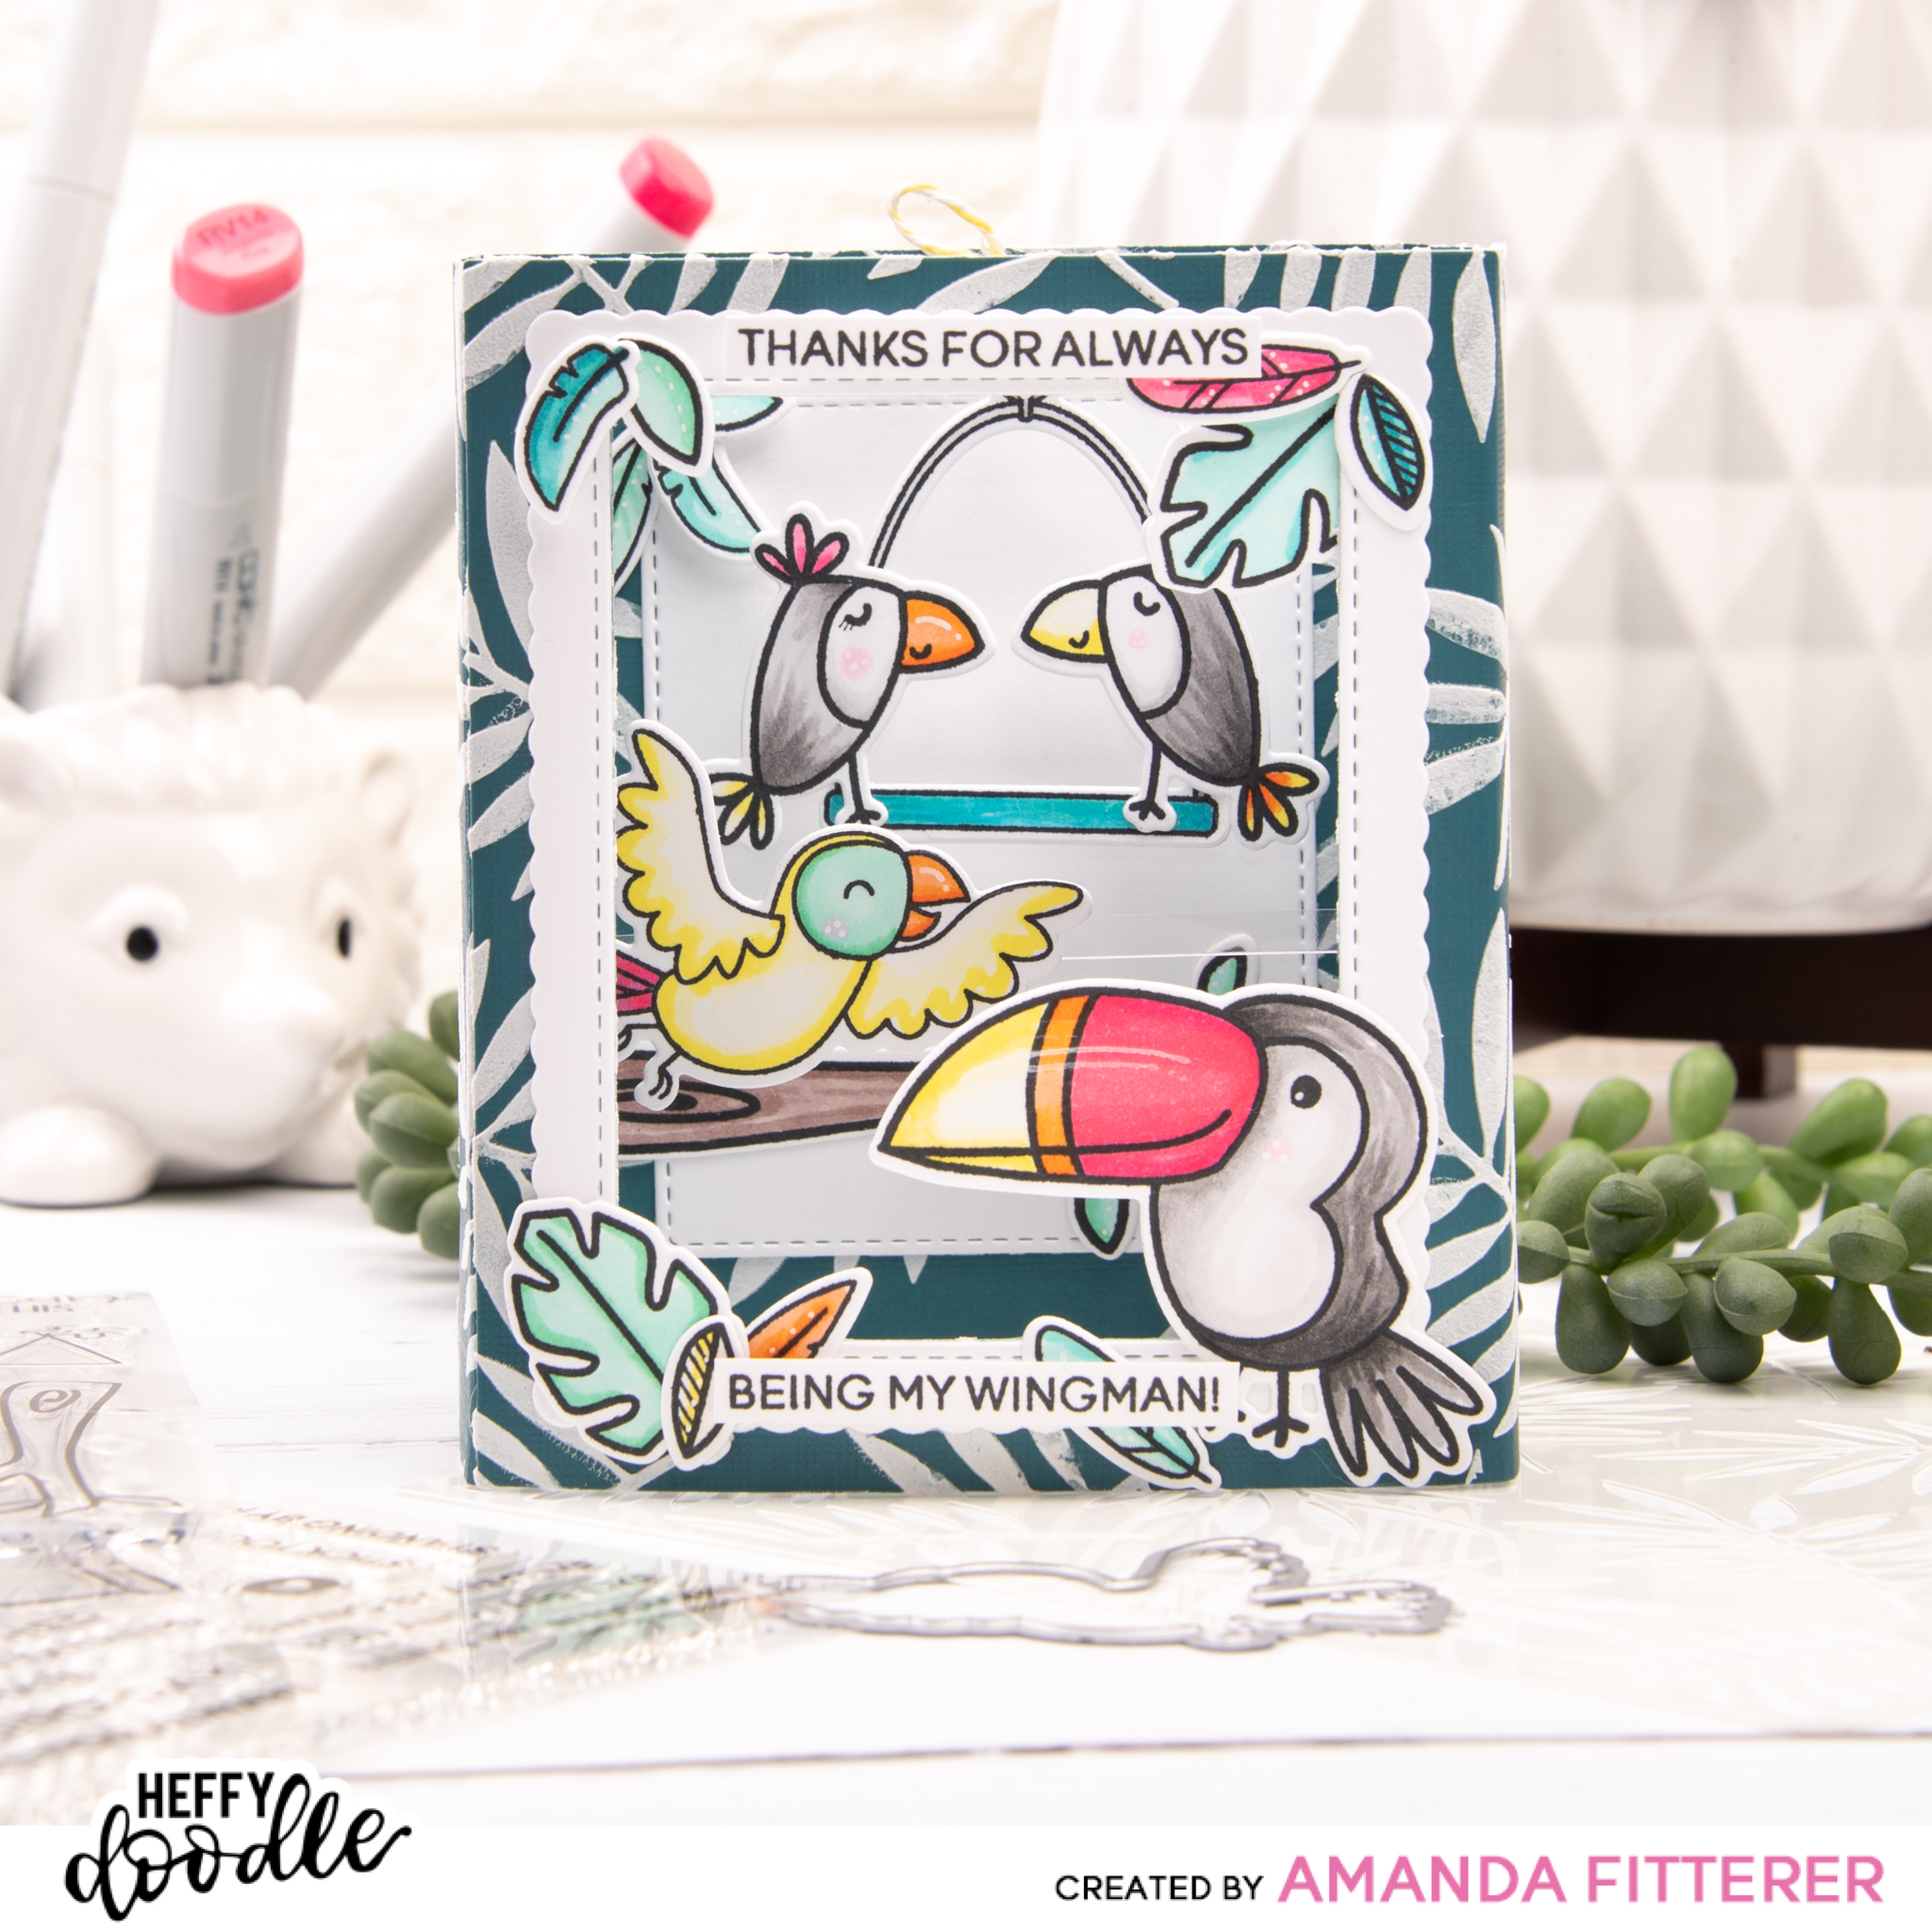
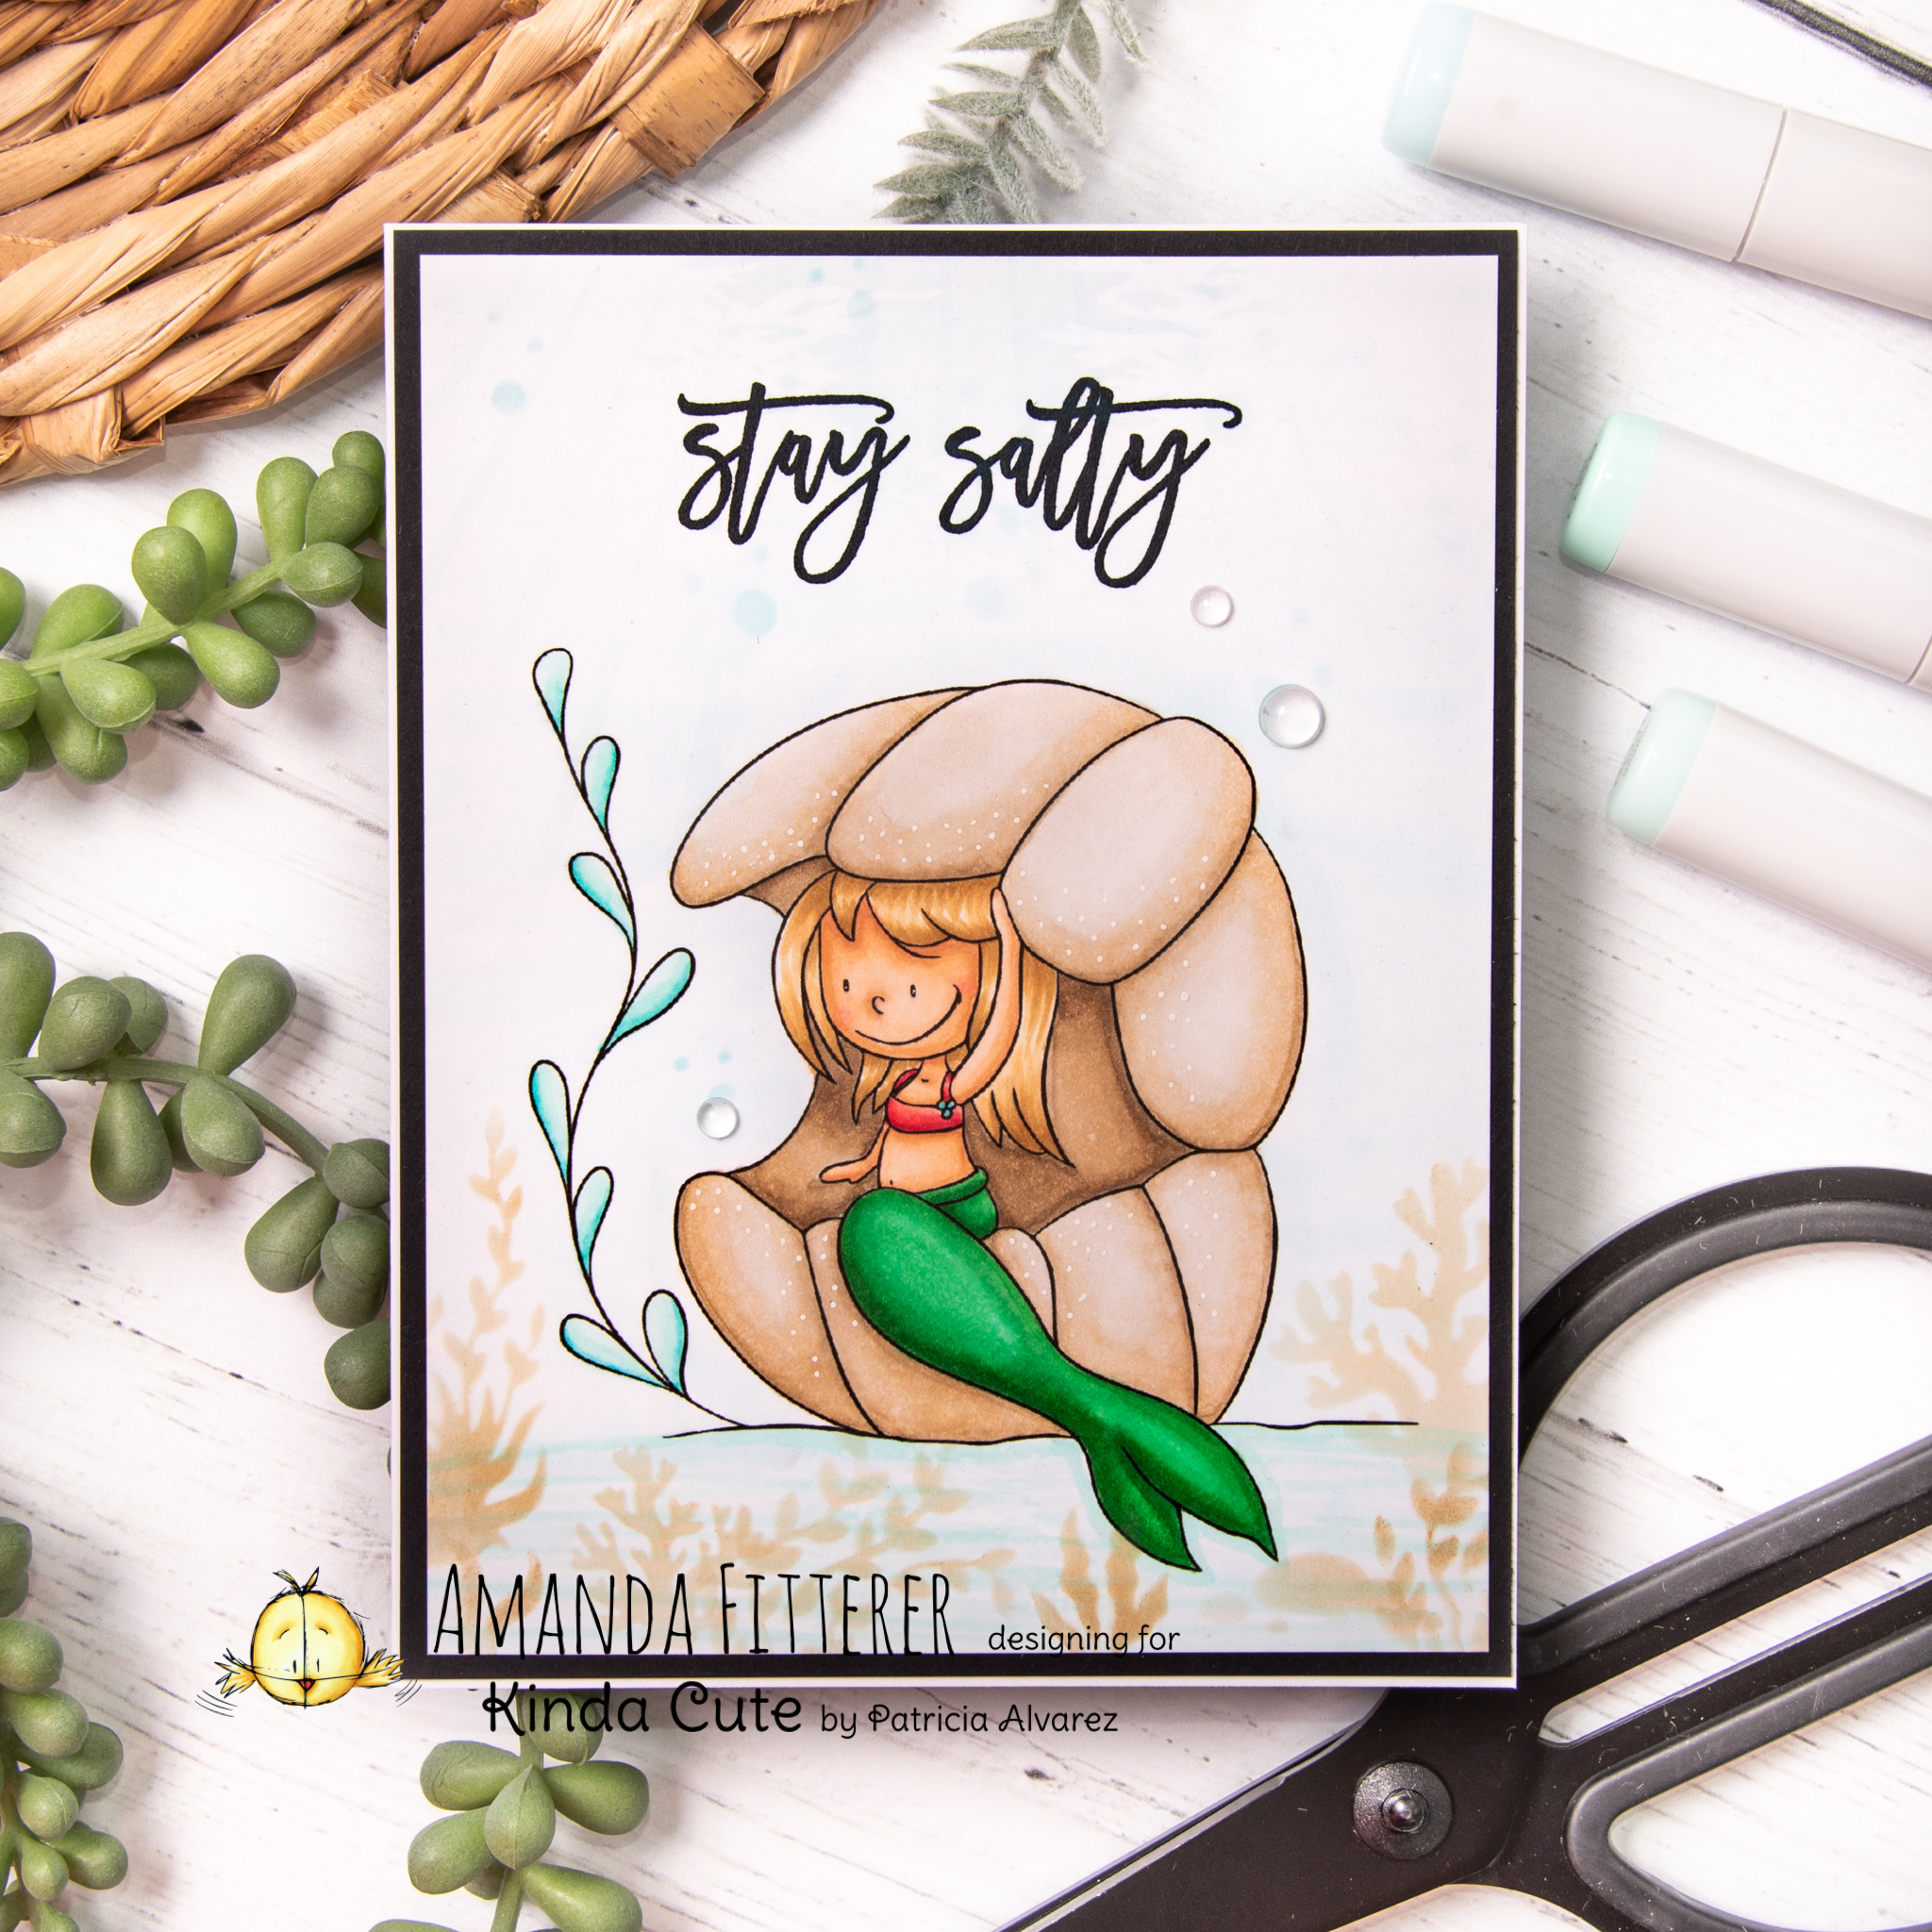
Next, I stamped my images from the Let’s Hang Out Stamp Set. I colored them with Copic markers and then cut them out with the coordinating dies.

I used the magnets from my White Glass Magnetic Craft Mat to hold my card base in place while I glued the 3 “scenes” down.

Now, I’m ready to create the shaker portion of the card. I used double sided tape on the back of the frame. Then, I cut down a piece of acetate to fit behind the frame and adhered it.

Then, I added 3D Foam Tape all around the frame.

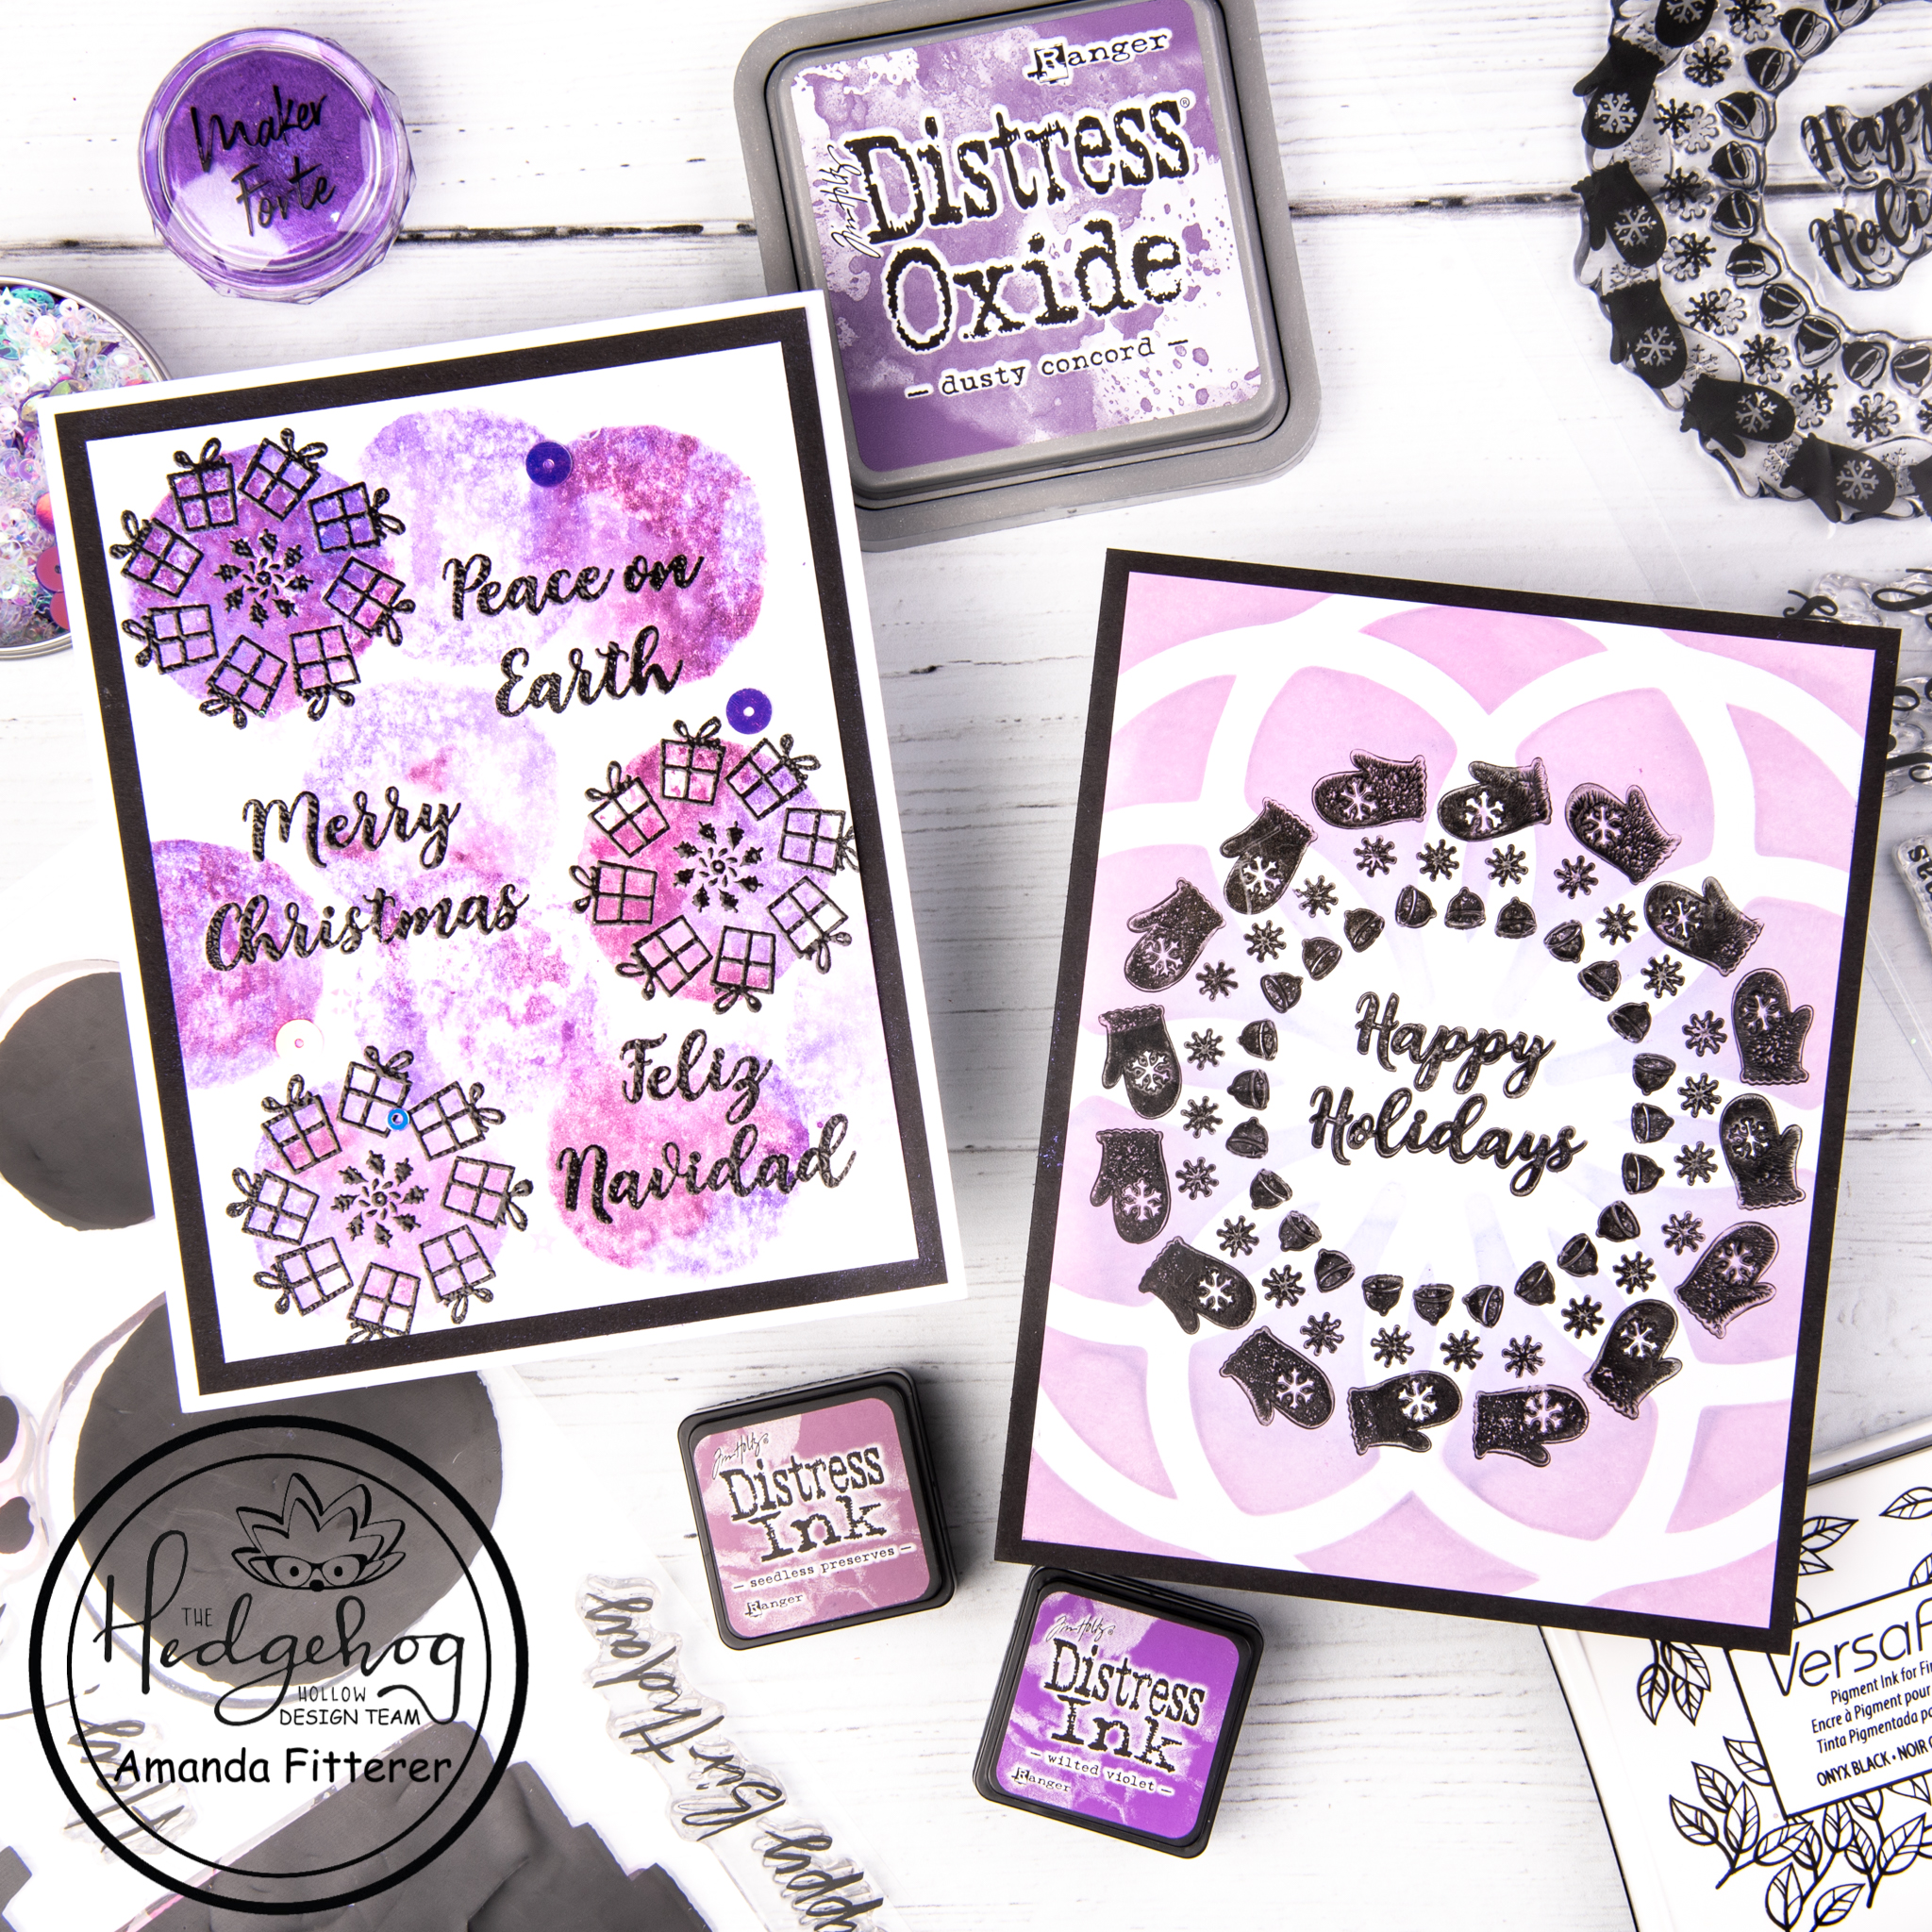
Now for the super fun part!! Adding shaker mixes! I kept each section separate with the foam tape, so I wanted to use different mixes for each section. On the top, we have the Twiddler’s Nook Burning Embers Embellishment Mix. The middle one contains a mix of the Happy Jacks and the Mulan Princess Rings. The bottom is the Tiana Princess Rings.

Once I added my frame to the top, I added all my cute stamped images to the front of the card.

Just take a look at these embellishments up close!


My favorite craft essentials:
* Heffy Doodle Mini Die Cutting Machine
* MISTI
* Smart Craft Glue
* Petal Pink Gemini Jr. Die Cutting Machine
* 3D Foam Squares
* 3D Foam Tape
*Pre-scored Card Base
* Catherine Pooler Inks
* Catherine Pooler Blending Brushes
* White Glass Magnetic Craft Mat (Use code AMANDA20 for 20% off your order!)
Don’t forget: If you’re a Catherine Pooler StampNation member, you get EARLY ACCESS to every new release (plus SOOO many other benefits)! Sign up now! It’s worth it!
👇🏻👇🏻 Subscribe 👇🏻👇🏻 to be alerted of new posts by yours truly!
Xx, Amanda