Posted on 34 Comments

Heffy Doodle, Maker Forte, and SugarPea Designs Collaboration Blog Hop

Welcome to the Heffy Doodle, Maker Forte, and SugarPea Designs Collaboration Blog Hop!
Design Team members from all three companies are sharing inspiration using products from all three companies!

Today, I am sharing 2 cards that I made using tons of awesome products from these companies!

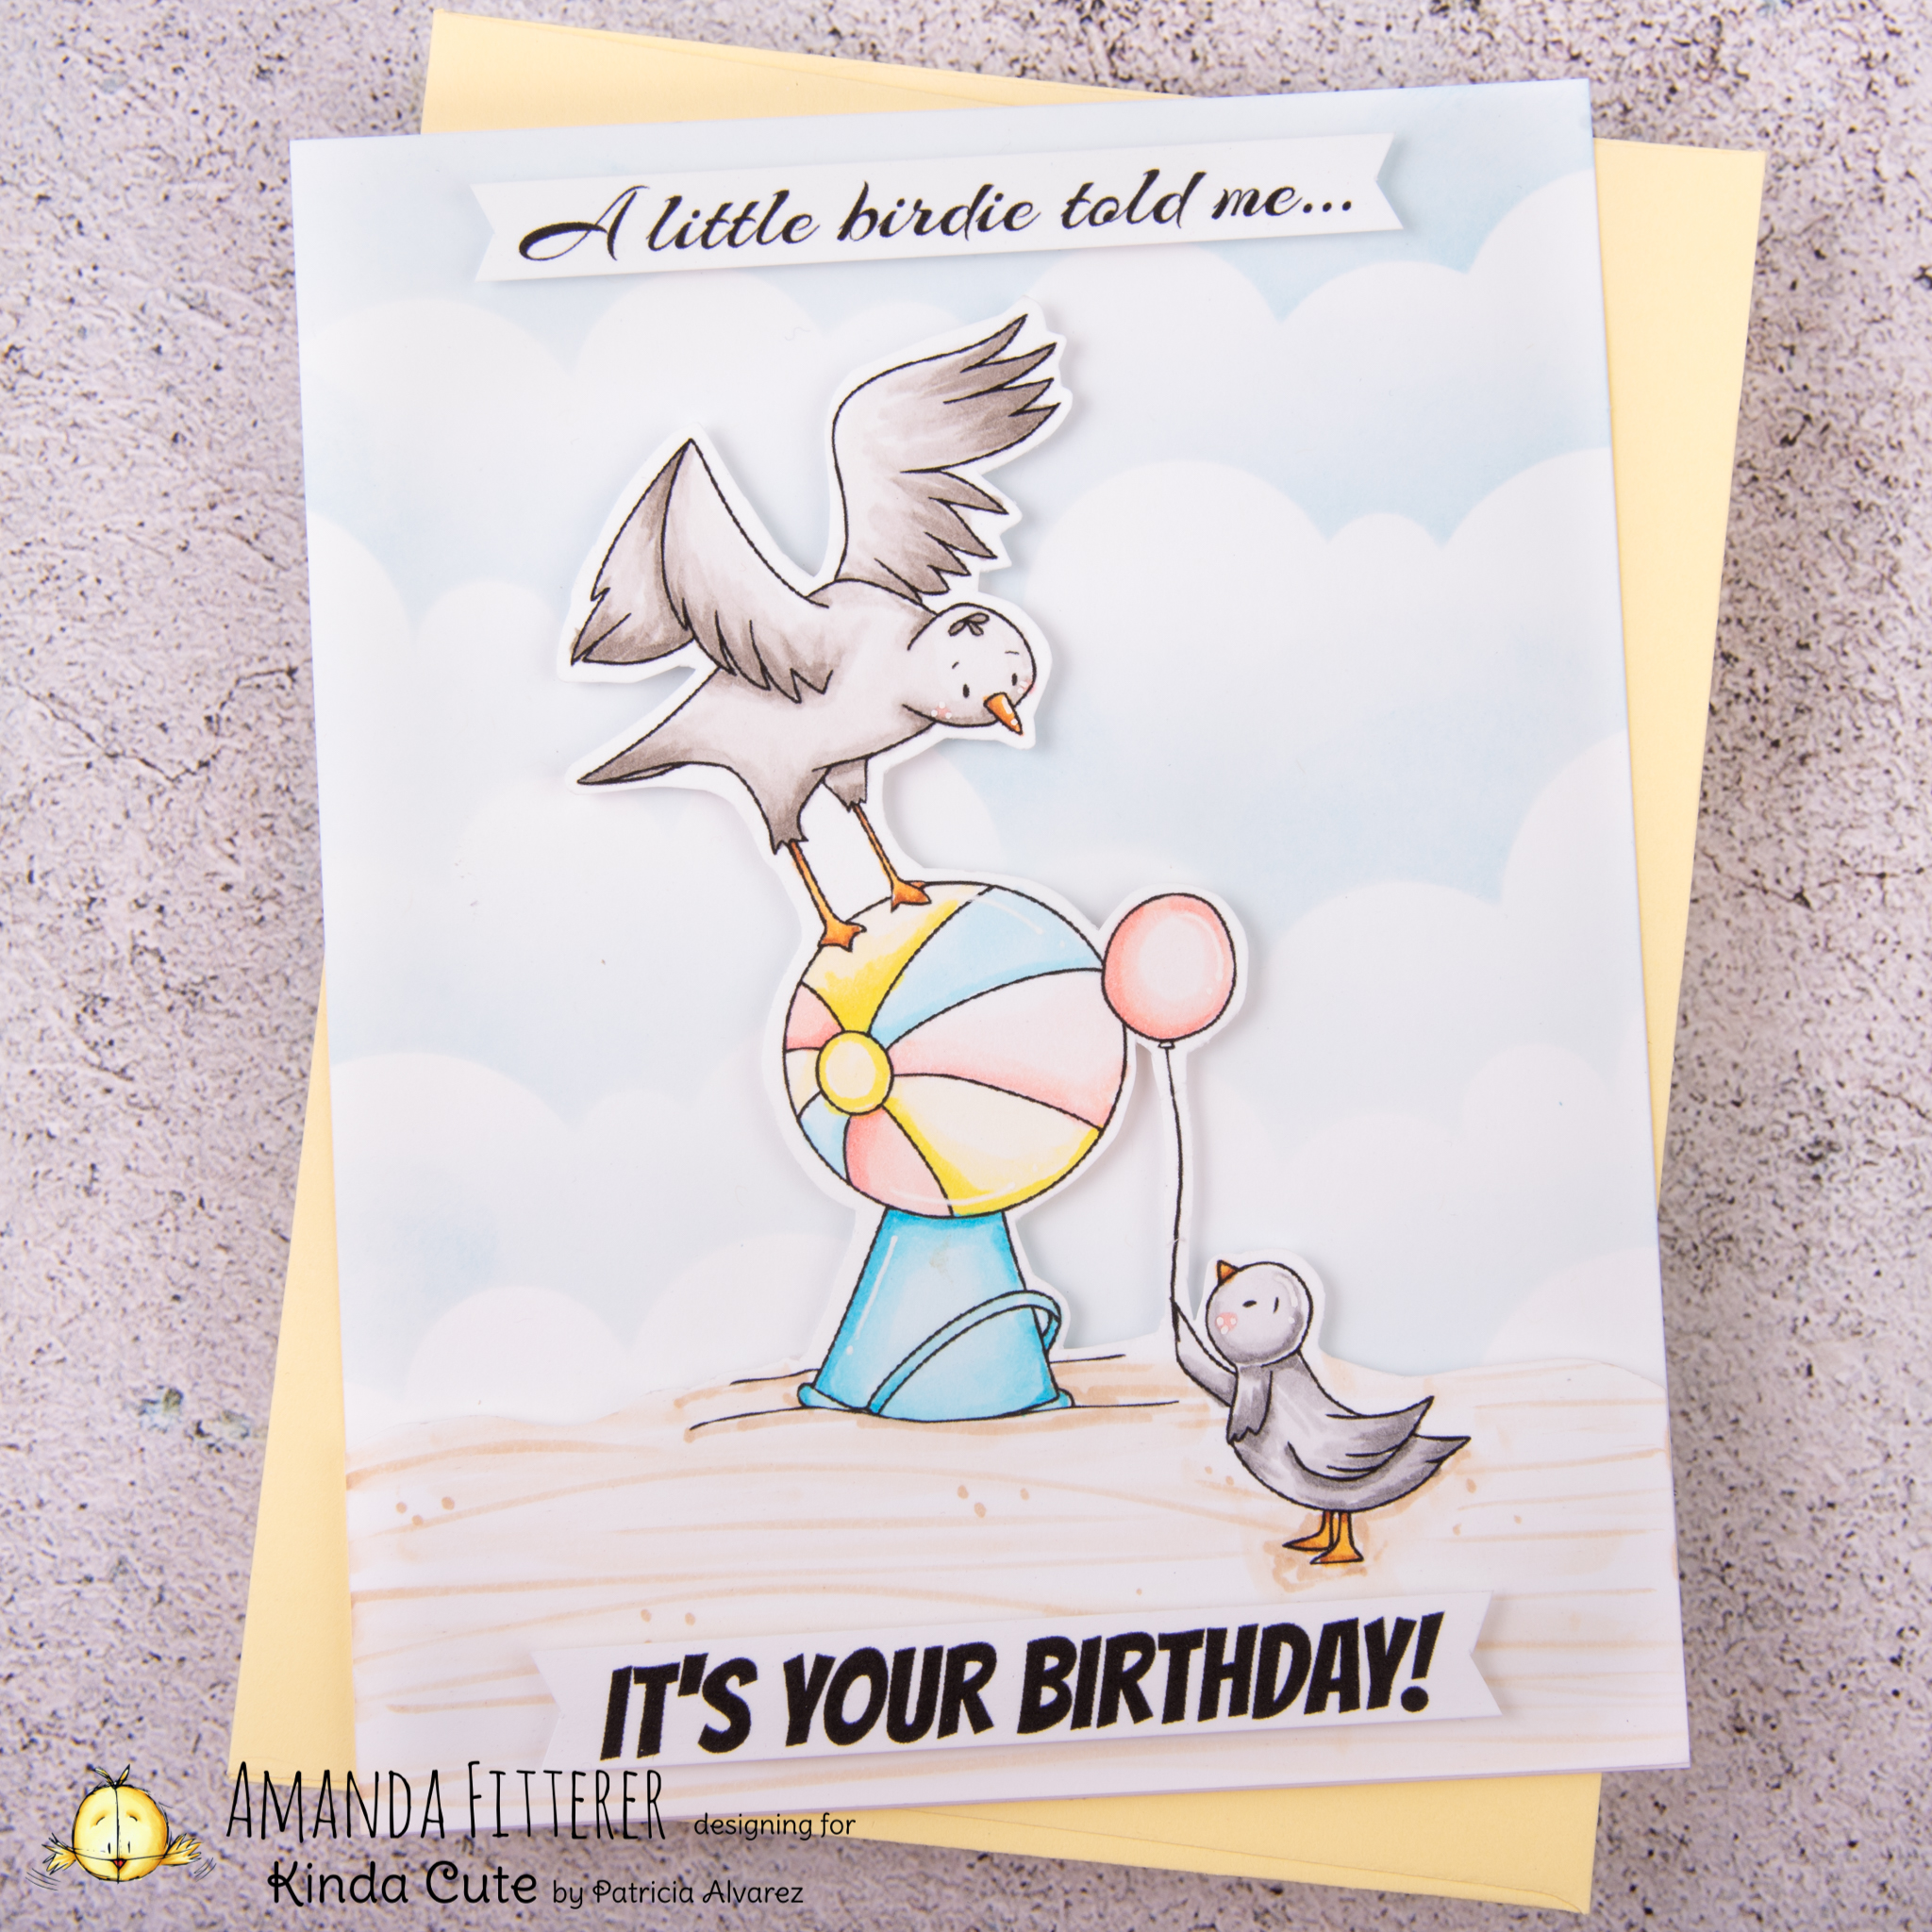
For my interactive pull tab and slider card, I’m starting by stamping my images from the Heffy Doodle Otter Side and You Go, Gull stamp sets and the Sugar Pea Designs Captain of My Heart and Waves of Love stamp sets. To ensure I get a really crisp stamped image, I’m using my Smoosher Tool from Maker Forte and my MISTI. I’m coloring my images with Copic markers and then cutting the images out with my Die Cutting Machine.

Next, I’m ready to create my background and pull tab element. I am blending Yellowstone Color Hive ink and Rah Rah Skirt Ink to create my sky. I’ve also used a Splatter Stamp, Clear Ink, and Kaleidoscope Powder to create some metallic gold splatters in my background. For my pull-tab element, I’m using the Slimline Pull Tab Dies.

Now I’m ready to create my waves. I’m using some colored cardstock and the Breaking Waves Dies, plus the Wavy Water Slides to create my coordinating wave slider.

I’m ready to start assembling! I’m using Deep Foam tape, Glubert Glue and SuperTape to adhere my pieces to my card.

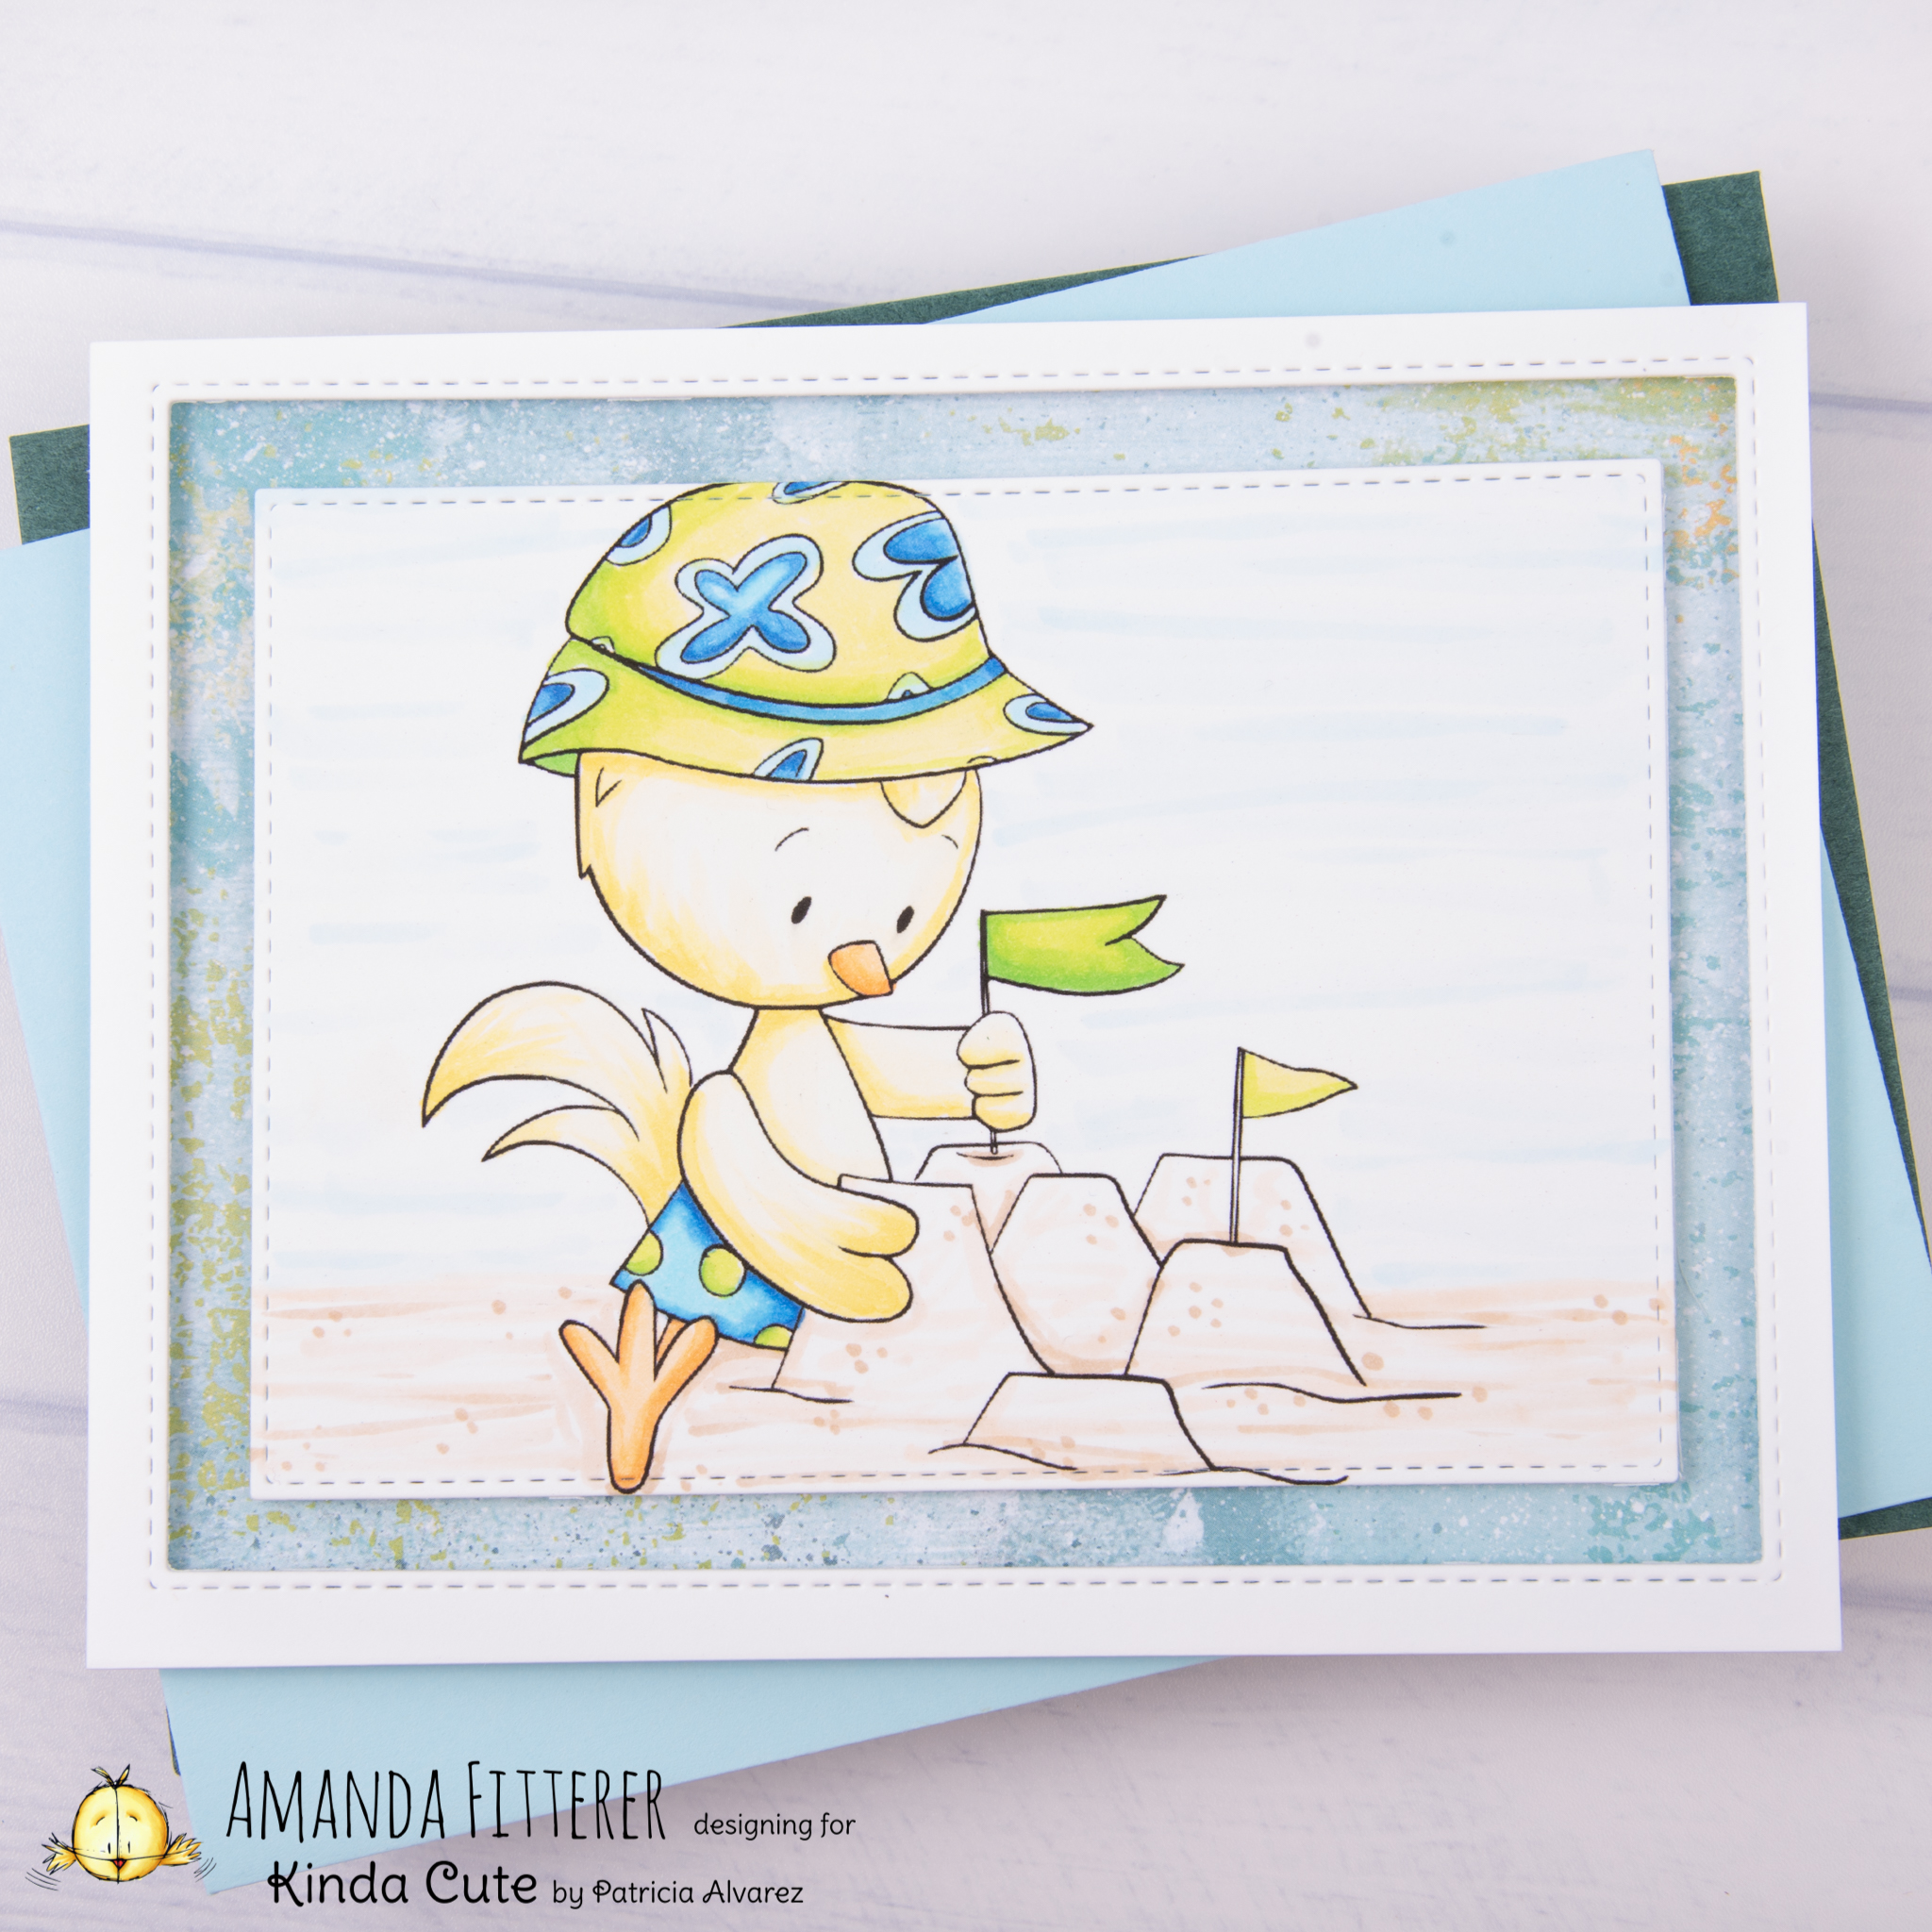
To create this shadow box card, I first cut my pieces out using the Heffy Doodle Big Shadow Box Dies. I cut the front piece and side pieces down using the Slopey Joe Border Dies. For my sides, I blended Yellowstone Color Hive ink and then added crabs using the Rah Rah Skirt Ink and the Just a Pinch Stencil.

For my front, I created sand using Copic markers. For my waves, I used the Breaking Waves Dies.

For my images, I am using the same sets as my first card. I’ve stamped my images, used Copic markers to color them, and now I’m attaching my little fishies and birds to small strips of acetate.

To make assembling my card easier, I am using my favorite Rainbow Tweezers.

And, that’s it! Both cards completed!

To be entered to win the giveaway, all you need to do is comment at each stop along the Blog Hop!
Maker Forte will be giving away $35, Heffy Doodle will be giving away £25, and SugarPea Designs will be giving away $25 to their respective stores!  Be sure to comment before 11:59 PM EST on Aug 20th to be entered to win!

Each company will post their random winner on Aug 21st at 10AM EST!  Make sure to check the Heffy Doodle Blog,  Maker Forte Blog, and SugarPea Designs Blog to see if you’re a winner!


Blog Hop Lineup:

Heffy Doodle Blog

Amanda Fitterer (you are here!)

Amy Kolling (YOUR NEXT STOP!)

Kim Boliver

Cassie Trask

Kari VanNoy

Vera Yates

SugarPea Designs Blog

Maker Forte Blog

Posted on Leave a comment

Chick at the Beach

Hello there, friends! I hope you are all doing well this lovely Thursday!
How much would you love making sand castles with this little cute chick?!

To make this card, I’m using the digital stamp: Chicken on the Sand.
I colored this little cutie with Copic markers:
YG00, YG01, YG05, YG07
B00, B24, B26
Y32, YR21, YR12
Y0000, Y000, Y11, Y13

For the sand, I used E50, E41, and E42. For the sky, I used B0000 and B000.

I think he turned out super adorable! Thank you so much for stopping by! Have a great rest of the week!!
Xoxo, Amanda

Posted on Leave a comment

Seagulls at the Beach

Hello there friends! I am excited to share this super cute card with you all today!

To make this card, I used these Kinda Cute digital stamps:
Seagulls at the Beach
Birthday Filler
Birthday Sentiments

I put the balloon in the little bird’s hand on my computer. I printed the digis on 80lb. Neenah Solar White cardstock.

I used a cloud stencil with Tumbled Glass distress oxide for my background.

Next, I colored my images with Copic markers. (Click on any image to view it larger.)

Thank you so much for stopping by my blog! I hope this post inspired you! Xoxo, Amanda

Posted on 39 Comments

Honey Bee Stamps Summer Release Blog Hop – Day 2

Welcome to the Honey Bee Stamps Summer Release Blog Hop – Day 2!
To celebrate this huge release, Honey Bee Stamps is giving away a $25 gift certificate to the store for each day of the Hop! Be sure to comment on every stop along the way for Day 1 and Day 2 to win!

For each of my Beach House cards, I am using the following products:
Beach House Add-On Stamps | Beach House Add-On Honey Cuts | House Builder Card Base | Salvaged Brick Background Stencil | Watercolor Lines Background Stencils

I’m going to make a different roof for each house! I’m die cutting the roof from the Beach House Add-On Honey Cuts.
For my first house, I’m using Scattered Straw and Frayed Burlap distress ink and oxide. I’m also adding E34 to the embossed parts.
For the 2nd house, I’m using Copic markers and a flicking motion to color in the entire roof. I am using E41, E42, E43, and E44.
For the last house, I’m using the Scattered Straw and Frayed Burlap again, but doing a lighter coat.

For the house bases, I’m also going to try 3 different techniques.
For the 1st house, I’m using the Salvaged Brick Background Stencil and Frayed Burlap distress oxide.
For the 2nd and 3rd houses, I’m using the Watercolor Lines Background Stencils and distress oxides.

I’m using the doors and windows that come with the House Builder Base for the 2nd and 3rd houses and coloring them with Copic markers.

Now I’m going to start stamping my images from the Beach House Add-On Stamps and coloring them with Copic markers. Click on any image to view it larger! For my “Welcome” sign, I’m using a paddle as my stick!

For my palm trees, I’m going to blend Mowed Lawn and Twisted Citron distress inks on a piece of white card stock and then die cut my leaves. For the trunk, I’m using E50, E31, E23, and E55.

Now I’m ready to start adhering my cards together! The process is the same for each card, so I’m only showing one house below. I am using 3D foam squares and strips for items I want to stick out (such as the palm tree, bike, and tiki torches). I am using a glue pen for tiny things, such as the leaves on the wreath and the palm leaves. I am using double sided tape for the fence.

Here’s another look at the finished cards!

For my 2nd project, I created these shaker tags!

To make these tags, I am using the Tag Along dies from Heffy Doodle. I am using the same tag die to cut the acetate for my shaker portion so that it fits perfectly.
Next, I’m blending some backgrounds with distress oxides and stencils.

I’m stamping my images using Memento Tuxedo Black ink and then using my Copic markers to color my images.

I am adding “margarita salt” to the rim of my margarita using liquid glue and Frosted Sugar Powder from Dress My Craft. For my shakers, I’m using the Frosted Sugar Powder and Crystal Ice Cubes from Dress My Craft.

Here’s another photo of the finished tags!

Products for Beach Houses:
Beach House Add-On Stamps – NEW RELEASE
Beach House Add-On Honey Cuts – NEW RELEASE
House Builder Card Base
Salvaged Brick Background Stencil
Watercolor Lines Background Stencils

Products for Cocktail Tags:
Sip Sip Hooray Stamp Set – NEW RELEASE
Sip Sip Hooray Honey Cuts – NEW RELEASE
Raise A Glass Stamp Set – NEW RELEASE
Raise A Glass Honey Cuts – NEW RELEASE

Don’t forget to hop along with us for your chance to win a Honey Bee Stamps $25 gift card!

Blog Hop Lineup:
Honey Bee Stamps
Mindy Eggen
Sara Sherlock
Kelly Martin
Danielle Flynn
Brenda Noelke
Amy Tsuruta
Bobbi Lemanski
Amanda Fitterer (You are Here!)
Vera Yates
Ilda Dias
Laura Jane
Jenny Hall
Jessica Frost Ballas

Thank you so much for stopping by my post!
If you’re not already following me on Instagram, please follow me if you want to see more cards from me!
@craftyandcreativevibes
Xoxo, Amanda