Posted on Leave a comment

DIY Cinched Planner Instructions

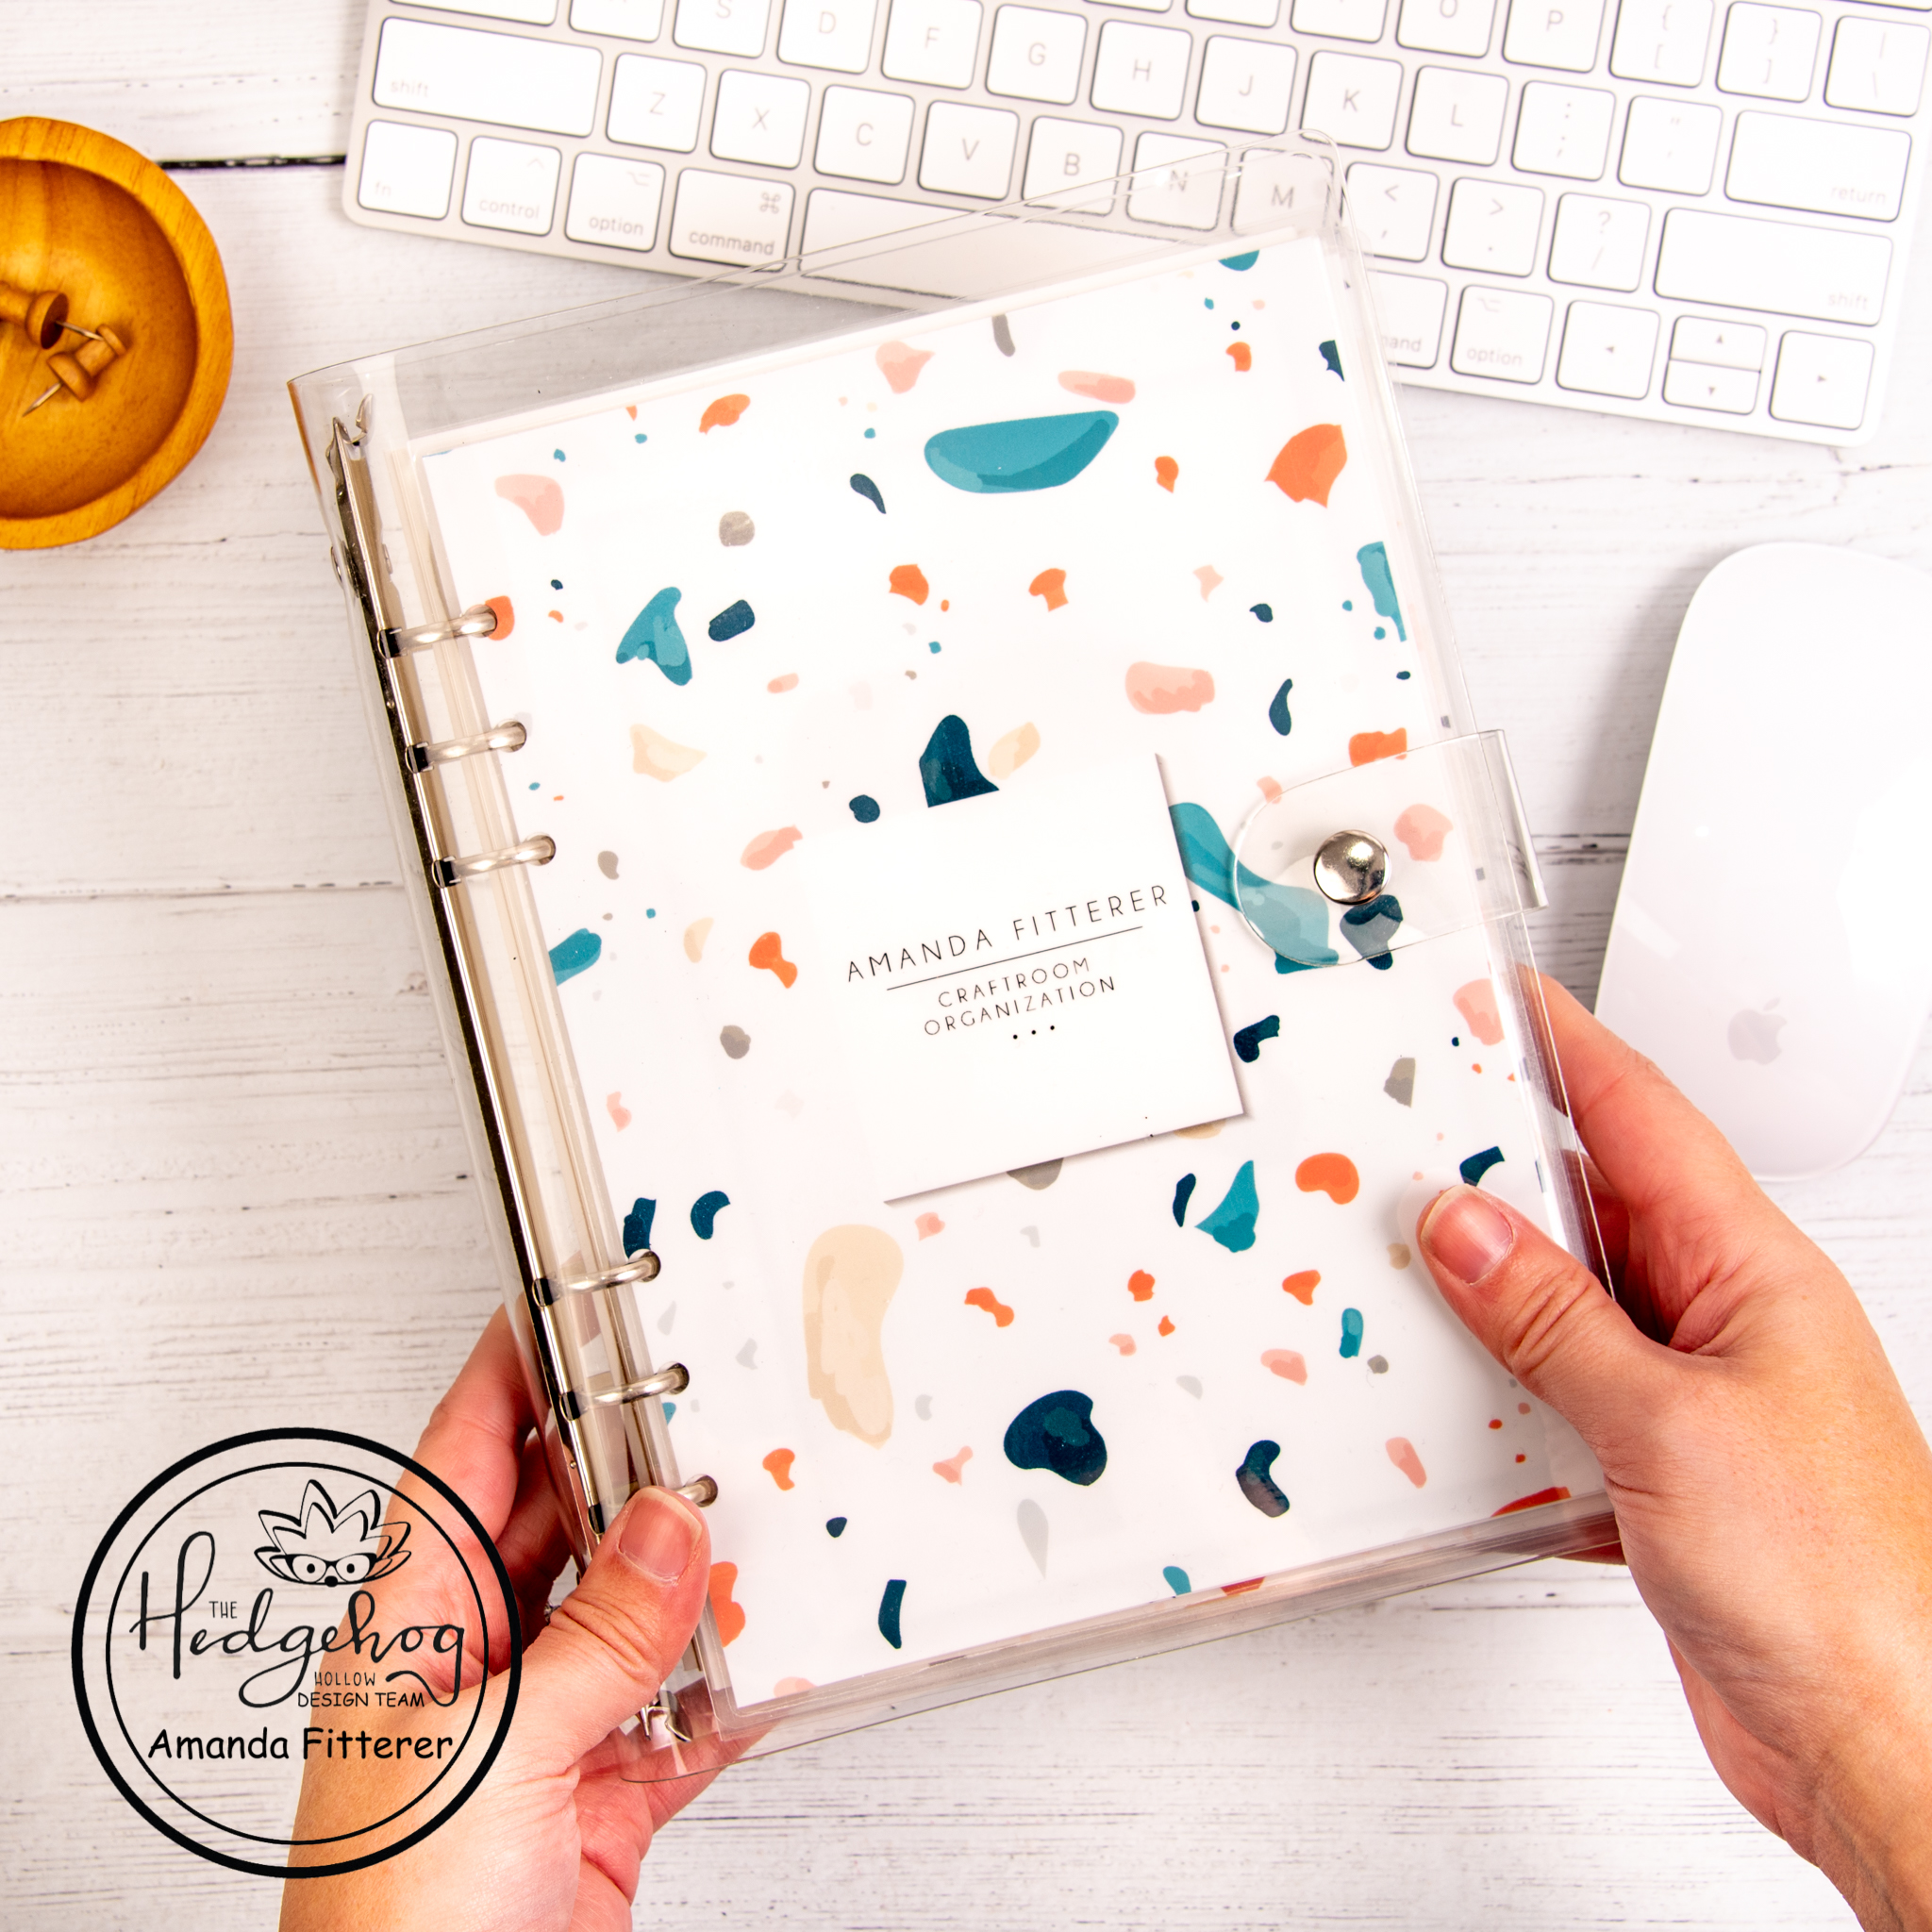
Hey friends! I’m sharing a very special project with you today! I’ve gone from using digital planners to physical planners! While I was searching around for the perfect planner, I decided that I couldn’t find anything that fit my desk perfectly and had the right layout for MY everyday! So.. I decided to make my own! Since I put so much effort into it, I wanted to share it with my crafty friends who want to give it a shot!

I’ve created a Printable Instructions Booklet that also has a bunch of Planner Sheet Options that fit the book! This template includes instructions (including measurements) and photos. It also includes links to products!

I’m happy to share this for FREE, but I’ve also included a Donation Form on the bottom of this post, in case you’d like to share the love! (Obviously, you don’t have to, but I do really appreciate it!)

Make a one-time donation

Choose an amount

¤5.00
¤15.00
¤100.00

Or enter a custom amount

¤

Your contribution is appreciated.

Donate

Want me to do more free printable instructions and templates? Let me know in the comments!

Enjoy!!! Xx, Amanda

Do you want to be alerted when I put some more tutorials and freebies on my blog?! Just fill out the form below! 👇

Scrapbook.com Affiliate Link | Catherine Pooler Affiliate Link | Become a Catherine Pooler StampNation member

Posted on Leave a comment

Simple Stories Mini Photo Album

Hey friends! I’m SO excited to share my finished DIY mini photo album I made using the Simple Stories Full Bloom Collection! This collection just makes me SMILE! I bound my entire book using the Mini Cinch.

If you’d like to shop this Full Bloom Collection, you can use my affiliate link here. *It doesn’t cost you anything at all, but it does give me a teeny percentage of your purchase to help me fund my craftiness!

Thank you SO much for using my links. You can always shop at scrapbook.com using my link here.

Shop the Scrapbook.com Deals!
Posted on 4 Comments

Masculine Tri-fold Journal and Tag Holder

Hey friends! Today I am sharing this really fun tri-fold journal and tag holder! I love how masculine it is! This Mister Maker line of products are all masculine, which makes it so much easier!

Check out this image to see which products I used:

You can shop all the Mister Maker products using my affiliate link (at no charge to you.. I just get a small percentage of your sale, which helps me fund my craftiness!)

Thank you so much for your love and support! If you would like me to do a tutorial on how I made this tri-fold, just leave a comment!

Xx, Amanda

Posted on 1 Comment

DIY Mini Journal with 6×6 Patterned Ppaer

Heya, friends! Are you getting excited that it’s ALMOST time to get your new Catherine Pooler goodies?!

I’m sharing tons of inspiration from the Lovebirds Bundle!

I have step-by-step instructions on creating this mini journal.. so read on!

I’m starting out with my uber-professional looking template! 😉
1. Cut a piece of white cardstock down to 4.75″ x 7.25″.
2. Score it at 3.5″ and 3.75″.
3. Round off your corners with a corner punch, if desired.

Grab your patterned paper – I’m using the new Twilight Reading Paper Pack.
4. Cut down smaller pieces of cardstock that are approximately .25″ less for each layer. I’m using the Scallops and Dots Dies and a paper trimmer.
5. If you rounded your edges on your white cardstock base, you’ll probably want to round these off as well. I’m only rounding the right corners.

6. Use a small hole punch or poker tool to create a small hole for a brad.
7. Place a brad in the hole, giving yourself room to wrap twine around a few times.

8. On the inner flap, tape a piece of twine that’s long enough to wrap around your mini journal 2-4 times, depending on what you want it to look like.

9. Glue a piece of patterned cardstock on the front flap to cover the tape and brad. My piece of paper is 3.25″ x 4.5″. I’m also using the same size and paper for the other flap.

I’m going to add a little more interest on the front of mine by stamping some birdcages from the Lovebirds stamp set with the new Apricot ink. Im going to trim that down and glue it to the front.

Now we’re ready to work on the inside!
10. Grab a piece of patterned paper and trim it down to 3.75″ x 2.5″.
11. Score at .5″ and 3.5″. Turn 90 degrees and score at .5″.

12. Use some scissors to cut triangles out of the flaps.

13. Use red tape to secure the pocket to your mini journal.

14. Grab some computer paper. Trim strips that are 8″ x 2.75″. Fold them in half and secure them together with a stapler. Stamp an image in the corner on one or all of the pages.
15. Use red tape to secure it to the inside of your journal.

16. Create some tags out of coordinating patterned paper and stick them in your pocket!

That’s it!

I hope you enjoyed this post and try to make your own mini journal!

You can start shopping the New Release on Tues, April 5th if you’re a StampNation member! Everyone else gets to start shopping on Weds, April 6th!

You can shop using my affiliate link if you want to help me get a small percentage of the sale! If you would like to, click here.

I’ll be back soon with more inspiration!! Xx, Amanda

Posted on Leave a comment

FREE Download: Kids’ Travel Play Food Kit

Hey friends! I have a different kind of post to share with you today! Spring Break is coming up and we have a 10 hour drive ahead of us! My little ones are 6 and 8 and need some car activities to keep them occupied. Finding unique travel toys for kids older than 3 seems to be quite the challenge!

So… I’ve created this Travel Size Play Food Kit for my kiddos using some crafty creativity! Want to make your own kit? I’ve got a FREE DOWNLOAD for you!

If you want to get notified of new posts in the future, I would LOVE it if you subscribed! I’m going to be doing some more DIY crafts for this trip coming up in the next few days!


Each kit contains 3 double-sided laminated “tables”, mini cutlery and dishes, and mini foods and drinks. (Anything mini is just THE CUTEST, isn’t it!?)

Here are the items you’ll need to make your own travel kits:

  • Mini food, drinks, dishes & cutlery- I got these.
  • Plastic compartment container – Such as these.
  • A laminator – the best (and cheapest!) is this one.
  • Laminating pouches – I like to have a variety on hand at all time, so I have this kit.
  • A printer – I have used this HP 8600 printer for the last 15 years! It is my absolute fav and prints up to 100# cardstock!!!
  • Cardstock or paper – I prefer cardstock for this project so that you can print on both sides. But you could use 8.5″x11″ computer paper and then put them back to back in your laminating pouch.
  • Printable Table settings – that’s where I’ve got your FREE DOWNLOAD! Click on the download button:

Instructions:
1. Gather all your supplies.
2. Print your table settings from your FREE DOWNLOAD. The instructions for printing are in your download.
3. Laminate your table settings to make them more durable and pretty!
3. Place all your supplies in your organizer (or let the kids help!)
4. ENJOY with your kiddos!

Here’s what they look like when they’re closed up! So portable and easy to travel with! (And, obviously, SO CUTE!)

There are some affiliate links in this post! I’d be so happy if you used them to make this project – it doesn’t cost you anything, but it allows me to get a small percentage of funds to help me make more stuff to share with you! THANK YOU!

Xx, Amanda

If you want to get notified of new posts in the future, I would LOVE it if you subscribed! I’m going to be doing some more DIY crafts for this trip coming up in the next few days!

Posted on 39 Comments

Heffy Doodle and Sunny Studio Stamps Collaboration Blog Hop

Welcome to the Heffy Doodle and Sunny Studio Stamps Collaboration Blog Hop!
Design Team members from both companies are sharing inspiration using products from both companies!

I couldn’t choose just 1 card, so I decided to make 2!

Whenever I’m starting a card, I like to lay my stamps out on my card base to get an idea of what the card will look like. After doing that, I got blended my background using Fossilized Amber, Worn Lipstick, and Dusty Concord Distress Oxides.

The next step is stamping and coloring! I stamped images from the Heffy Doodle Chimply the Best, Wingman, Hootiful, and Beary Big Heart stamp sets. From Sunny Studio Stamps, I stamped images from the Silly Sloths stamp set.

For my sentiments, I used the word bubbles from the Whatcha Sayin’ stamp set. I also used a sentiment from the Silly Sloth stamp set.

Once I had all of my elements ready, I used 3D foam squares and strips to adhere everything to my background.

For my other card, I used Chimply the Best and Silly Sloths again. I stamped the images and colored them with Copic markers.

For my background and border, I used the UnbeLEAFable Stencil and the Stitched Rectangle Dies. I wanted my border to stick out farther than regular 3D foam adhesive, so I used the Deep Foam Tape.

I created leaves with the Amazonian Leaves Dies and Lucky Clover Distress Oxide. Finally, I started adhering everything to my card front with glue and 3D foam squares and strips.

To be entered to win the giveaway, all you need to do is comment at each stop along the Blog Hop!
Sunny Studio Stamps will be giving away $35 and Heffy Doodle will be giving away £25 to their respective stores!  Be sure to comment before 11:59 PM on March 3rd to be entered to win!

Each company will post their random winner on March 4th at 10AM EST!  Make sure to check the Heffy Doodle Blog and Sunny Studio Stamps Blog to see if you’re a winner!

Blog Hop Lineup:

Heffy Doodle Blog
Tallie Clewley
Mayra Duran-Hernandez
Mona Toth
Candice Fisher
Davina Cantrell
Julia Englich
Amanda Fitterer
Handmade by Kavya
Sunny Studio Blog

Posted on Leave a comment

DIY Craftroom Organization Binder

Well hello there! Thank you so much for coming by my blog today! I hope you love this DIY Craftroom Organization binder I made to share with you all!

The January 2021 Hedgehog Hollow Subscription Box included this awesome A5 clear binder and I KNEW I had to use it in a project! What better DIY project than Craftroom Organization?! I’ve been struggling with finding a better way to organize my crafty supplies and have everything within arm’s reach.

Here are some of the pages from my binder:

I made all of these pages from scratch – if you can believe it!
In Adobe Illustrator, I created art boards that were A5 size.

DIVIDERS:
For my dividers, I used some patterns I found online. Then, I created my headers for each page.
I printed these dividers on glossy photo paper and then used my laminator to laminate each one.

INSERTS:
Then, I designed each of my inserts, leaving room for holes on the left side. I printed these inserts on 80lb. Neenah Solar White cardstock, as that is the cardstock I use while making cards. This is super important for the accuracy of the ink pads and Copic markers.

Note: For my Copic hair and skin page, I used the “School Girl” digital stamp by Kinda Cute by Patricia Alvarez.

I used an adjustable hole punch to punch holes on all of my inserts and dividers.

For my Distress Inks and Oxides blends pages, I cut down 80lb. Neenah Solar White cardstock into 2″ squares. Then, I created my blends on them, used double sided tape on the back of them, and placed them in my binder.

For my Ink Pads, I used the Waffle Flower Color Combos for Ink Pads stamp set.

For my Copic Blends, I only needed my Copic markers!

Here are a few close-ups of each of the inserts:

There is so much more room to add more into the binder as well! I added some blank A5 sheets to the back for notes and whatnot! This organization thing can be quite time consuming, but it’s worth it!

I have some more ideas of inserts I will add:
Word Dies
Nuvo Drops
Cardstock Colors
Embossing Powders
Black Inks and their Properties

Do you have any more suggestions?! Please leave a comment and let me know!

Thank you again so much for stopping by!
Xoxo, Amanda

Disclaimer: Some links I’ve used above are affiliate links. Please use them to get your products that I LOVE, at no extra cost to you! It helps me to fund my crafting that I get to share with you!! 🙂

Posted on 4 Comments

VIDEO: DIY NECKLACE, KEYCHAIN, AND GIFT PACKAGING

Hello there, Hollowers! I hope you are all having a fantastic Tuesday! I told you I’d be back with another fun project using the December 2020 Box and here I am! If you didn’t see my blog post from last week, you can find it here. I made a cute card using all the Forest Friends! Don’t forget to follow me on Instagram to see my other posts as well!

This week, I am sharing a video tutorial! I made a Shrinky Dink necklace and keychain. Plus, I made the gift packaging to put it in! This month’s subscription box is most definitely my fav so far! Did you get yours yet?!

You can watch the video tutorial here.

To create the gift packaging, I used the Heffy Doodle Gift Card Pocket Die. I created my own dot borders with a Sharpie pen.

For the bears and sentiment, I used the Forest Friends and Animal Greetings Stamp Sets that were included in the December Subscription Box. I colored the images with Copic markers.

To create my necklace and keychain, I used Dress My Craft’s Shrink Prink. I stamped the bear from the Forest Friends Stamp Set on the glossy side of the Shrink Prink with Staz-On ink. I, then, colored him on the frosted side of the Shrink Prink using colored pencils. I used a hole punch to create a hole BEFORE shrinking him down with my heat tool.

I just love the sentiment “Thank you beary much” with these sweet Forest Friends bears! My daughter has already stolen the keychain and hung it in her room!

I hope you enjoyed this tutorial and video! Looking forward to my post for next week! What could it be… what could it be… ?

Don’t forget, you only have until December 14th to order this box! What are you waiting for!?

Xoxo, Amanda 🙂