INSTAHOP + GIVEAWAY Today, the NEW 🌏 Global Adventure Collection Pt. Deux hits the CPD shop along with the three NEW 🌈 Refresh Inks !!! This is cause for a celebratory Insta Hop! Someone is going to WIN a $50 Gift Card to the CPD Shop 🎁!
I will continue to share more projects using this New Release over the next few days!!
–> If you want to use my affiliate link to shop the New Release, click here.Thank you for all your support!!All the links in this post are affiliate links. This helps me to get some extra crafty cash to buy more goodies to share more projects with you!It is SO appreciated! <–
Well hey there, crafty friends! I sure hope you had a wonderful Christmas! Did you get any crafty goodies?! I hope so!!
Today, I’m sharing a Baby Shower card! I love interactive cards and the Slider Pop-up Dies make it so easy to make one quickly!
To create this card, I have blended some gorgeous Catherine Pooler blues on my cutouts from the Slider Pop-up Dies . Next, I’m spritzing the ink with water.
I’ve stamped my images from the Beary Big Heart and Chimply the Best stamp sets. Now, I’m ready to start coloring the images with Copic markers!
To create my leaves, I am using both the Amazonian Leaves and Forest Leaves Dies. To color the leaves, I used Limoncello and Tiara inks. I am gluing my leaves, sequins, and monkey on using Glubert Glue.
Using the Classic Sentiments stamp set and the Chimply the Best stamp set, I’ve created my sentiment on a piece of white cardstock.
Voila! So easy and fun! Plus, it will make a great Baby Shower card that is sure to be gushed over!
Thank you so much for stopping by my blog today! I hope you’ve enjoyed this post as much as I’ve enjoyed sharing it with you!! Xx, Amanda
Welcome to the Heffy Doodle and Newton’s Nook Designs Collaboration Blog Hop! Design Team members from both companies are sharing inspiration using products from both companies! I am super excited to share my card with you!
To create this card, I’m starting with the Heffy Doodle Slimline Mini Mails Die and a piece of white cardstock trimmed to slimline size (3.5″x8.5″).
Next, I am stamping my images from the Newton’s Nook All About for Christmas stamp set and the Heffy Doodle Santa’s Village stamp set with the Maker Forte ReMARKable Eclipse Black ink. This is my favorite alcohol-friendly black ink!
Now, onto coloring my adorable images with Copic markers!
To create my hill and slider element, I’m using the Heffy Doodle Slimline Scenery Dies and the Straight Slider Dies. To create a longer slider, I’m die cutting 2 of the sliders right next to each other.
Using Deep Foam tape, I’m propping up my hill to give me room for a button to use as my sliding element. After attaching my trains to the buttons, I can start assembling the rest of the card using 3D foam squares and glue!
Here’s another photo of the finished card and some close-ups!
And that’s it for my card!! I hope you enjoyed my part in the Blog Hop!
To be entered to win the giveaway, all you need to do is comment at each stop along the Blog Hop! Newton’s Nook Designs will be giving away $35 and Heffy Doodle will be giving away £25 to their respective stores! Be sure to comment before 11:59 PM EST on Dec 28th to be entered to win!
Welcome to the Heffy Doodle and Catherine Pooler Collaboration Blog Hop! Design Team members from both companies are sharing inspiration using products from both companies!
I assembled my card using liquid glue and 3D foam squares.
Now, onto the Blog Hop Giveaway Details:
To be entered to win the giveaway, all you need to do is comment at each stop along the Blog Hop! Catherine Pooler will be giving away $35 and Heffy Doodle will be giving away £25 to their respective stores! Be sure to comment before 11:59 PM EST on Nov 24th to be entered to win!Each company will post their random winner on Nov 25th at 10AM EST! Make sure to check the Heffy Doodle Blog and Catherine Pooler Blog to see if you’re a winner!
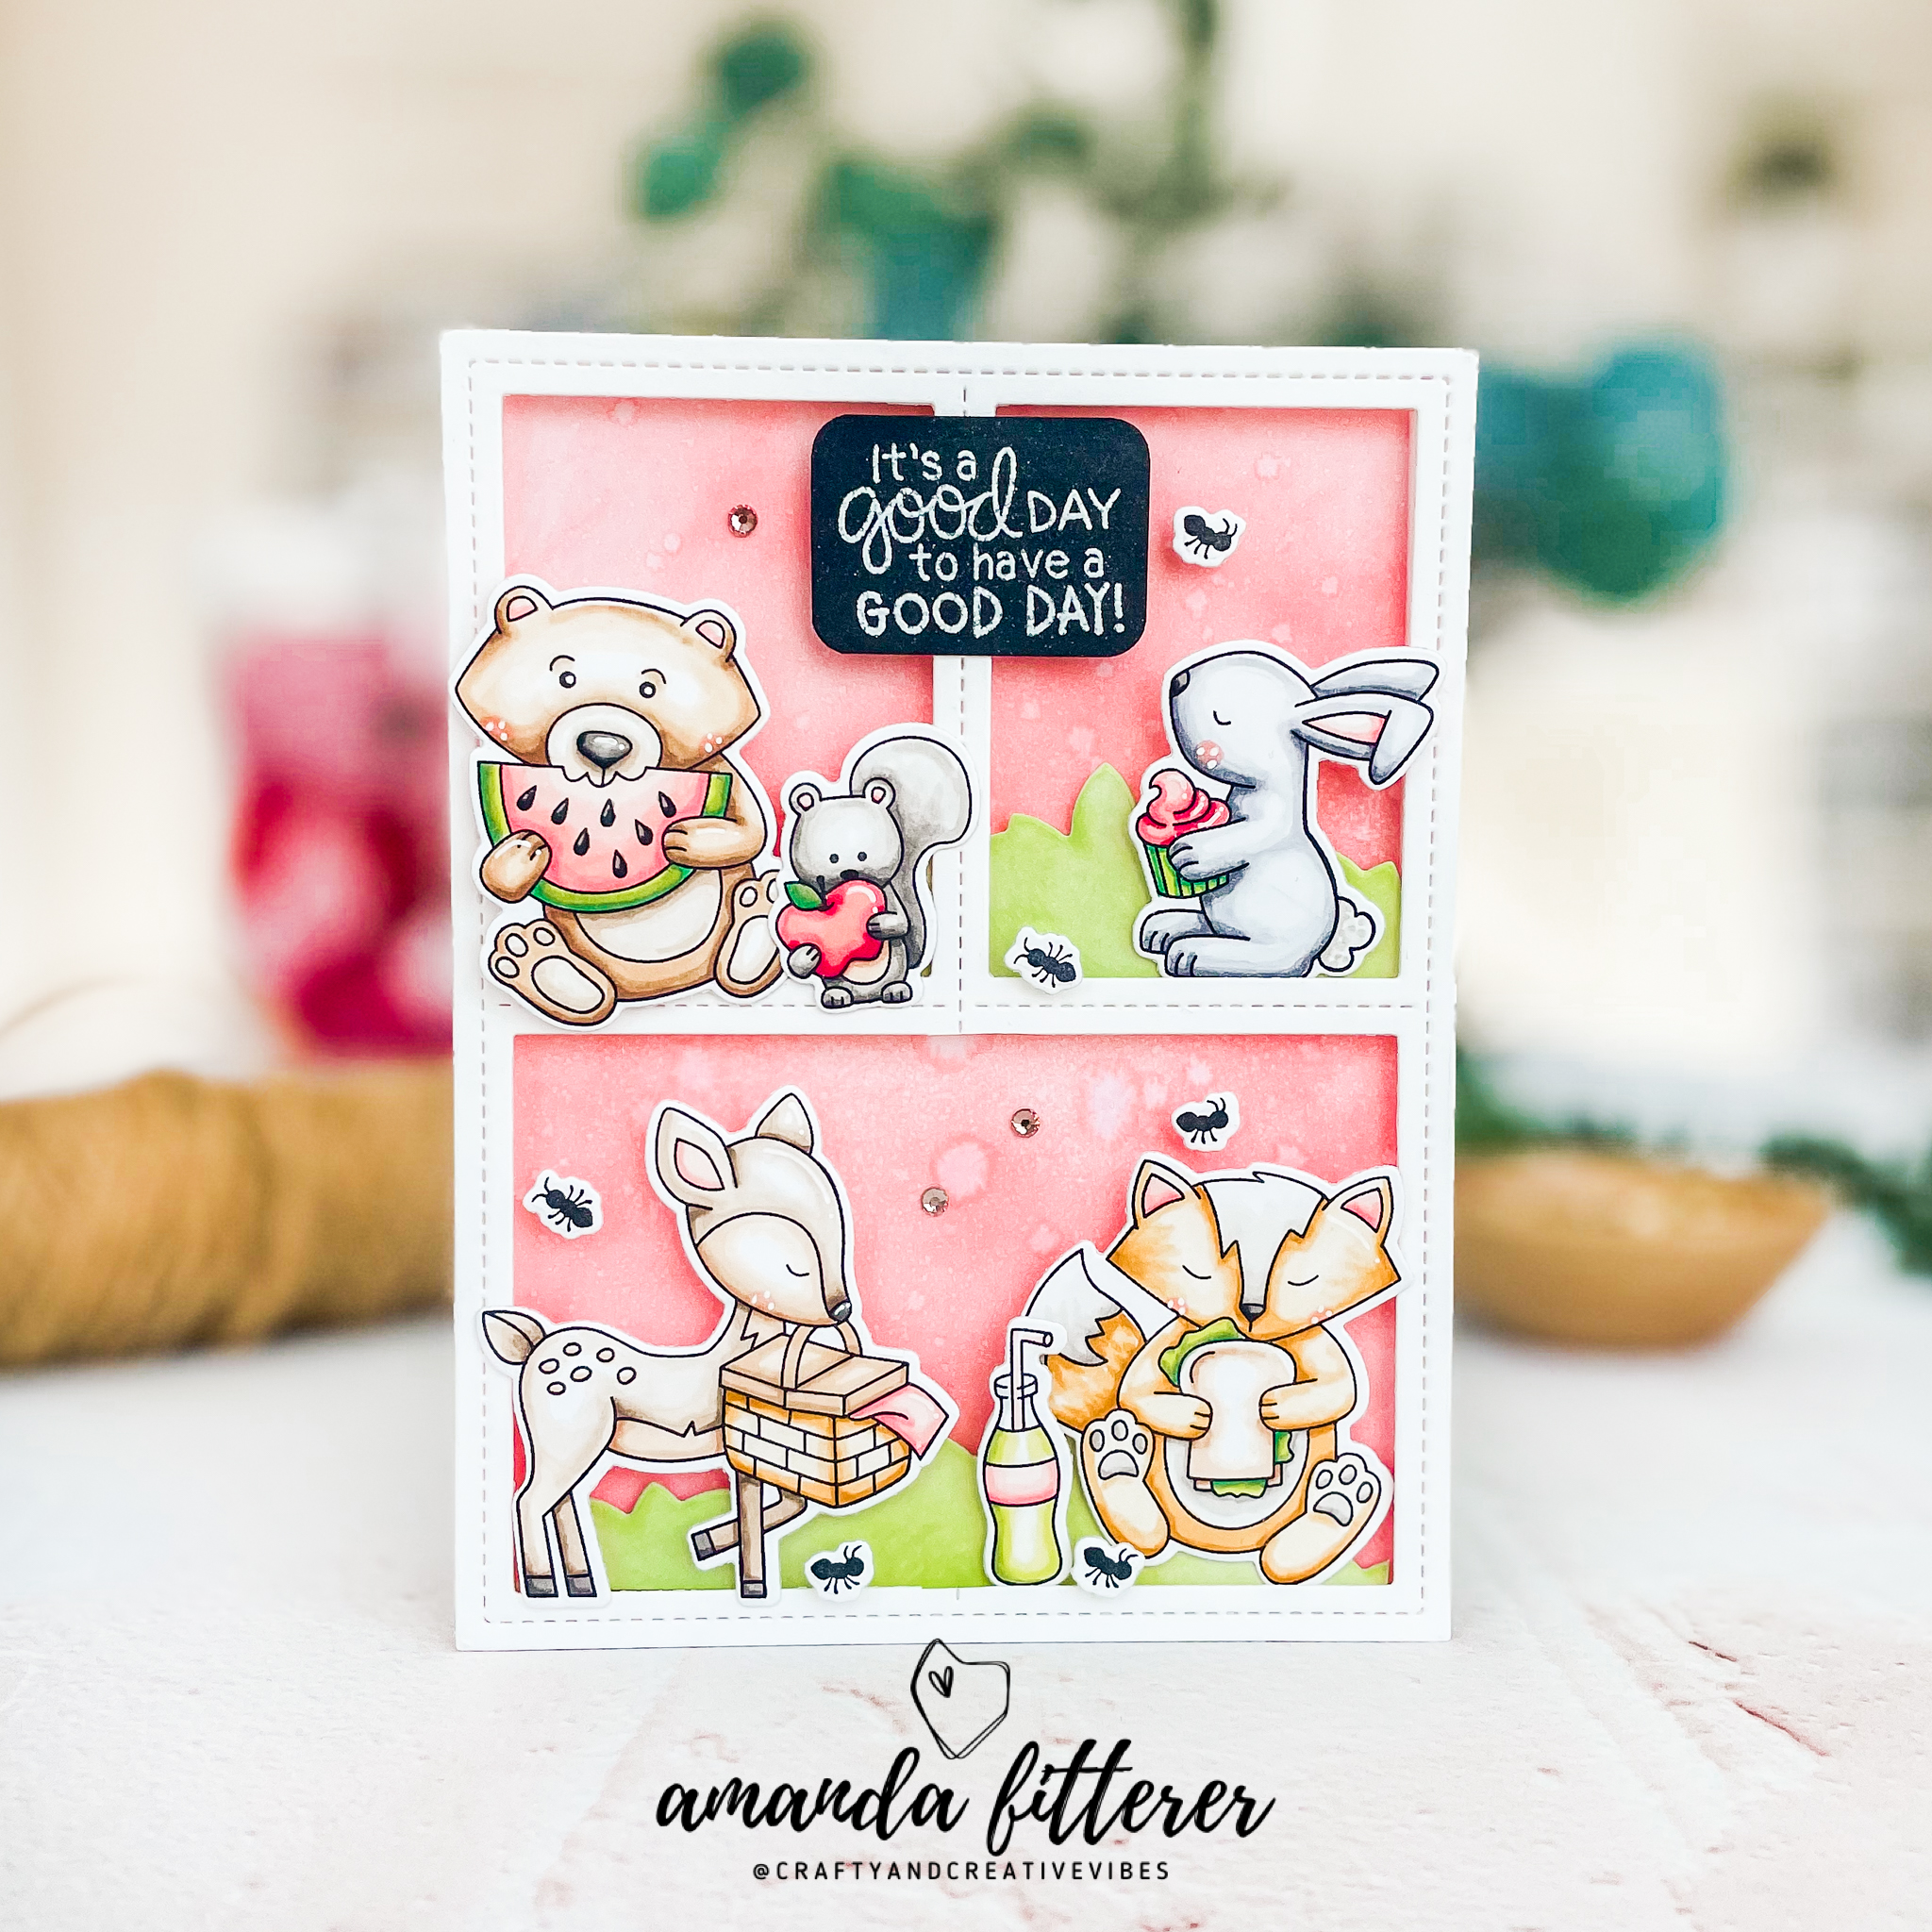
Hey crafty friends! Happy Friday! I hope you’re all having a lovely day! I just got this Newton’s Nook Woodland Picnic stamp set and I couldn’t WAIT to make a card with it!
Now, for my favorite part! Coloring with Copics!! Eek! I kept to a basic palette of greens, reds, and a little bit of YR’s.
For my card base, I blended Catherine Pooler’s Do-si-do ink and then spritzed it with water. Catherine Pooler’s inks react beautifully with water! For my grass, I blended Garden Party.
Thank you so much for hanging out with me on my blog today! I hope you enjoy this card and my little tutorial!
If you shop Scrapbook.com using this link or Simon Says Stamp using this link, I will get a little bit of money from your purchase. This helps me keep my craftiness going and lets me share inspiration and tutorials with you! Plus, if you use the links above, they are affiliate links as well! I can get a small portion from your purchase! Thank you for your support! I really appreciate it! Every little bit helps!
Hey friends! Maker Forte’s New Release is available NOW for purchase!! Get your goodies here.
I have a few cards I made using the new “Get Yeti for Christmas” Stamp Set. Are these guys just the cutest?! I have 2 cards to share with you using this stamp set!
To make this card, I used the Straight Slider Dies from Heffy Doodle to create an interactive element to my card! The little yeti can now sled back and forth! I used Pop Art and Tartan Teal for my background. My clouds were created with the Clouds Stencil.
If you missed the Live YouTube Reveal Party, you can watch it here!
Thank you all so much for stopping by my blog!! Xx, Amanda
Welcome to the Heffy Doodle, Maker Forte, and SugarPea Designs Collaboration Blog Hop! Design Team members from all three companies are sharing inspiration using products from all three companies!
Today, I am sharing 2 cards that I made using tons of awesome products from these companies!
For my interactive pull tab and slider card, I’m starting by stamping my images from the Heffy Doodle Otter Side and You Go, Gull stamp sets and the Sugar Pea Designs Captain of My Heart and Waves of Love stamp sets. To ensure I get a really crisp stamped image, I’m using my Smoosher Tool from Maker Forte and my MISTI. I’m coloring my images with Copic markers and then cutting the images out with my Die Cutting Machine.
Now I’m ready to create my waves. I’m using some colored cardstock and the Breaking Waves Dies, plus the Wavy Water Slides to create my coordinating wave slider.
For my front, I created sand using Copic markers. For my waves, I used the Breaking Waves Dies.
For my images, I am using the same sets as my first card. I’ve stamped my images, used Copic markers to color them, and now I’m attaching my little fishies and birds to small strips of acetate.
To make assembling my card easier, I am using my favorite Rainbow Tweezers.
And, that’s it! Both cards completed!
To be entered to win the giveaway, all you need to do is comment at each stop along the Blog Hop! Maker Forte will be giving away $35, Heffy Doodle will be giving away £25, and SugarPea Designs will be giving away $25 to their respective stores! Be sure to comment before 11:59 PM EST on Aug 20th to be entered to win!
Hey crafty friends!!! It’s another Christmas in July post! Scrapbook.com just released some really fun Christmas products and they asked ME to make some projects with them! How could I refuse?! I love their products!
If you want to shop Scrapbook.com using my affiliate link, click here. That will get me a little percentage of your purchase so I can keep buying new crafty supplies and sharing inspiration with you! 🙂
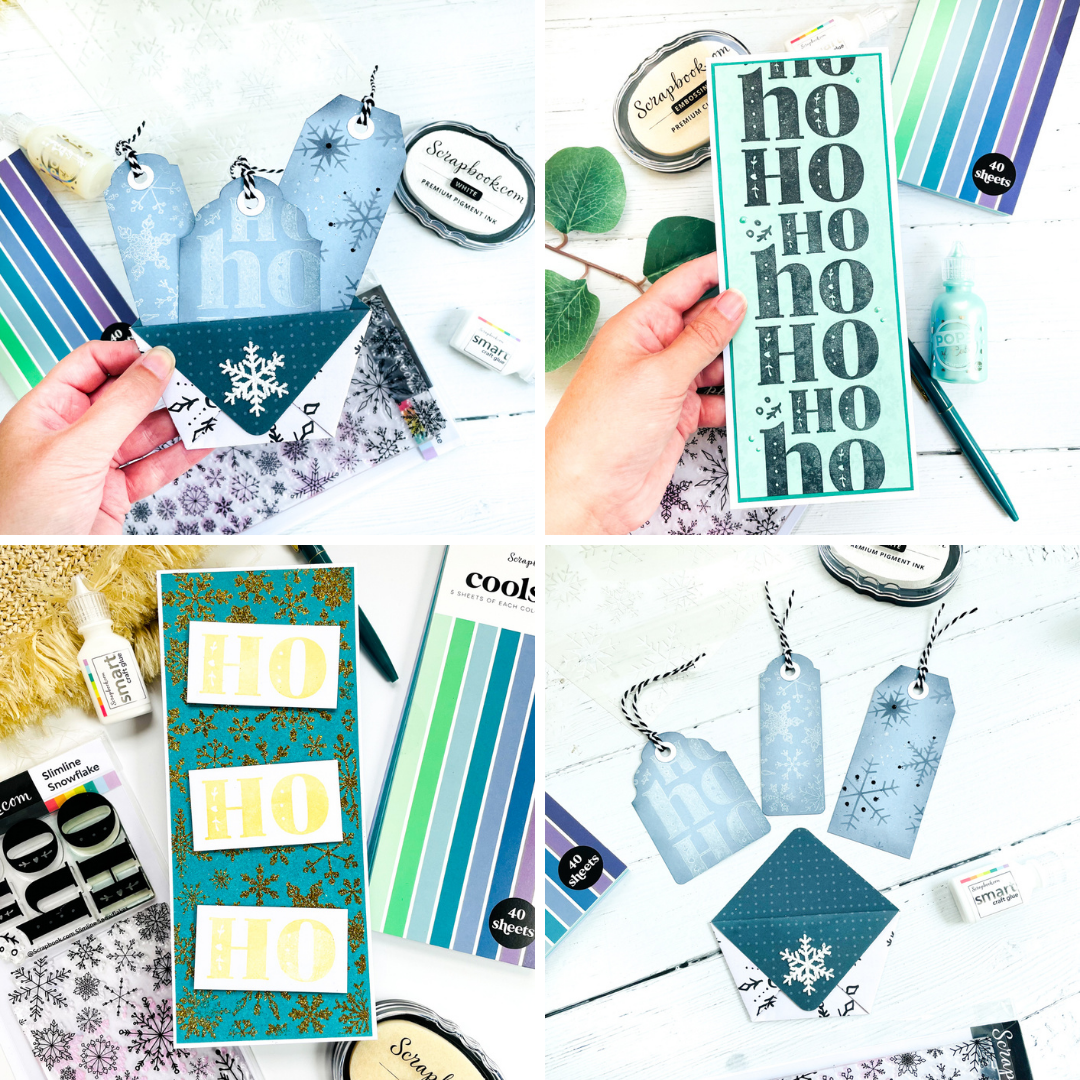
Now onto my projects! My first project is a slimline card!
I’m grabbing my Scrapbook.com Premium Clear Ink Pad and the Slimline Snowflake stamp set. Using my MISTI, I’m placing my Cools Smooth Slimline colored cardstock into the MISTI and stamping the snowflakes with the clear ink. This will create a “watermark” effect in my background that looks really cool in person. Next, I’m stamping my “Ho Ho Ho” all the way down the front of the card with Memento Tuxedo Black Ink. I’m using the Smart Glue to adhere my layers together and then adding some Seafoam Pops of Color for a finishing touch!
For my next project, I’m going to make a folded envelope with some tags inside!
To create this cute little pocketfold envelope, I’m starting with a piece of double sided Snowflakes Crate Paper. See the gallery below to watch me fold it step-by-step:
To round off the edges of the envelope, I’m using the 3-in-1 Corner Punch. I’m using my Smart Glue again to adhere the flaps down.
Now that my pocketfold is ready, I’m ready to move onto my tags.
For my sentiment, I’m stamping with Metallic Gold Ink. I’m masking off the part of the stamp I don’t want to ink up with Memo Tape.
Thank you SO much for stopping by my blog today! I appreciate YOU so much!
Just a reminder, clicking on the products above will go to my affiliate links for those products! I appreciate all the extra spending money I can get! I enjoy sharing my inspiration with you!
Welcome to the Heffy Doodle and Sunny Studio Stamps Collaboration Blog Hop! Design Team members from both companies are sharing inspiration using products from both companies!
I couldn’t choose just 1 card, so I decided to make 2!
Whenever I’m starting a card, I like to lay my stamps out on my card base to get an idea of what the card will look like. After doing that, I got blended my background using Fossilized Amber, Worn Lipstick, and Dusty Concord Distress Oxides.
I created leaves with the Amazonian Leaves Dies and Lucky Clover Distress Oxide. Finally, I started adhering everything to my card front with glue and 3D foam squares and strips.
To be entered to win the giveaway, all you need to do is comment at each stop along the Blog Hop! Sunny Studio Stamps will be giving away $35 and Heffy Doodle will be giving away £25 to their respective stores! Be sure to comment before 11:59 PM on March 3rd to be entered to win!
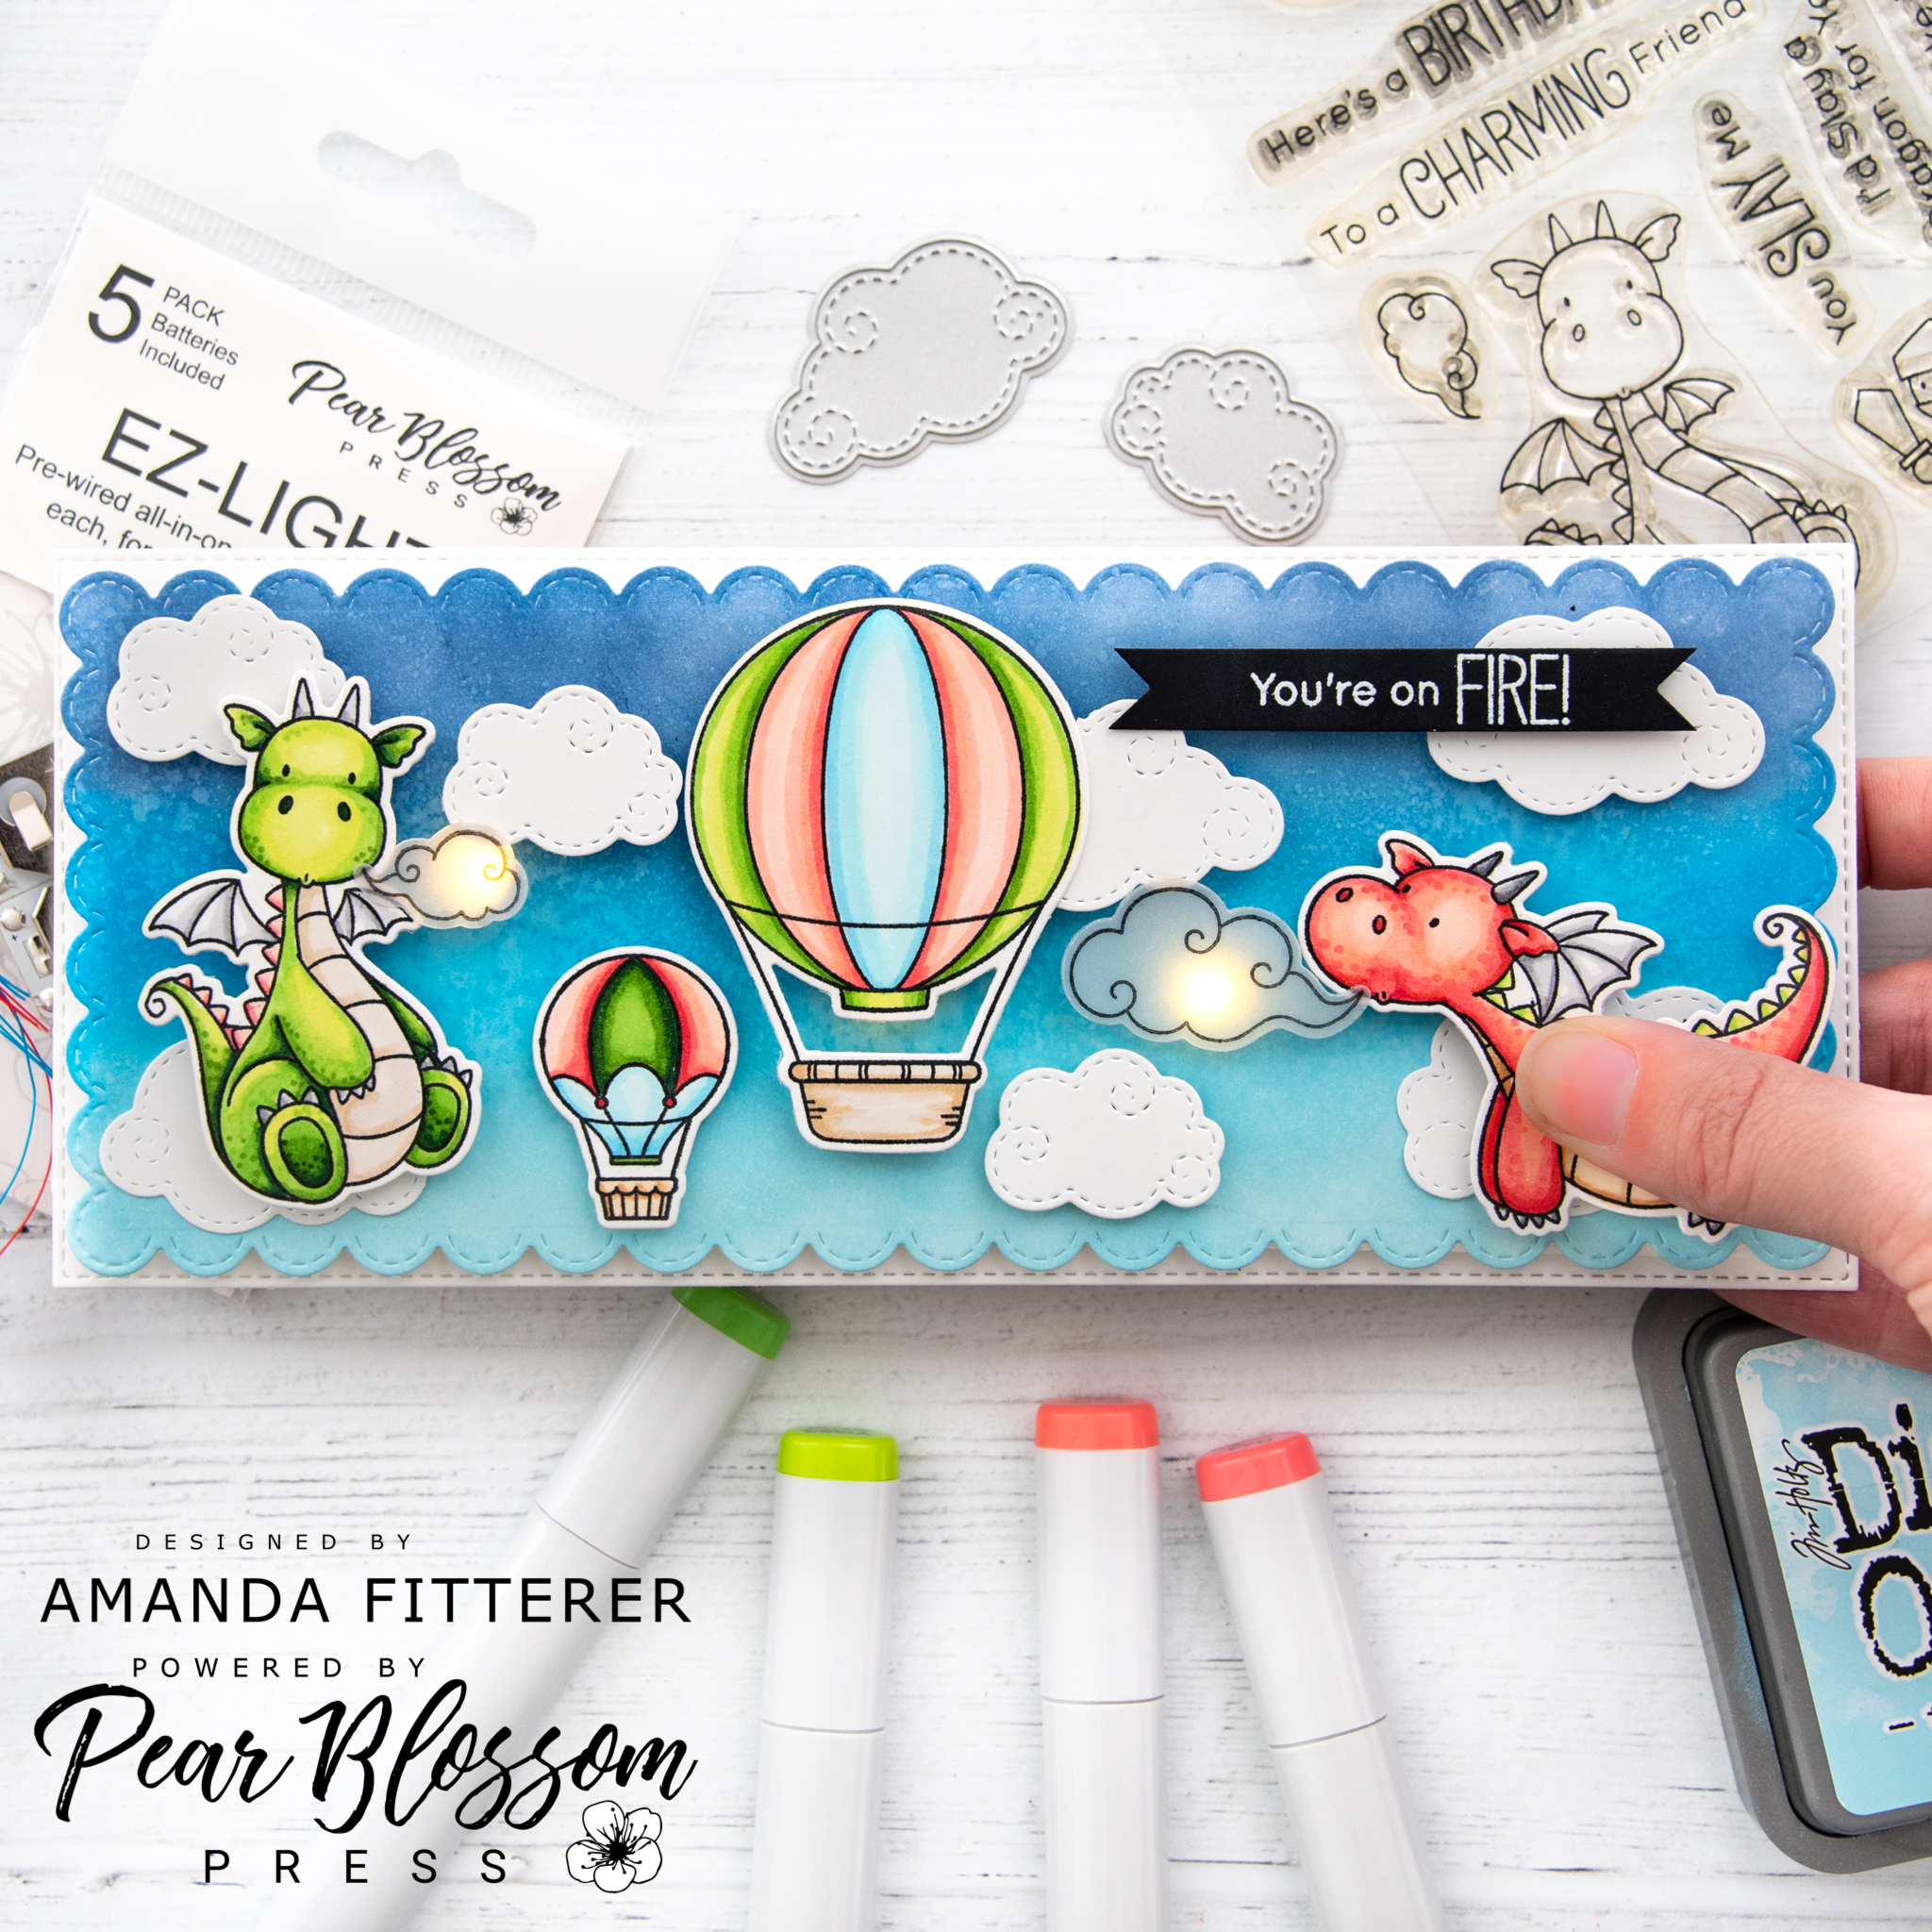
Hello my friends!! I’m here today to share a light-up card I made using the incredibly easy-to-use EZ- Lights! I also have a video to share with you on how I added the EZ-Lights to my card!
On my card base, I made marks where I wanted my lights to shine through and where I wanted the button to be. Then, I adhered my button using double sided tape. I held my lights down using tape as well, with the bulbs facing upwards. I used Heffy Doodle Deep Foam Tape to prop my card front up so that there wasn’t a bulge where the button was.
I adhered my card front to my card base and tested to make sure the lights worked. Then, I adhered all of the stamped images onto my card front. Here’s another photo of the finished card!
Thank you so much for stopping by my blog today! I hope you enjoyed my card and video! Xoxo, Amanda
This blog uses affiliate links to help me fund my crafting! If you click through and make a purchase using one of the links above, I am able to receive a small commission from the sale! It won’t cost you any extra, but you will help be helping me out and I really appreciate that!
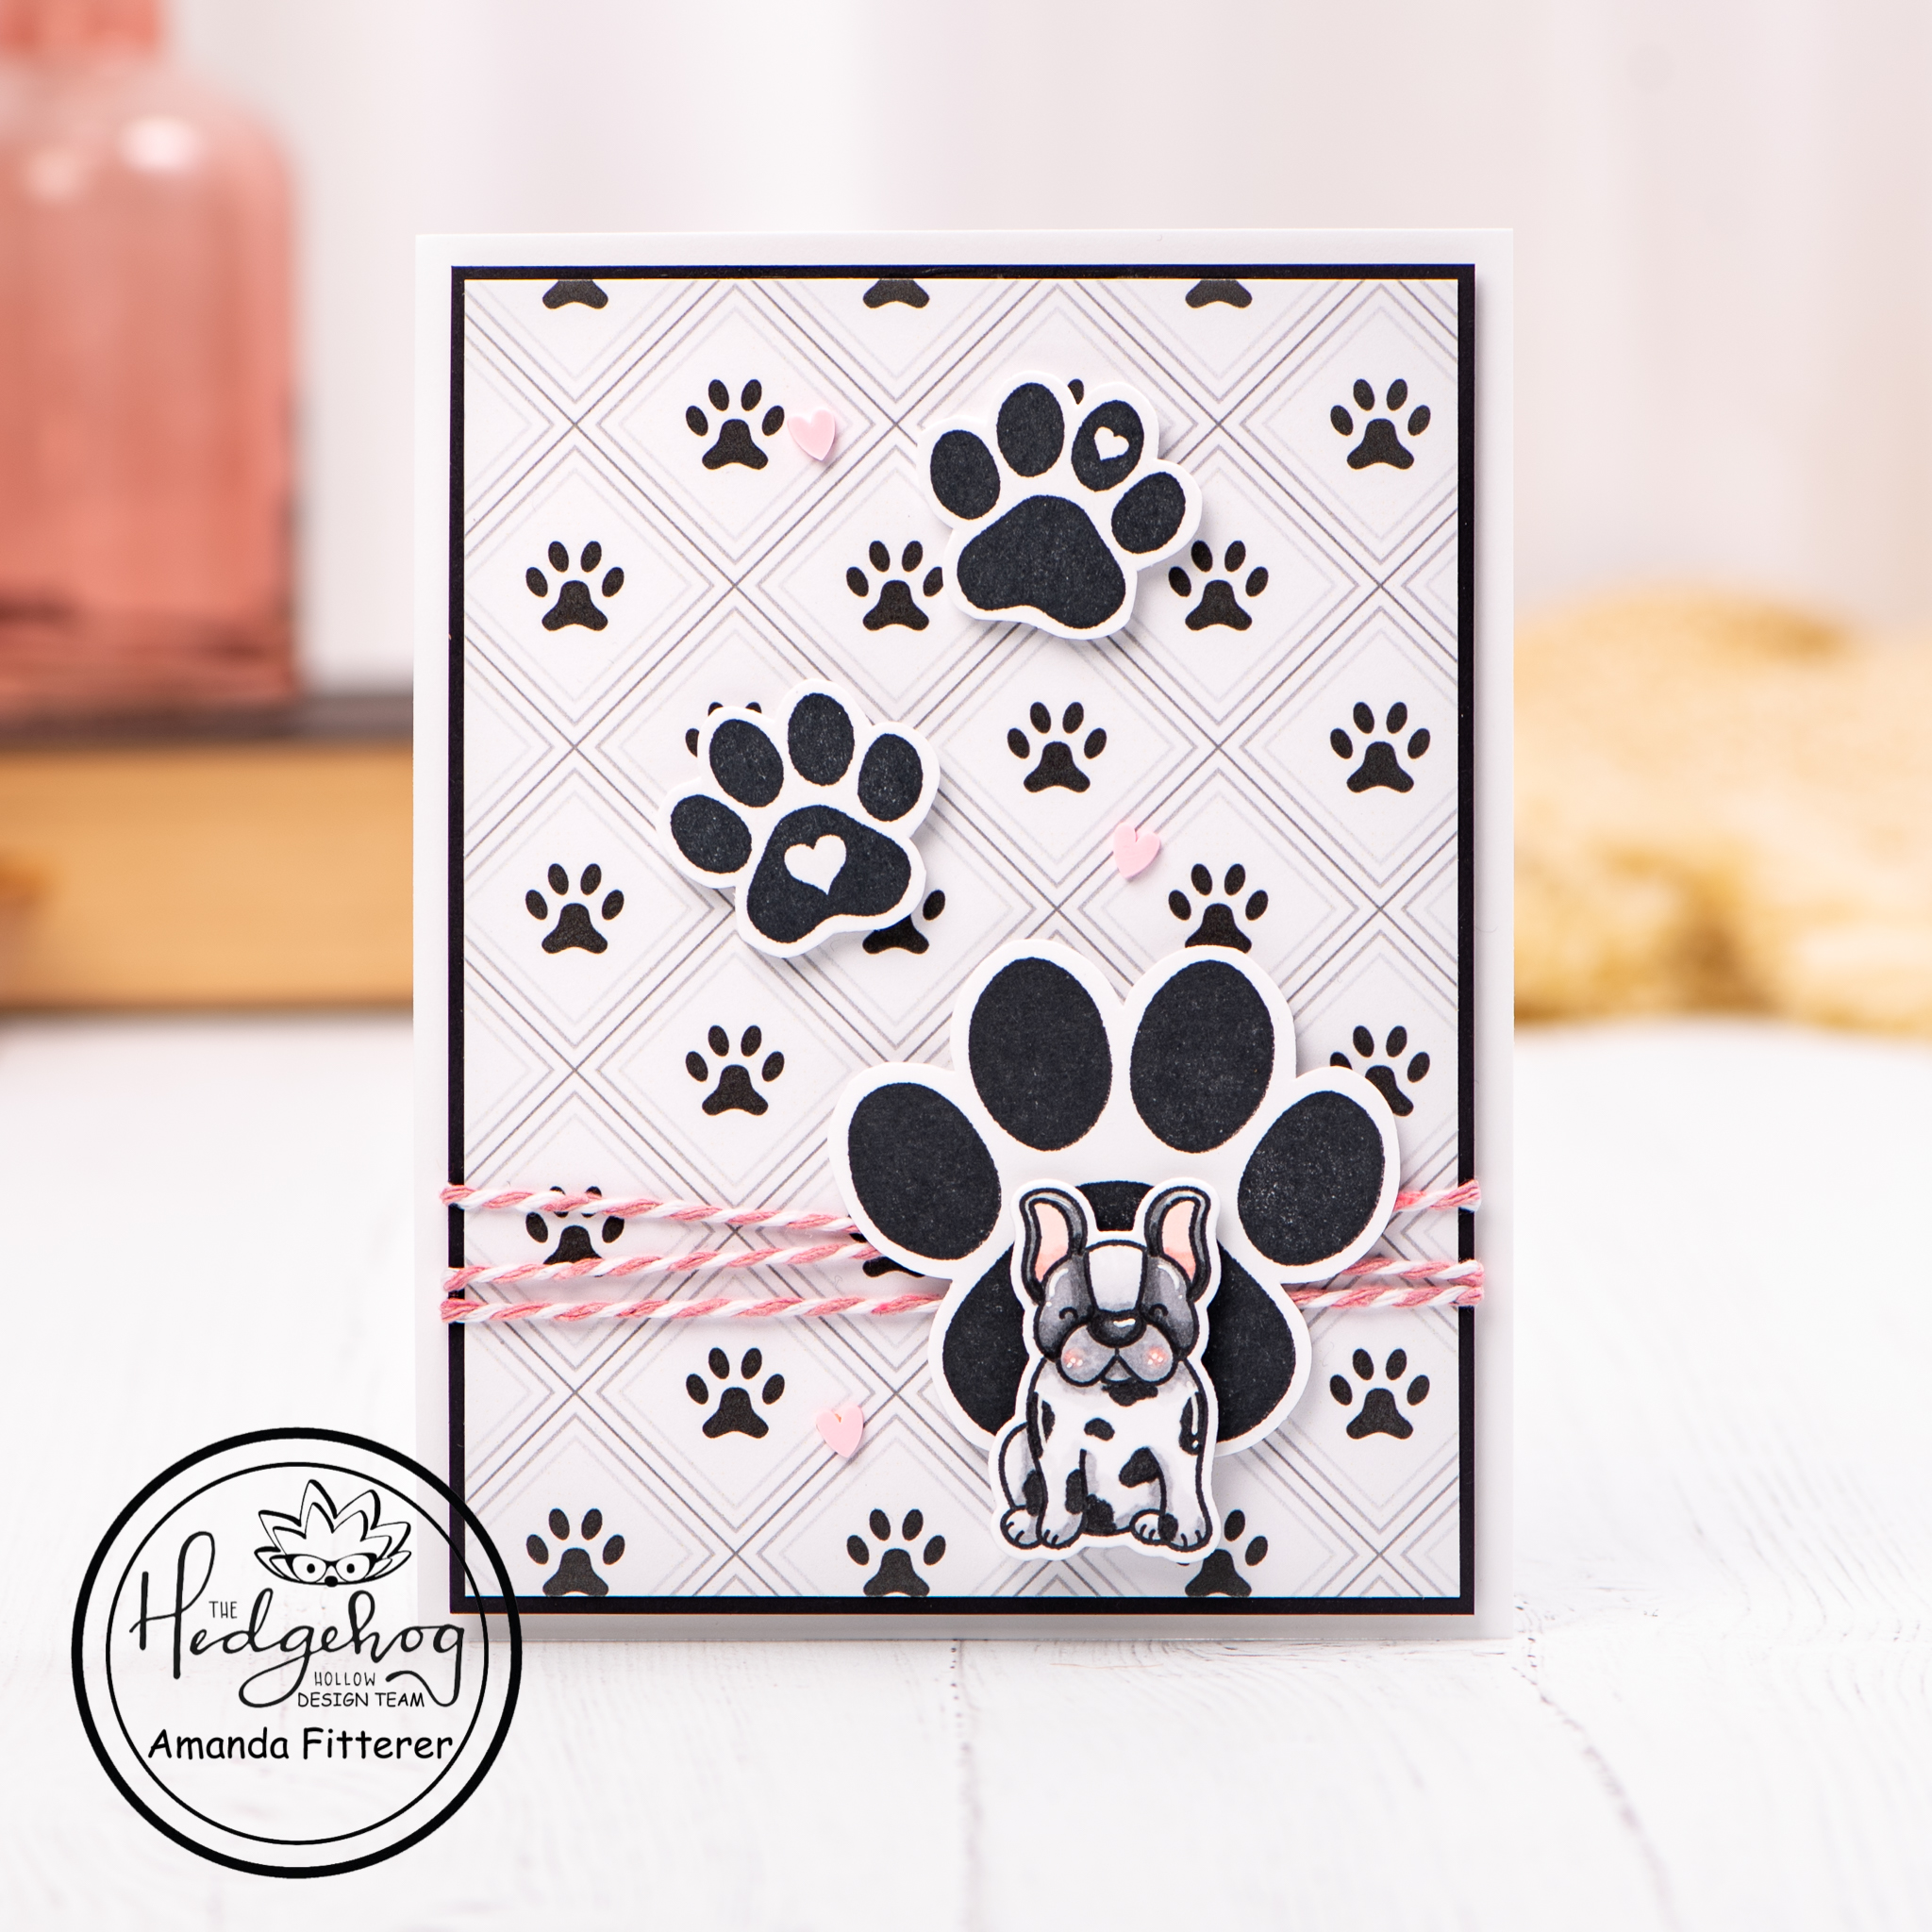
Hello there my fellow crafters! Have you received your February Subscription Box yet?? It’s FULL of all kinds of cute pet stencils, stamps, and paper!
To create these 2 cards, I cut down 2 pieces of black cardstock to 4″ x 5.25″. Then, I trimmed down the patterned paper that was included in the Subscription Box, leaving a small black border all the way around.
Grabbing the stamp sets from the box, I stamped a couple of cute images using black ink.
I cut out all the images and then put double sided foam adhesive on the back. I tied pink and white baker’s twine around the card fronts and then placed the images where I wanted them. As a finishing touch, I added a few pink hearts.
Then, I adhered my card fronts to the card base using 3D foam adhesive strips.
I love all the little paw prints! They’re just so sweet!
Thank you so much for stopping by my blog! Xoxo, Amanda
Hi friends! Thank you so much for stopping by my blog today! I really appreciate your love and support!
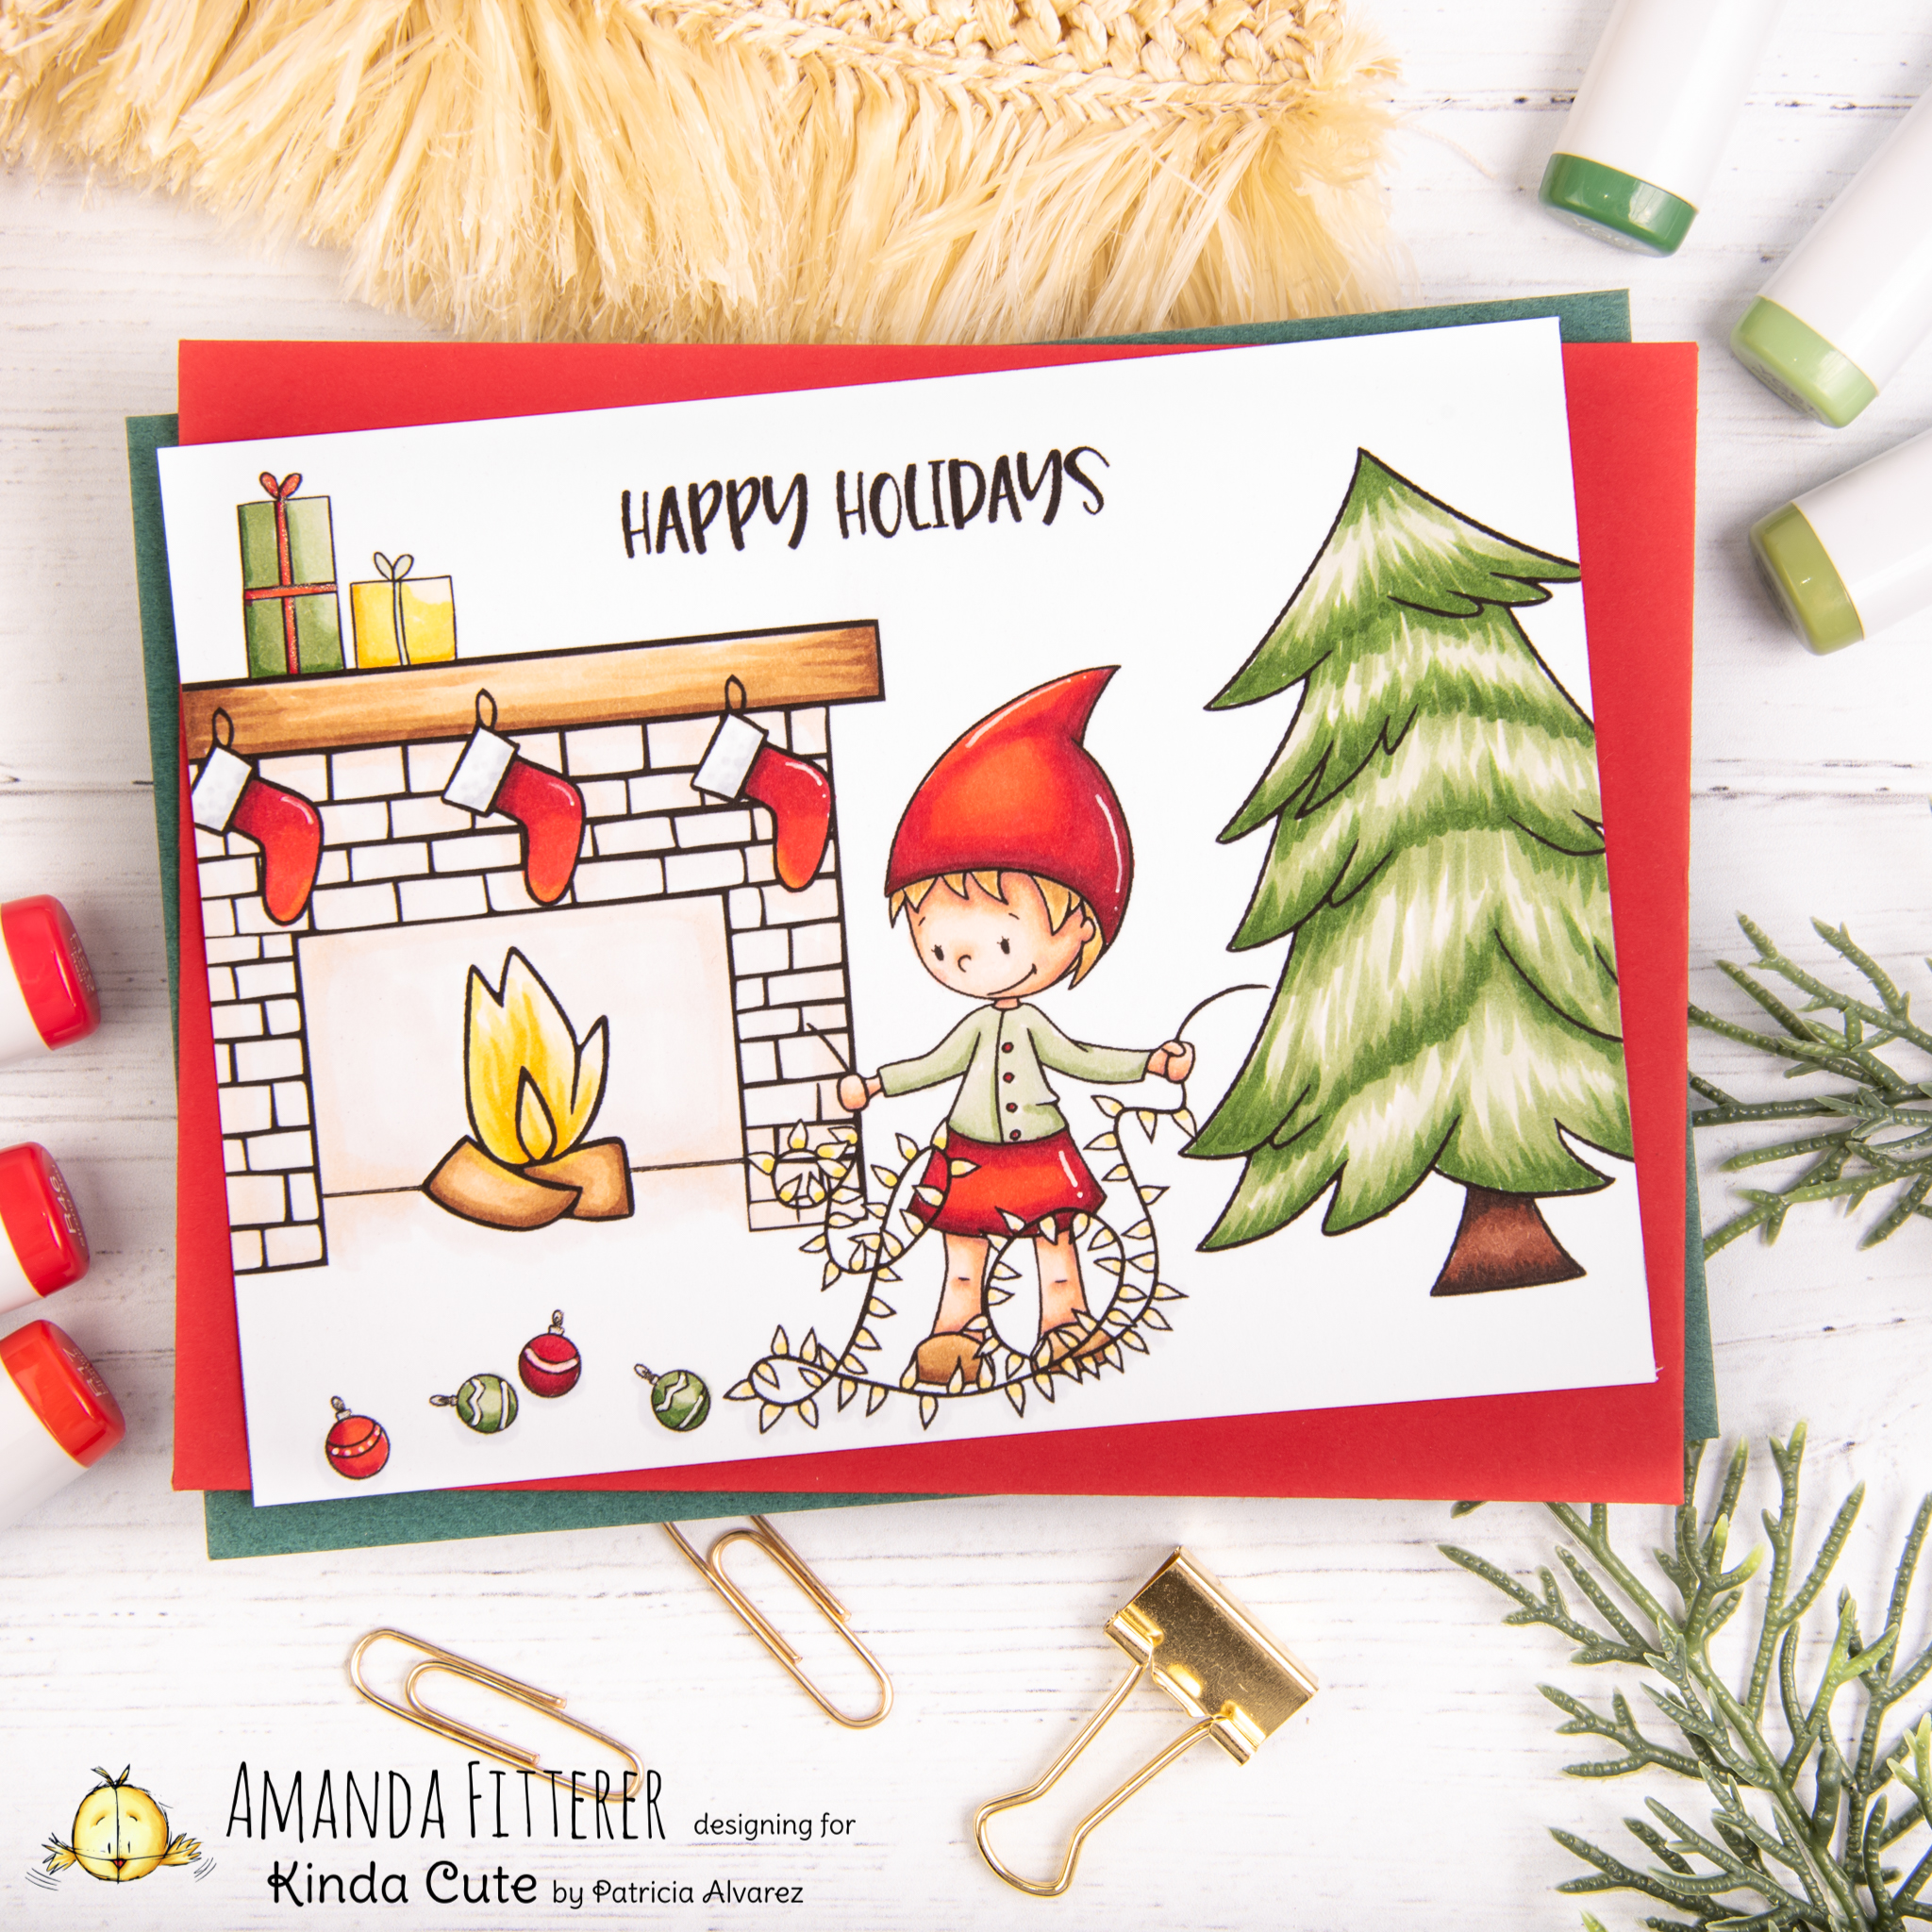
Today, I’m sharing this adorable holiday scene that I created using a few Kinda Cute by Patricia Alvarez digital stamps. I used the Lights are Tangled Gnome and Christmas Filler Digital Stamps.
Hello friends and welcome back to The Hedgehog Hollow Blog! It’s Amanda Fitterer back today with some more holiday cards!
The November Subscription Box is available now, but you only have until November 14th to get yours! If you want to see the reveal video, you can find it here. The box is full of lots of goodies, including the double-sided patterned paper that I used for these cards! There’s also a really cool product called WoodUBend that is super fun to play with. If you haven’t seen my video using the product, you can find the post here.
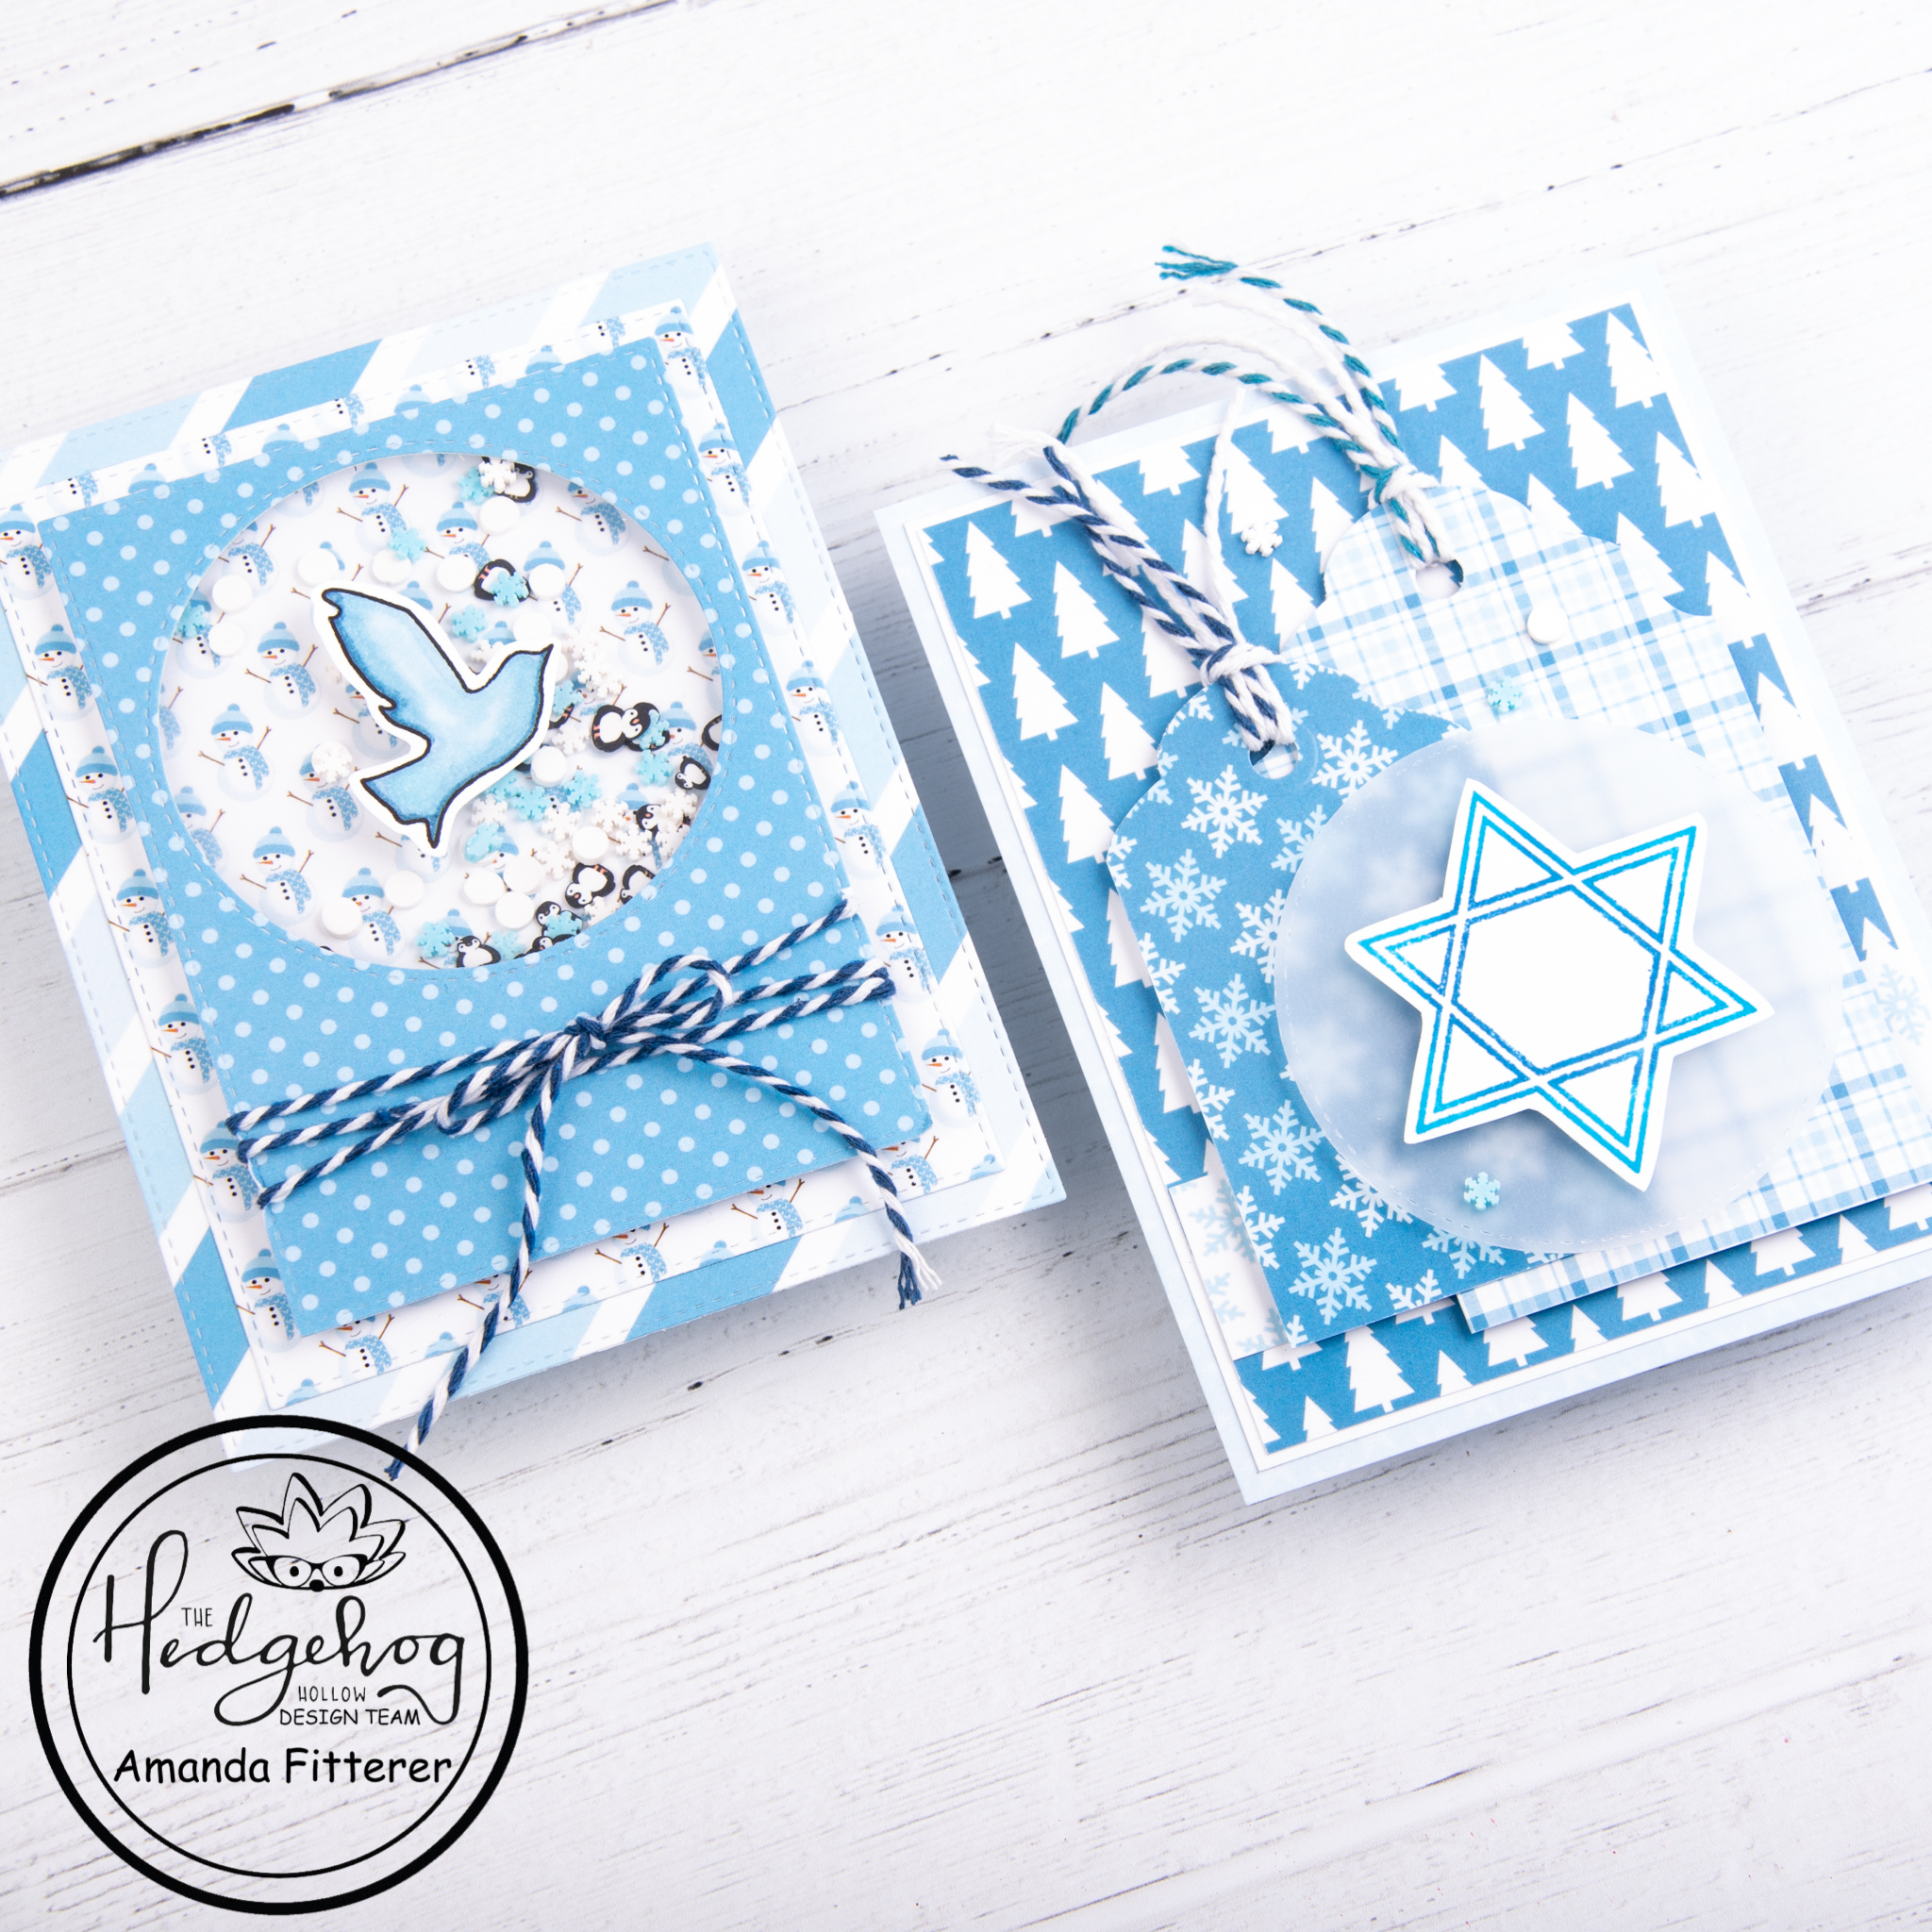
Now onto these beautiful Hanukkah cards!
To create my first card, I used the double-sided patterned paper with Dress My Craft’s Rounded Tag Punch. I tied baker’s twine to each of my tags and popped them up with 3D foam squares. I used Danube Blue and Bahama Blue Memento ink to stamp my image from the “Happy Hanukkah” stamp set. This stamp set is included in the November box and has loads of great images and sentiments. I cut a circle of vellum to frame my Star of David. I used 3D foam squares to adhere the Star and vellum to the front of the card. To finish the card off, I placed a few embellishments from Dress My Craft’s Penguins and Snowflakes Mix.
To create my shaker card, I used Stitched Dies and the double-sided patterned paper to create my frames and base. I filled my shaker with Penguin Slices and Penguins and Snowflakes Mix. I tied some baker’s twine to the bottom of the card. I stamped and fussy cut the Dove out from the “Happy Hanukkah” stamp set. I colored the image with B95, B93, and B91. I used 3D foam squares to adhere the image to my card.
And voila! You have 2 quick and easy Hanukkah cards!
Thank you so much for coming by The Hedgehog Hollow blog! It’s almost the weekend! Hang in there! I’ll have one more post on the November box on November 28th, so keep an eye out!
Hello everyone! I hope you’re all having a great week so far!
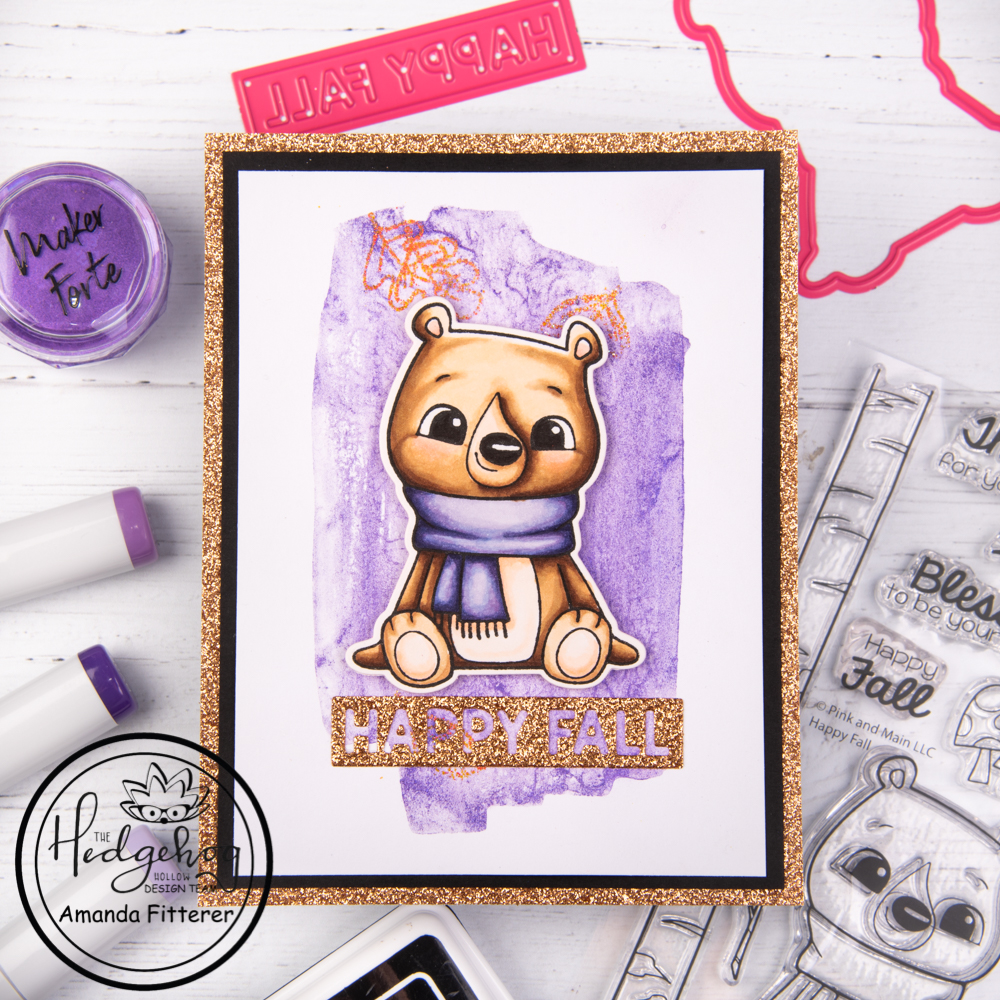
I am loving this card I made using Pink and Main’s Happy Fall stamp and die set! It is so simple, but yet so elegant! I love the idea of taking a non-traditional Fall color and using it to make a card that really stands out!
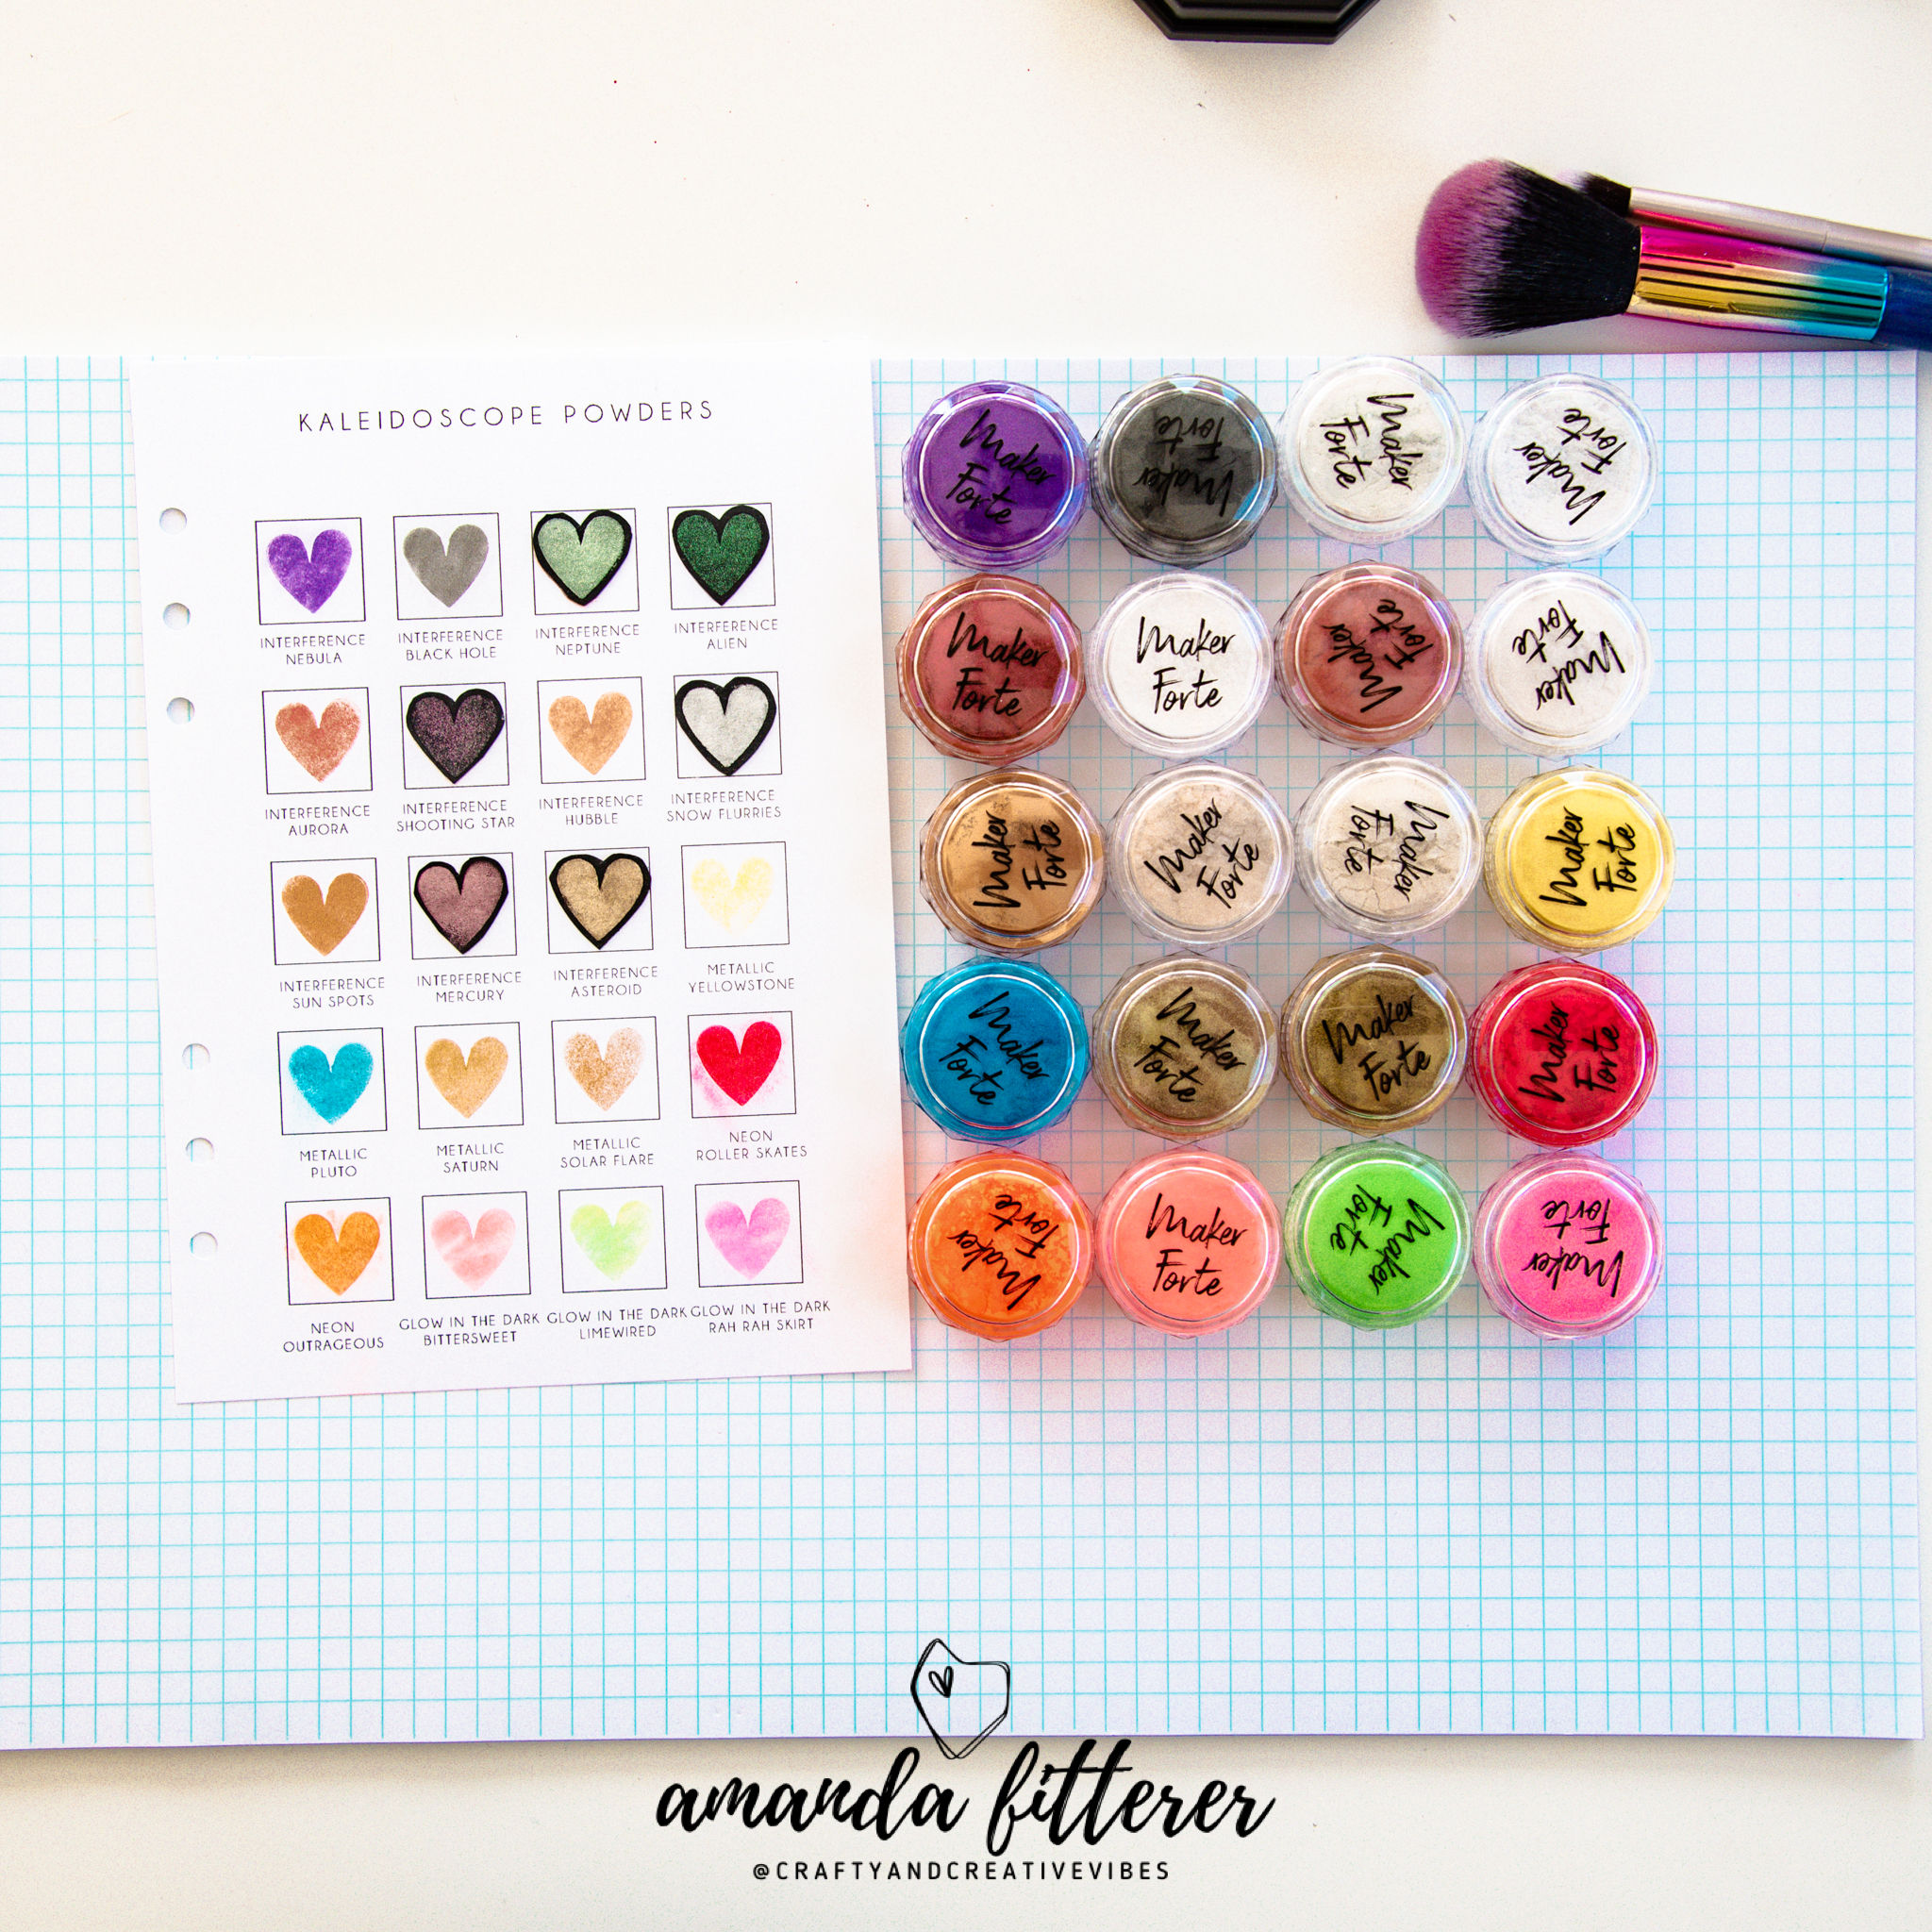
To make this card, I’m starting with the Kaleidoscope Powder – Interference – Nebula and a water brush. Putting a small puddle of water on my workspace, I am mixing in a bit of the powder. Using my water brush, I can mix it into a watercolor medium.
On a piece of watercolor cardstock, I am taking the largest of the Easy Watercolors by Hedgehog Hollow stamps and am brushing on my watercolor mixture straight onto my clear stamp. Once it’s completely covered, I can stamp the image. I am going to repeat this process twice to get a better coverage.
After waiting for that to dry, I am placing some leaf stamps from the Pink and Main’s Happy Fall stamp set on top of my watercolor. I am using the Color Hive Clear Embossing Glue Ink Pad to create a sticky image of the leaves. Then, I can apply my gold embossing powder to my images and melt it with my heat tool.
I’m ready to go ahead and stamp my adorable bear from the Pink and Main’s Happy Fall stamp set! (This bear is definitely the cutest bear EVER!) I am going to stamp him with Hero Arts Intensified Black ink and color him with Copic markers.
I cut my watercolor cardstock down to 3.75″ x 5″. Behind that, I’m layering a piece of black cardstock and a piece of gold cardstock.
The last thing I need to do is create my sentiment! I am using the same gold cardstock as I used for my base and cutting out the “Happy Fall” banner from the Pink and Main Blessings Slimline Die. I saved the little insides of the A’s and P’s to glue in after I get my sentiment down!
Next, I am ready to glue everything down and use 3D foam squares to adhere my bear!
I’d love it if you left a comment below or on my Instagram page to let me know if you enjoyed this post!
Don’t forget that you have until October 14th to get the October Subscription Box! It’s filled with some really fun stuff! If you didn’t get a chance to see the goodies, you can watch the video here! Or, if you’re already signed up for the subscription, you should be getting your box soon! Yipee!!
I hope you all enjoy the rest of your week! I’ll be back next Monday with another fun project!! I can’t wait! Xoxo, Amanda
Happy Saturday, you all! I hope you’re all having a great day today! Thank you for coming to my blog to check out my card! Do you have The Hedgehog Hollow’s September subscription box?? It is SO fun!
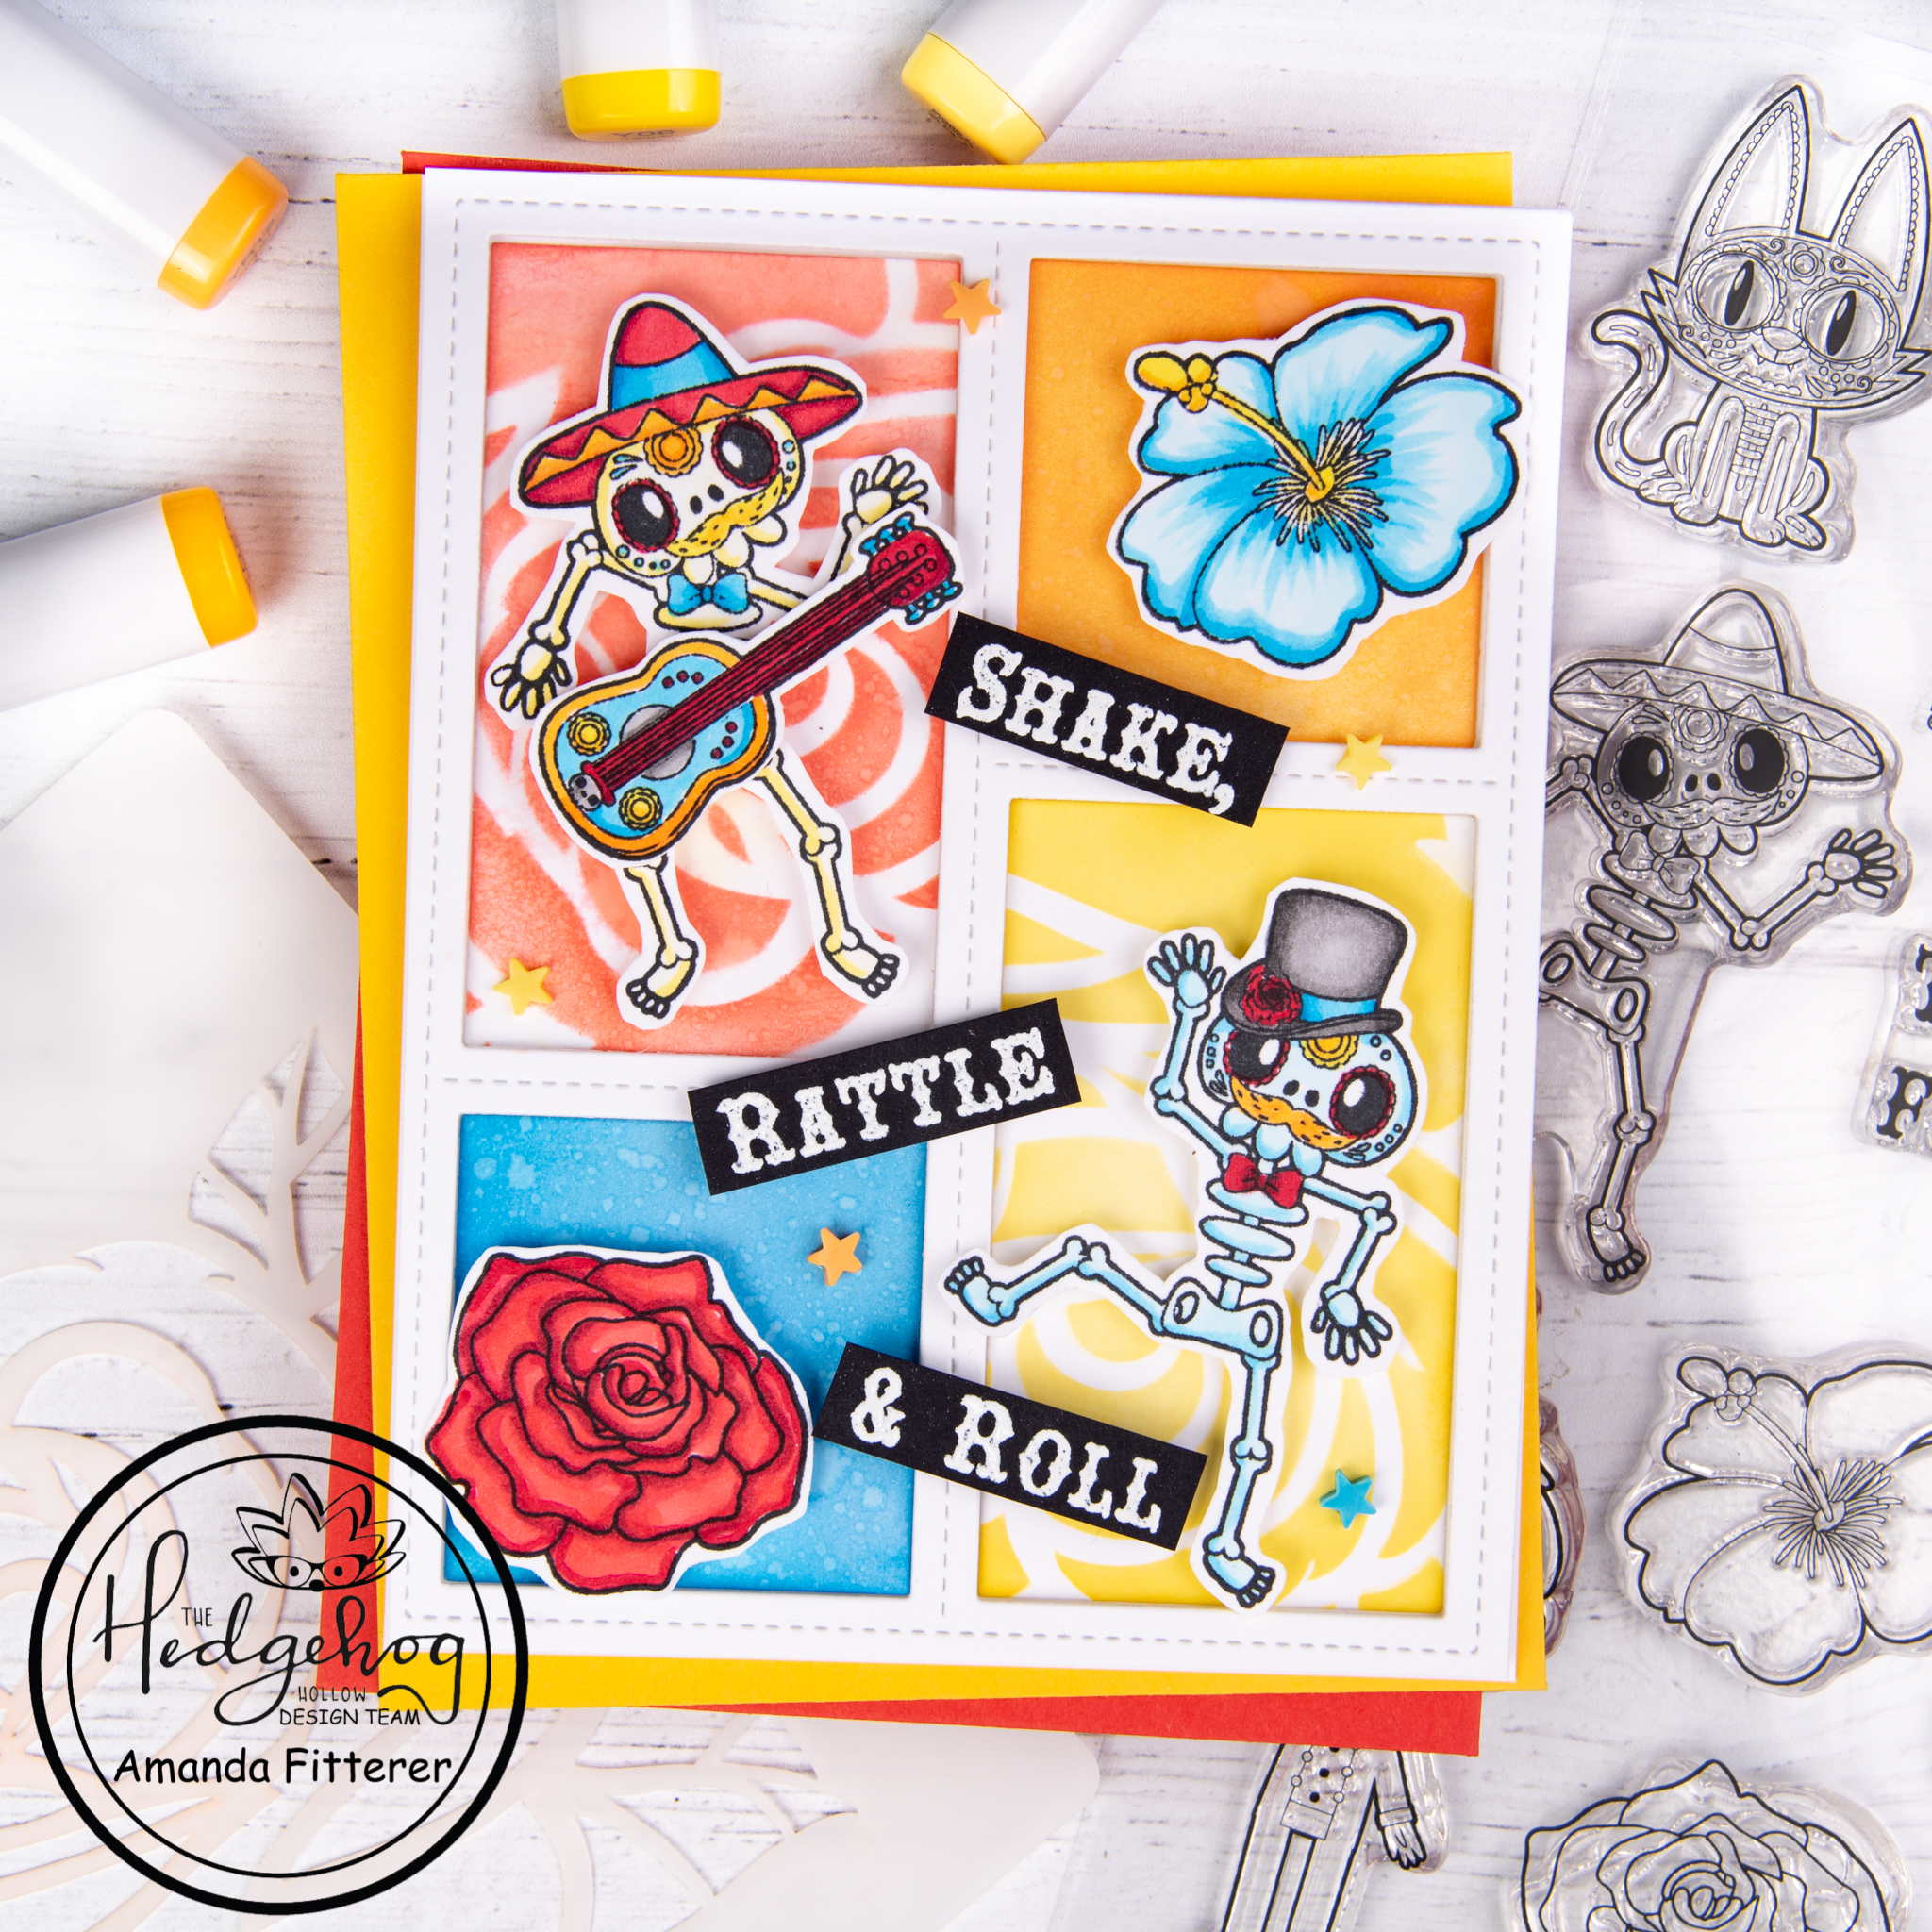
I just love this colorful card to celebrate the Day of the Dead!
Using the Dios De Los Muertos stamp set, I’m going to stamp my images and sentiment. I’m using my Copic markers to color my images. To finish the card off, I’m using glue, 3D foam squares, and some Multicolored Stars embellishments.
2
I think this card turned out so happy and bright! I hope you enjoyed this post and thanks again for coming to my blog!
Don’t forget – this box is only available until September 14th! To see all the products you’ll get in the box, click here. To see the subscription options, click here.
Hello crafty friends! I hope everyone is staying happy and healthy!
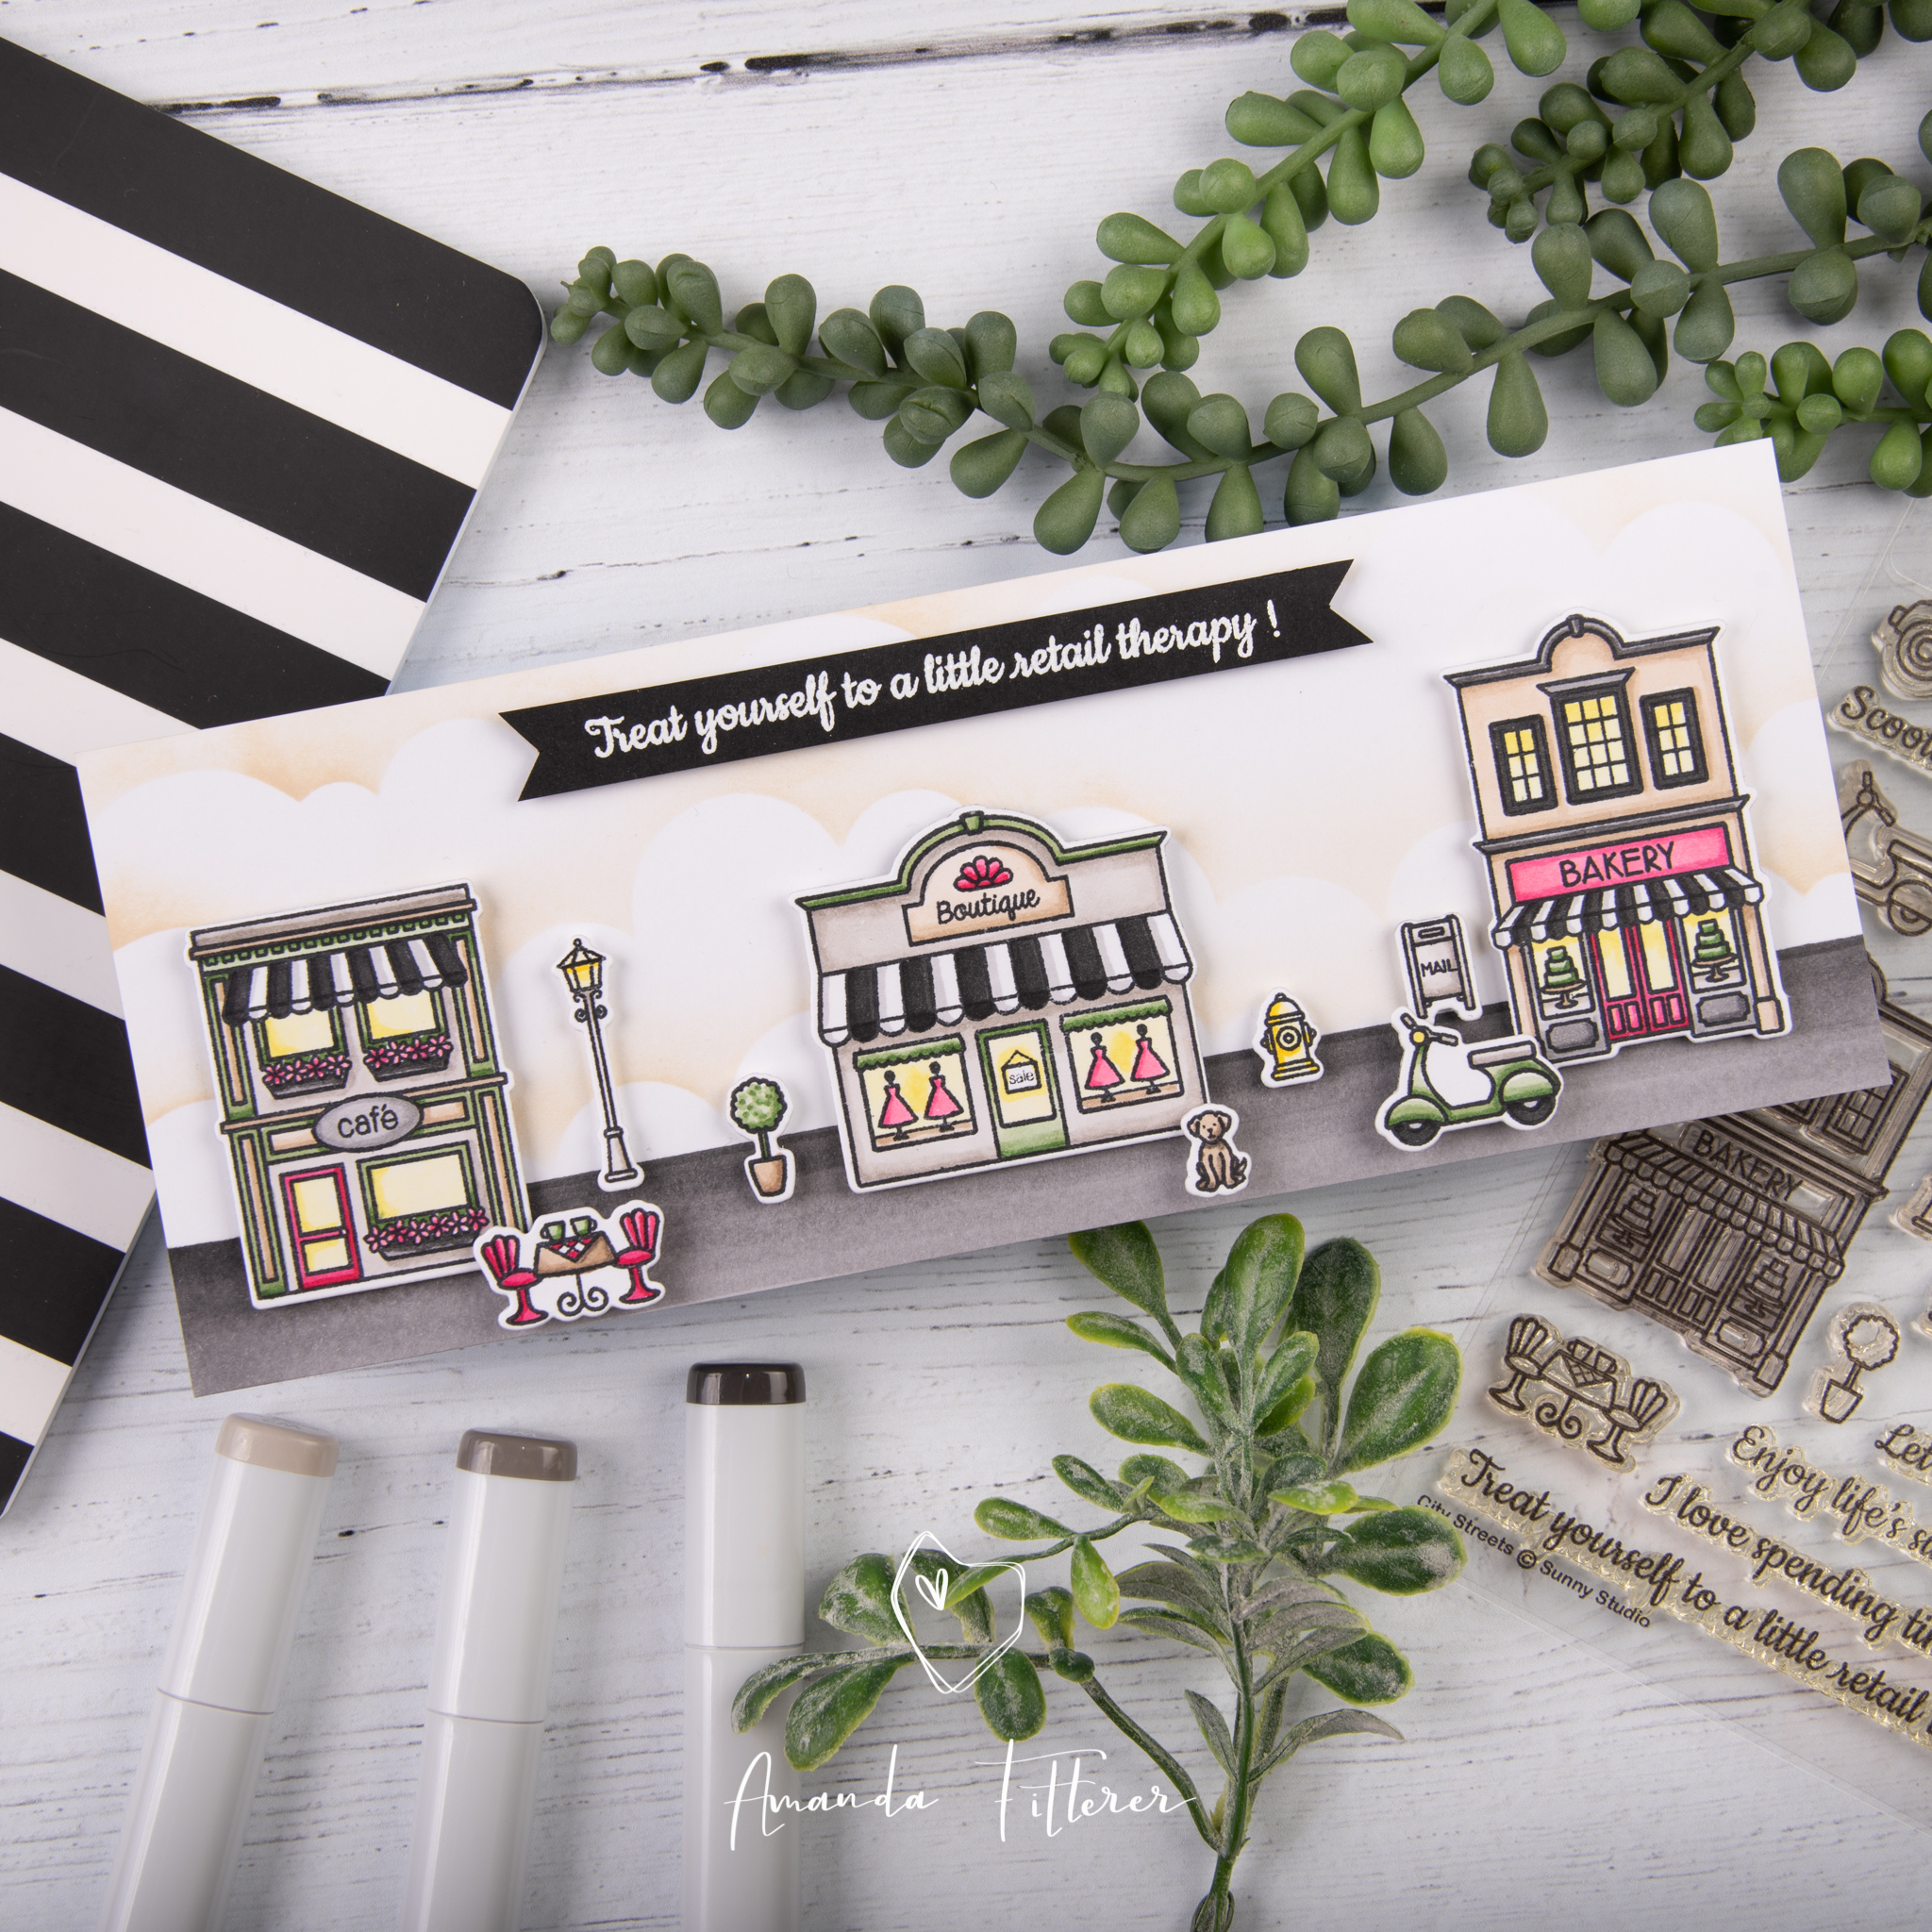
I made this card before this terrible Coronavirus epidemic. Now, I’m posting it because we all need a little reminder of what’s to come after this is all over! (Or, if you’re like me, you are already treating yourself to a little online retail therapy!!)
To make this card, I started with creating my own street using a ruler and my Copic markers. I used T7, T6, T5, and T4 to create the street.
I used Antique Linen distress ink and this cloud stencil to create a neutral sky.
I stamped my images from the Sunny Studio City Streets stamp set and colored them in with my Copic markers. To keep a certain color palette, I used the same markers throughout all the stamped images.
I stamped my sentiment with Versamark Watermark ink and used white detail embossing powder. I used my heat tool to emboss the sentiment.
I cut the images out with the coordinating dies and adhered them to my card front with 3D foam adhesive.
Here are a few close-up photos!
Thanks so much for stopping by! Stay healthy!! Xoxo, Amanda
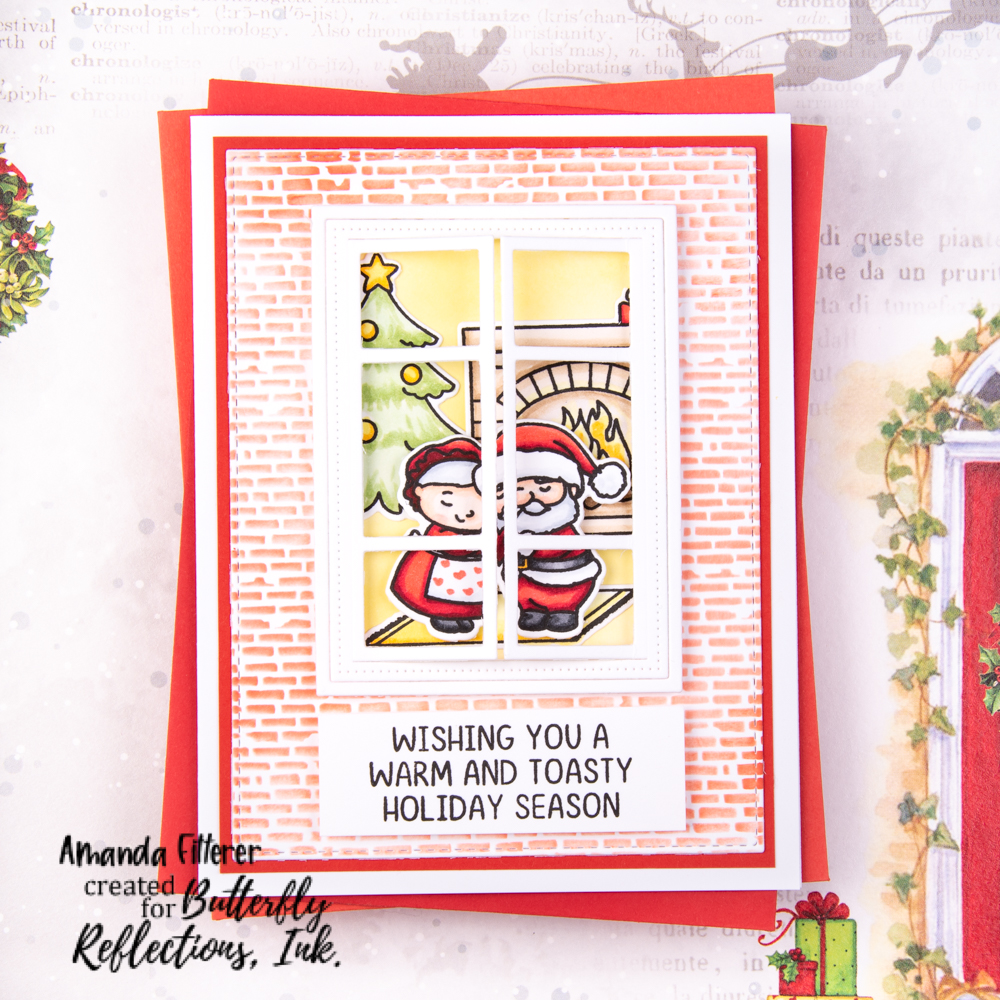
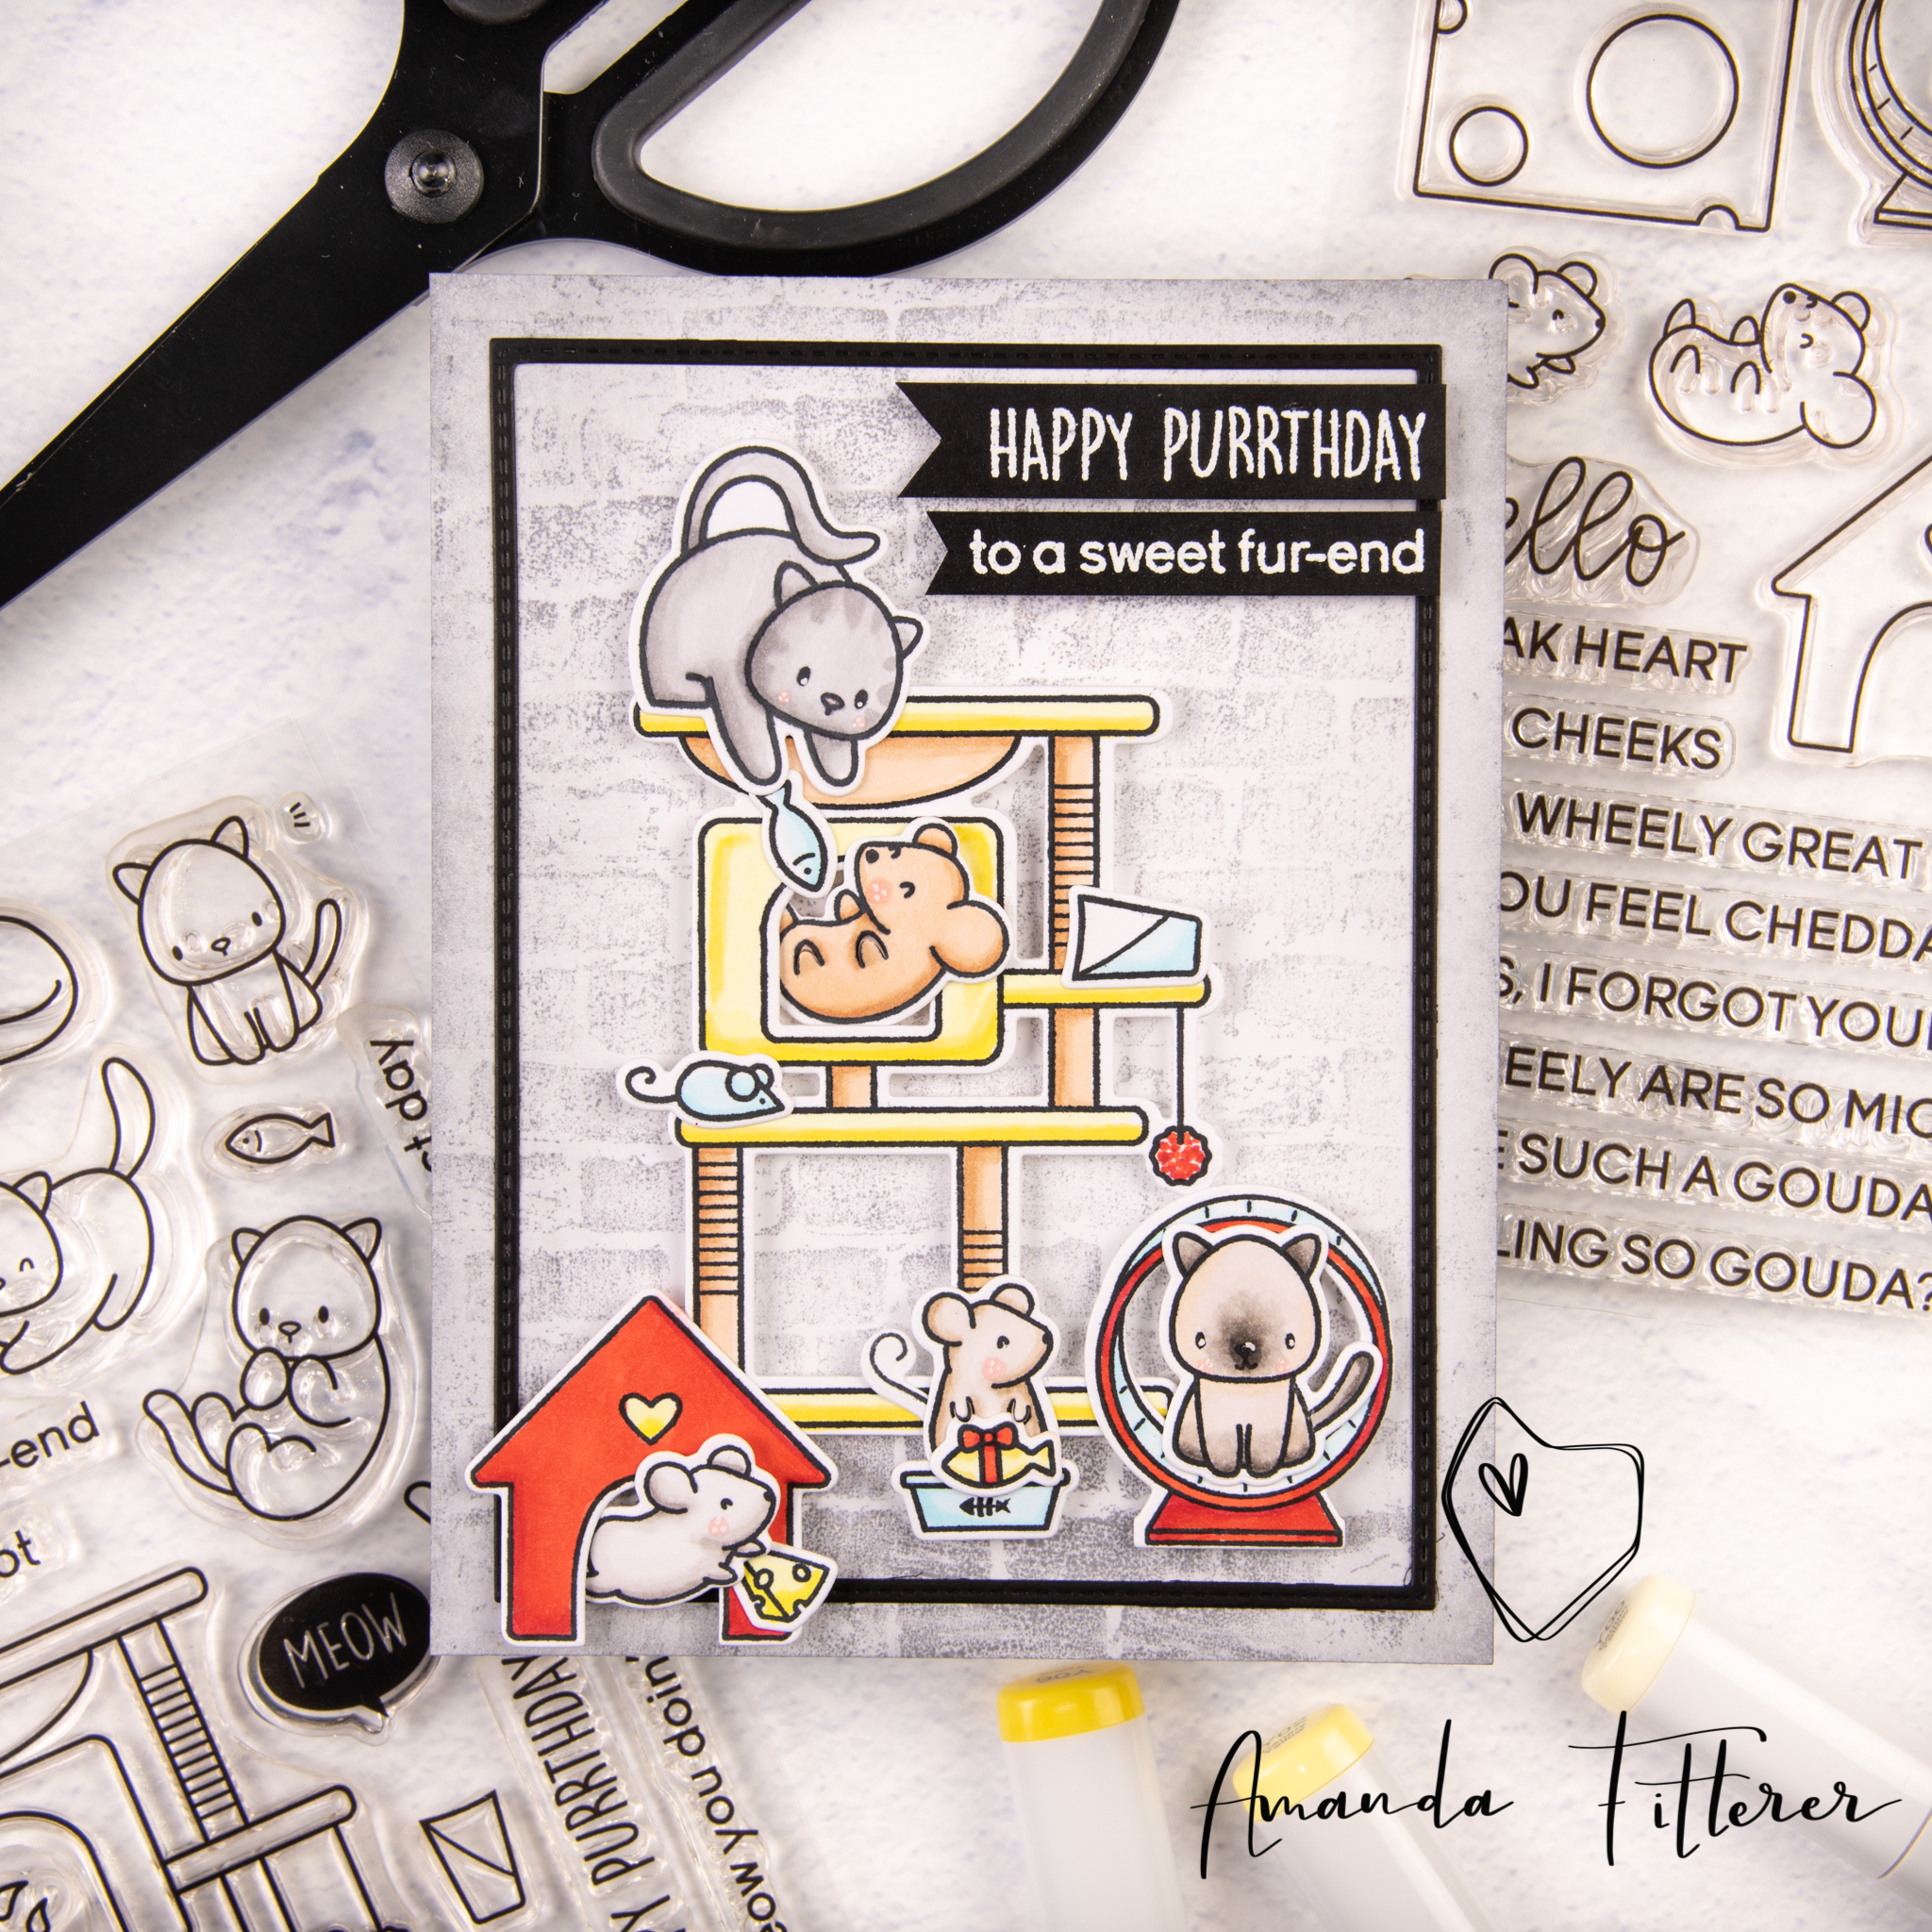
I’m using Tuxedo Black Memento ink to stamp all of my images.
I’m coloring in my images with Copic markers.
For my background, I’m using this brick background stamp and Hickory Smoke distress oxide. I’m also cutting a stitched border with a die and black cardstock.
I’m using 3D foam squares, strips, and glue to adhere everything to my card.
Hi everyone! Welcome to the Heffy Doodle and Catherine Pooler Designs Collaboration Blog Hop! Our design teams have come together to share some inspiration with the new Heffy Doodle and Catherine Pooler releases, and there is a prize up for grabs, too!
I had such a fun time playing with the new releases! The Catherine Pooler inks are so juicy and amazing! I had to make more than just one card!
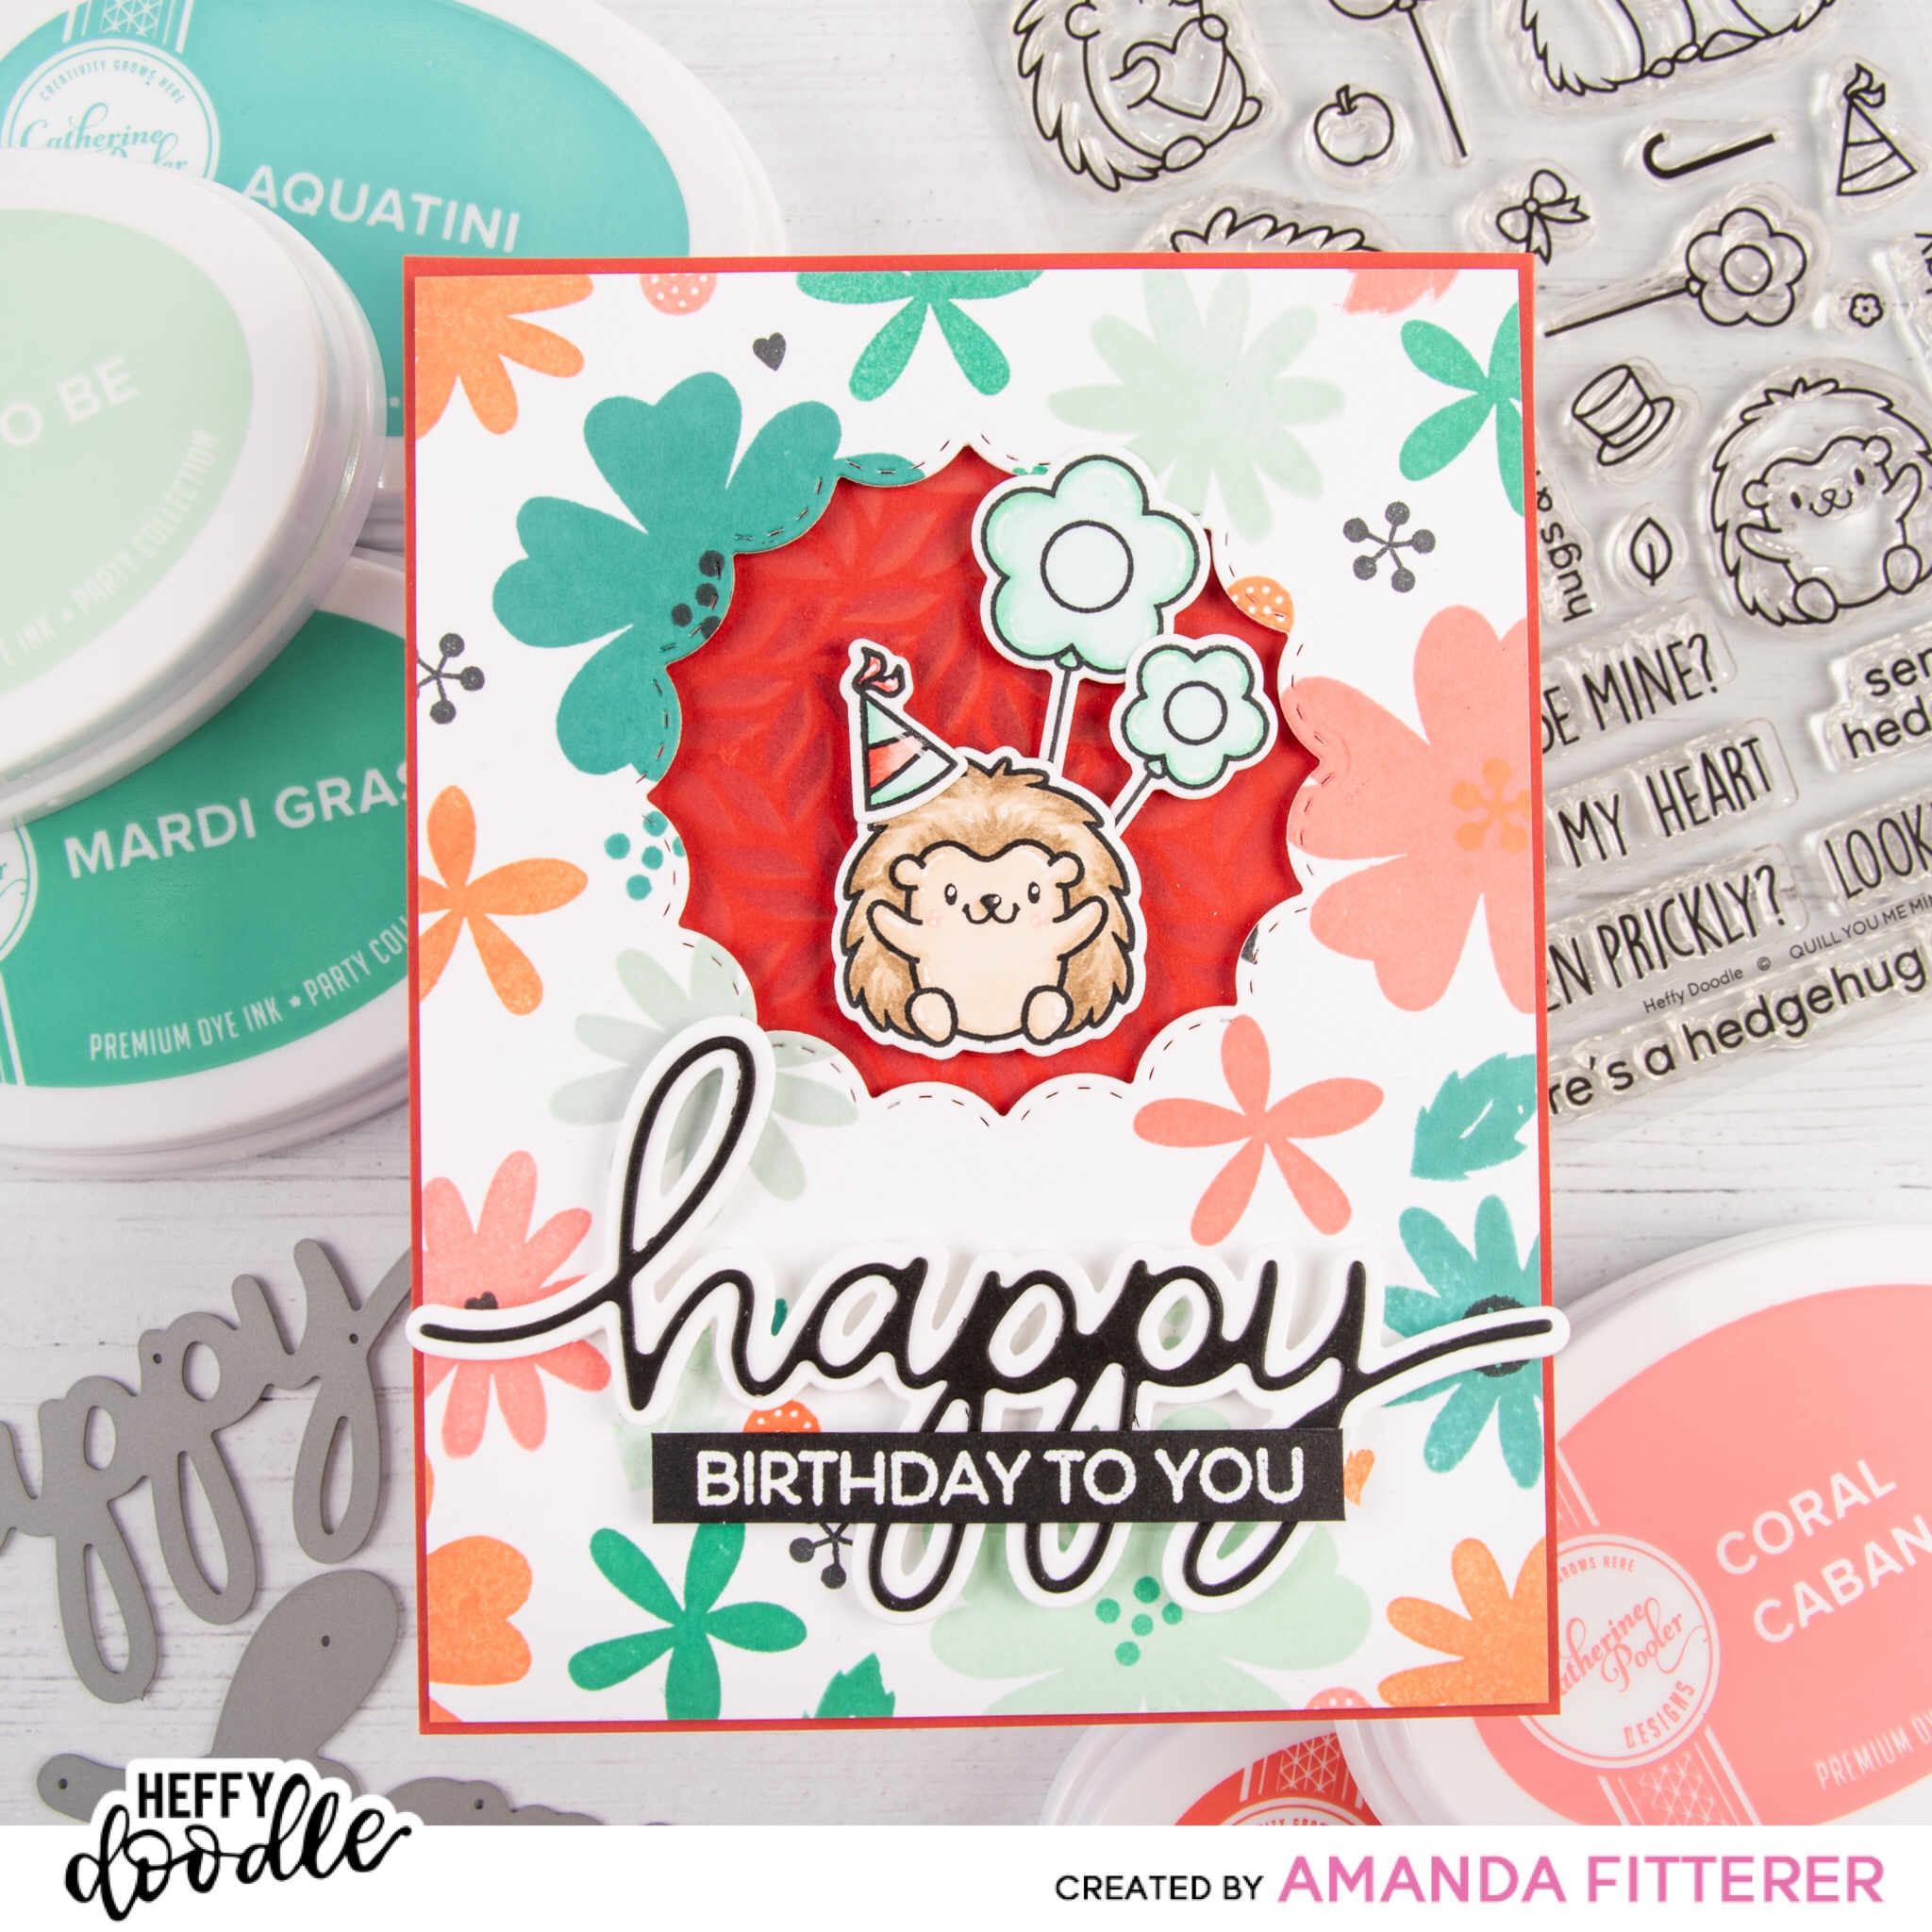
I am using one of the dies from the Fancy Nancy Frames set to create a cutout in the center of the top of my card front.
I’m using the Happy X Three dies to cut out a black inline and a white outline for my sentiment.
On a piece of Heffy Doodle Cherry on Top cardstock that I cut down to A2 size, I am placing my Fancy Foliage stencil and blending the pattern using Candied Apple and Fired Brick distress ink/oxide.
Now, I’m ready to stamp my Quill You Be Mine images with Memento Tuxedo Black ink. This ink works well with Copic markers, which I will use to color in my stamped images. Body: E41, E42, E43, R21, white Gelly Roll pen Quills: E44, E43, and E42 Balloons (on 2nd attempt!): G0000, G00, and G02
After using the coordinating dies to cut my images out, I’m ready to start putting my card together. I’m using foam tape and squares to create a 3D layers.
I’m stamping my sentiment on black cardstock using Versamark Watermark ink. I’m adding white detail embossing powder and using my heat gun to emboss it. I am cutting down small strips of 1/8” foam tape and putting it on the back of my “happy” piece.
Now I’m ready to add my sentiments and it’s all done!
Card 2
For the next card, I’m going to make a slimline card, using the same Catherine Pooler inks and So Happy stamp set. I’m starting by laying out where I want things to be. I’m going to use some masking tape to cover the sentiment “HAPPY” because I’m going to stamp that in a different color. After stamping my sentiments, I’m using one of the Fancy Nancy frames to create some peek-a-boo cutouts. I’m using the Mint to Be ink pad to blend a background that will be peeking through my cutouts.
I’m stamping my bugs from the Big Bug Hugs and coloring them with Copic markers.
Now, I’m ready to adhere everything to the card using 3D foam adhesive!
Catherine Pooler and Heffy Doodle will be respectively giving away a $25 and a 25£ gift certificate to their stores! Make sure to comment on each post in the hop for your chance to win! Winner will be chosen randomly and announced on Tuesday, February 25th on the Heffy Doodle and Catherine Pooler blogs.
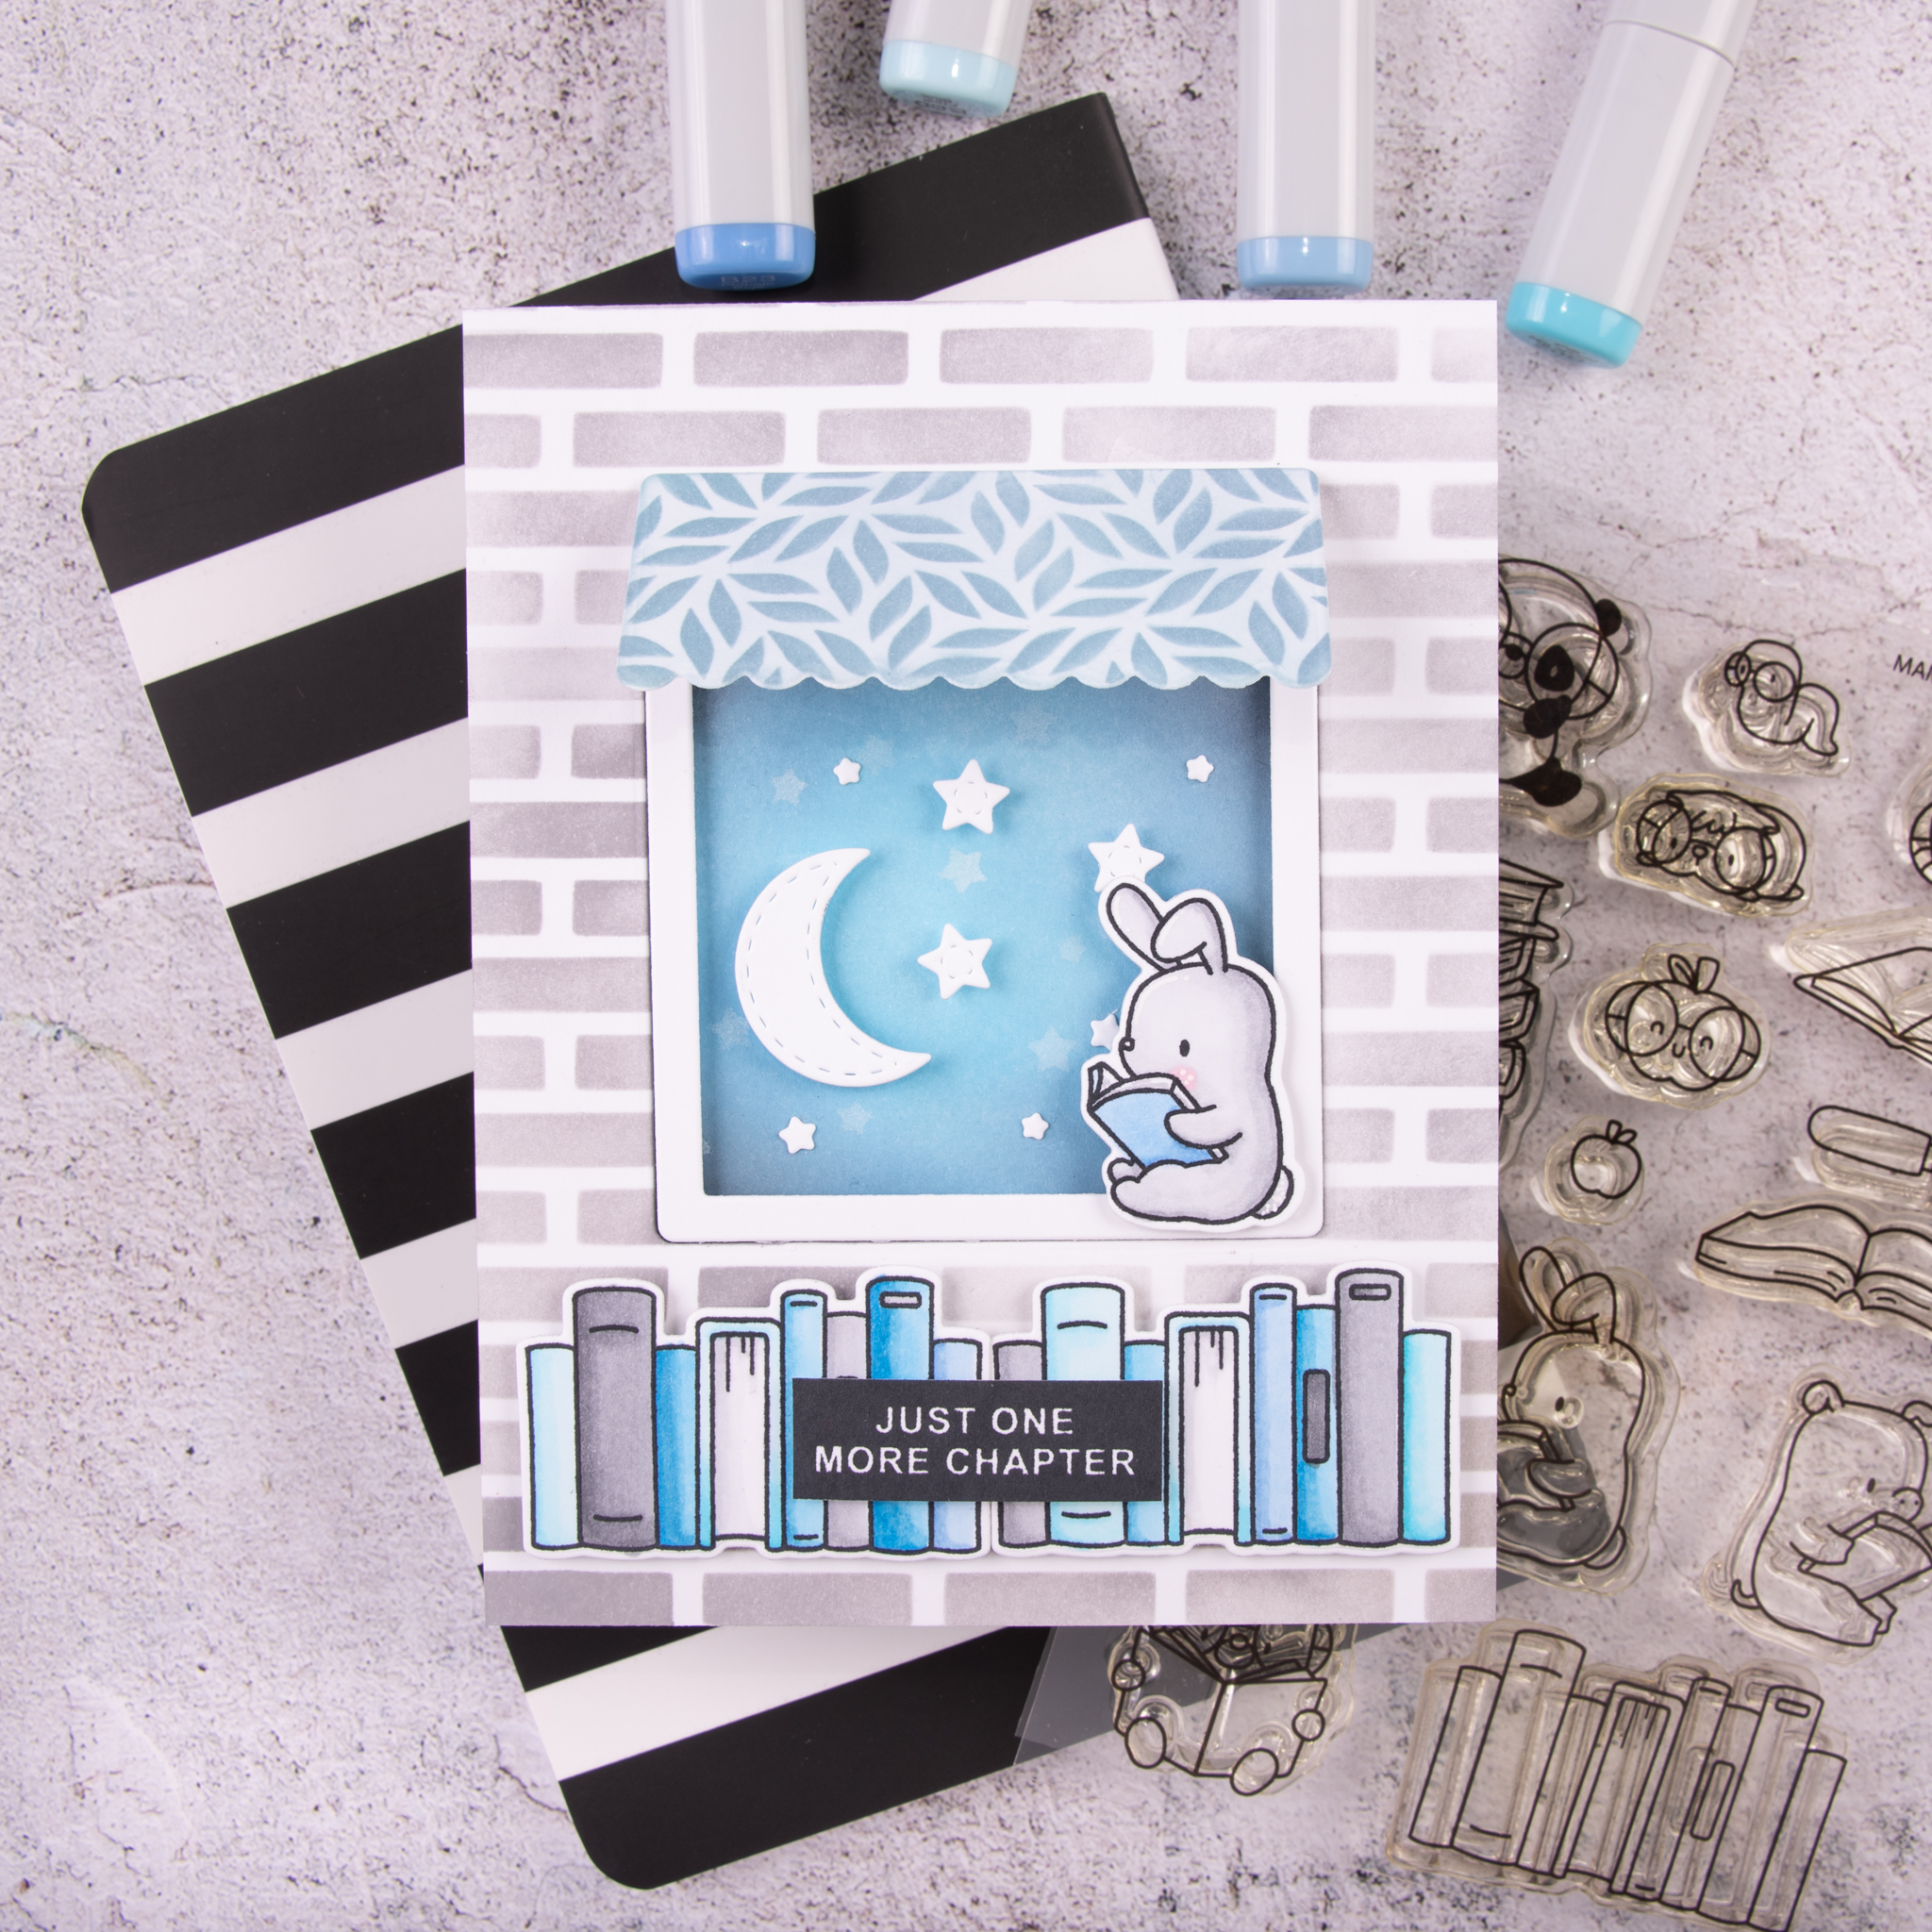
I’m going to create a background using Heffy Doodle’s Sun Moon and Stars Dies. I’m also going to blend a background with some distress oxides and my blending brushes. I’m creating some very light stars with white distress ink and the Heffy Doodle Starfall Stencil. For my foreground, I’m using a brick stencil that I made myself and distress oxide.
This is just the sweetest little shaker card with a gift card holder on the inside!
See the tutorial below! (Scroll all the way to the bottom to see the Copic markers I used!)
Start with a piece of 10.25″ x 5.5″ white card stock. Score it at 4″, flip the card 180° and score again at 2″.
I used a super pointy tool to make a hole in my card front. I measure it with a ruler to make sure I centered it correctly.
Next, I rounded all the edges with corner punch. This amazing 3 Corner Punch is from Dress My Craft and has 3 different options. I used R7mm, but any corner punch will do.
For the gift card holder that goes inside the card, I cut a piece of card stock to 4.25″ x 2.5″. Then, I scored it at 1″ and 3.25″. Then, I turned it 180° and scored at the 2″ mark.
This adorable Mini Score Board is also from Dress My Craft. It is my go-to score board because it’s so tiny and doesn’t take up any space!
I cut a diagonal line and then a straight line to create a better fold.
Using some Stitched Circle dies, I created a shaker. These Angel Mix and Pearls shaker elements are from Dress My Craft. I blended everything with Shaded Lilac and Spun Sugar distress oxides.
After figuring out where I wanted to place my shaker circle, I needed to cut out a circle from the flap so that the card would close properly. I held my die in place with some purple tape and then ran it through my die cut machine.
I used a Dotted Hearts background stamp from Simon Says Stamp along with Shaded Lilac distress oxide. I blended the entire card using Shaded Lilac and Spun Sugar.
I made a smaller circle die cut for the top portion of the card. And then I made one tiny circle that will be used to wrap my twine around.
I blended all the circles with Distress Oxides.
I stamped, colored, and die cut my Avery Elle “Peek-a-Boo Pals”. Please see the end of the post for the colors used.
Next, I got my littlest circle ready for a brad and the twine.
Next, I stamped a few sentiments onto black card stock with Versamark watermark. I heat embossed with white embossing powder.
Next, I adhered all my components to the front of the card, using glue and 3D foam dots.
For the inside fo the card, I stamped a sentiment onto my gift card holder.
I used super sticky double sided tape to hold my gift card holder together and placed it in the center of the inside of the card.
Next I adhered my hippo, being sure that the gift card would be able to go BEHIND the hippo.
I cut a piece of white card stock and rounded the edges. I adhered it on the left flap.
All finished!! Here are some more photos! (Keep scrolling down for the Copic markers used.)
For the bunny: W00, W1, W2, W3, W4 and RV10.
For the Hippo: C00, C1, C3, C4, and RV10.
For the Monkey: E40, E41, E42, E43, E0000, E02, and RV10.
For the Party Hats: V12, V15, V17, BV000, BV02, and BV04.
I wanted to share this super cute bee card with you! Keep scrolling to see how I made this card!
I used 1 die from the Honey Bee’s “Hexagon Patterns” die set to create a honey comb pattern.
I used a pencil to trace my honeycomb pattern so i would know where to color.
Using different combinations of my yellow Copic markers, I colored in my honeycomb. I colored 2 of my die cut hexagons as well.
Using some Black Soot distress ink and a water brush, I made some black speckles on my card front.
I used a sentiment from Simon Says Stamp “Bee Yourself” stamp set. From the same set, I stamped 2 little bees and colored them with my yellow and gray Copic markers. Then, I die cut my bees with the coordinating dies.
After figuring out the placement of my bees, I stamped a few dotted lines (also from the “Bee Yourself” stamp set).
Here are some more photos! Thanks so much for stopping by!